Sitecore XM and XP
Sitecore enables you to edit, manage, store, and deliver cross-channel content with ease with a powerful and intuitive CMS.
This integration allows business users to build personalized landing pages and applications by repurposing content from your Sitecore XM or XP content management system. It also enables developers to use their preferred front-end tools to build these applications.
This section provides guides on how to use Uniform with Sitecore XM/XP.
Add Uniform integration#
Adding the Sitecore XM/XP integration to your Uniform project adds new parameter types that you can add to your Uniform Canvas components. The information in this section applies to the v7.2 (or later) version of the Uniform connector.
Configure Sitecore#
Sitecore must be configured to expose its content to Uniform Canvas.
Configure Sitecore Services Client#
Uniform uses the Sitecore Services Client (SSC) to read content from Sitecore, so SSC must be enabled and configured.
- If SSC isn't enabled, you must enable it. The following is an example of a config file that enables SSC:<?xml version="1.0" encoding="utf-8" ?> <configuration xmlns:patch="http://www.sitecore.net/xmlconfig/"> <sitecore> <settings> <setting name="Sitecore.Services.AllowAnonymousUser" value="true" /> <setting name="Sitecore.Services.AllowItemServiceAnonymousUser" value="true" /> <setting name="Sitecore.Services.SecurityPolicy" value="Sitecore.Services.Infrastructure.Web.Http.Security.ServicesOnPolicy, Sitecore.Services.Infrastructure" /> </settings> <api> <services> <configuration type="Sitecore.Services.Infrastructure.Configuration.ServicesConfiguration, Sitecore.Services.Infrastructure"> <filters> <filter desc="requiredApiKeyAttribute">Sitecore.Services.Infrastructure.Security.RequiredApiKeyAttribute, Sitecore.Services.Infrastructure</filter> </filters> </configuration> </services> </api> </sitecore> </configuration>
- In Sitecore, open Content Editor.
- Open the
masterdatabase - Navigate to sitecore > system > Settings > Services > API Keys.
- Add the following item:
- Template:
API Key - Name:
Uniform API Key
- Template:
- Set the following field values:
- CORS Origins:
https://uniform.app - Allowed Controllers:
Sitecore.Services.Infrastructure.* - Impersonation User: Name of a Sitecore user with access to site items,
/sitecore/system/Languages,/sitecore/templatesand/sitecore/system/Uniform(for example,sitecore\admin)
- CORS Origins:
- Save the item.
- Publish the item.
- Note the item ID. This is your Sitecore API key. You will need this value later.
tip
We also recommend that the user sitecore\servicesAPI have permissions configured that explicitly deny access to the remaining parts of content tree. This is the account SSC uses by default for calls when an API key isn't specified.
Install Sitecore package#
You must install Uniform Canvas for Sitecore on your Sitecore instances.
info
Uniform provides a Sitecore installation package. Contact the support team for this package, or if you need instructions for alternative installation options.
tip
Uniform Canvas for Sitecore must be installed on your content management (CM) and content delivery (CD) instances.
Configure Sitecore site#
Canvas will read content from your Sitecore site, but some configuration is needed. This configuration comes in the form of something called site configuration. The Uniform connector on your Sitecore instance uses the site configuration to determine which Uniform functionality to enable. You must create a site configuration for your web app.
tip
Site configuration can be created using Sitecore configuration files or Sitecore items. These instructions use Sitecore items. The config file approach is recommended for production environments, but using Sitecore items may be easier for some users during development and testing.
In Content Editor, navigate to sitecore > system > Uniform > Site Configurations.
Add the following item:
- Template:
Site Configuration - Name:
website
info
You use
websitehere because this example uses the default Sitecore site. If you have multiple sites on your Sitecore server you must use the appropriate site name.- Template:
Add an item using the template
Configure Site.Select the child item
Configuration.Set the following field values:
- Inherits:
website
info
You use
websitehere because this example uses the default Sitecore site. If you have multiple sites on your Sitecore server you must use the appropriate site name.- Inherits:
Save the item.
Publish the site.
Configure data types cache purge#
Uniform data types come with native support for edge-caching. To ensure content remains current after publishing Sitecore items, configuring the data type purge service is necessary.
info
You can skip this step if you don't intend to utilize data types.
tip
Site configuration can be created using Sitecore configuration files or Sitecore items. These instructions use Sitecore items. The config file approach is recommended for production environments, but using Sitecore items may be easier for some users during development and testing.
warning
This functionality requires latest v7.2-patch-2 version of the Uniform connector (Sitecore package named Uniform Canvas v7.2.230517-1 Upgrade Package for UFS v7.2) which needs to be installed on top of previously installed v7.2 or v7.2-patch-1 (Sitecore package named Uniform Canvas v7.2.23XXXX for Sitecore 8.2.0-10.3.0). If you use .NET SDK please make sure to update your dependencies per packages.config
In Content Editor, navigate to sitecore > system > Uniform > Site Configurations > website > Configuration.
About this step
You use
websitehere because this example uses the default Sitecore site. If you have multiple sites on your Sitecore server you must use the appropriate site name.Add an item using the template
Configure: Canvas Data Type Purge ServiceSet the following field values:
- ProjectId: Uniform project id
- ApiKey: Uniform API key
- Archetypes (optional): defines the list of archetypes to purge. Supported values:
sitecoreItem,sitecoreItemByPath. Default: [sitecoreItem]
info
If you intend to utilize Sitecore Item by Path, you need to register
sitecoreItemandsitecoreItemByPatharchetypes here.- IncrementalEnabled (optional):
trueorfalse
warning
You may need a developer to use incremental purge. Read more how to define model dependencies.
- IncrementalEventsThreshold (optional): defines the number of item events to be processed incrementally; otherwise purge all caches.
- IncrementalItemsThreshold (optional): defines the number of unique items to be purged incrementally; otherwise purge all caches.
- IncrementalRequestsThreshold (optional): defines the maximum estimated number of incremental purge requests; otherwise purge all caches.
Save the item.
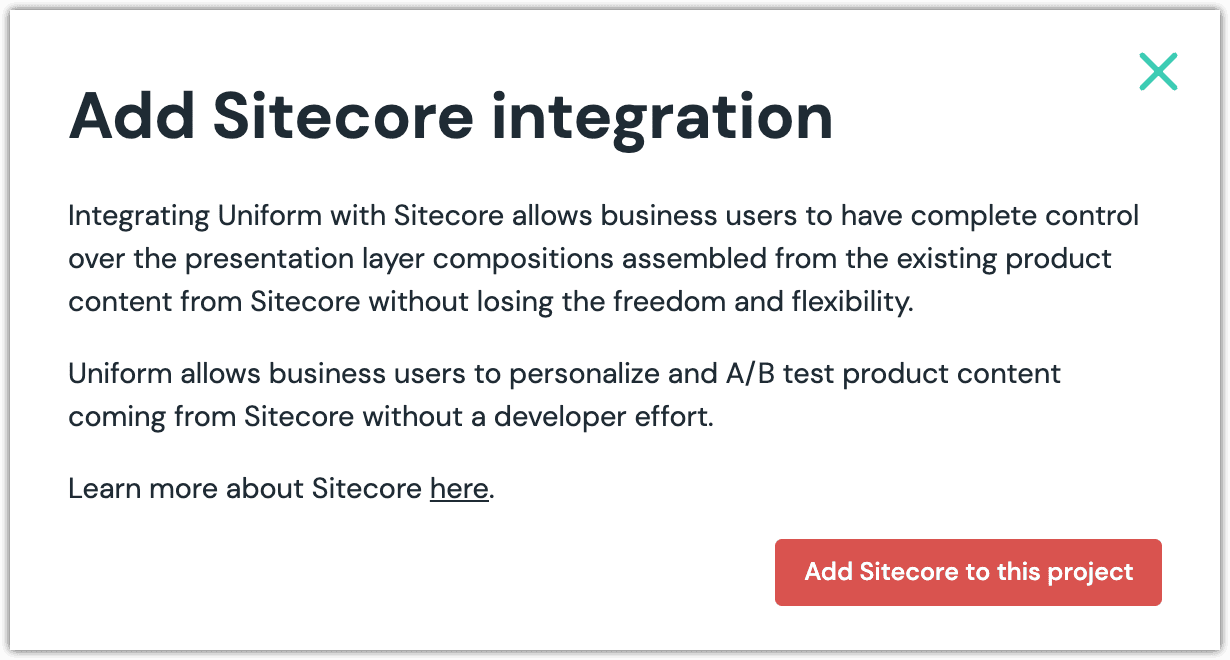
Add integration#
In Uniform, open your project.
Navigate to the Integrations tab.
Scroll to the section Browse Integrations.
Click Sitecore.
Click Add to project.
Enter the required values.
Enter the required fields.
Field Description URL of your Sitecore instance The URL to the root of the Sitecore instance. This must start with https://(unless your Sitecore instance is running onhttp://localhost).Sitecore API key Your Sitecore API key (or Uniform.Api.Token if you are using Sitecore 8.2). Site configuration name Your Sitecore site name. This is the name of the sitedefined in a Sitecore config file. (This value isn't case-sensitive.)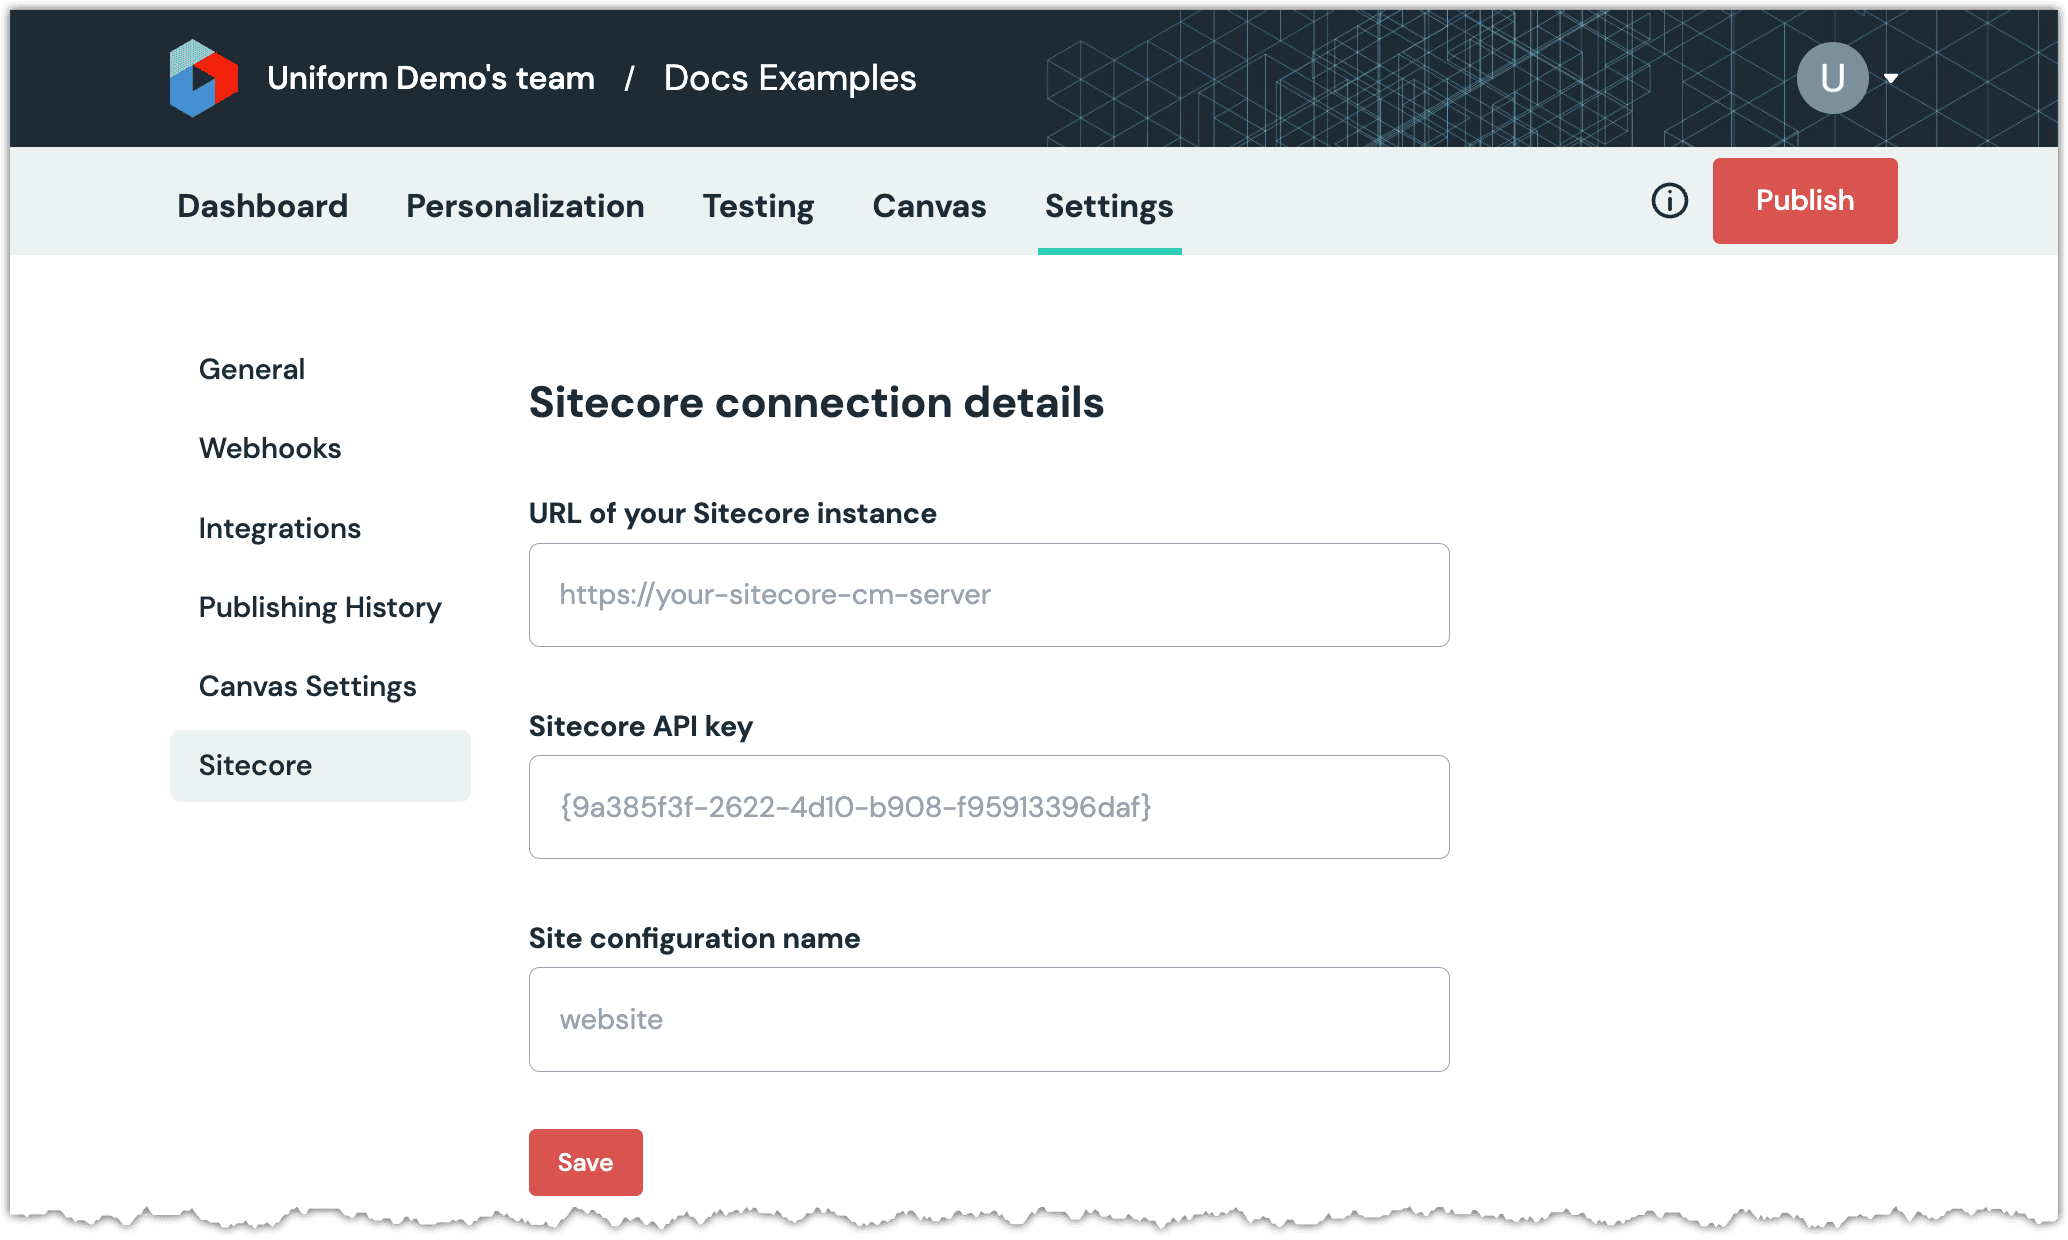
Click Save.
Next steps
Explore the new parameter types that are available when you configure components using Uniform Canvas.