Build status
If you are deploying a web application that uses Uniform capabilities to Netlify, it can be helpful to have easy access to the build status for your Netlify site. The Netlify integration for Uniform enables this.
Create Netlify access token#
In order for Uniform to be able to display build status details, it must be able to make API calls to Netlify. This requires Uniform have an access token.
In Netlify, navigate to personal access tokens.
Click New access token.
Enter a description and click Generate token.
The access token is displayed. Note this value. You will need it when you add the Netlify integration to your Uniform project.
Next steps
Now you can add the Netlify integration to your Uniform project.
Add Uniform integration#
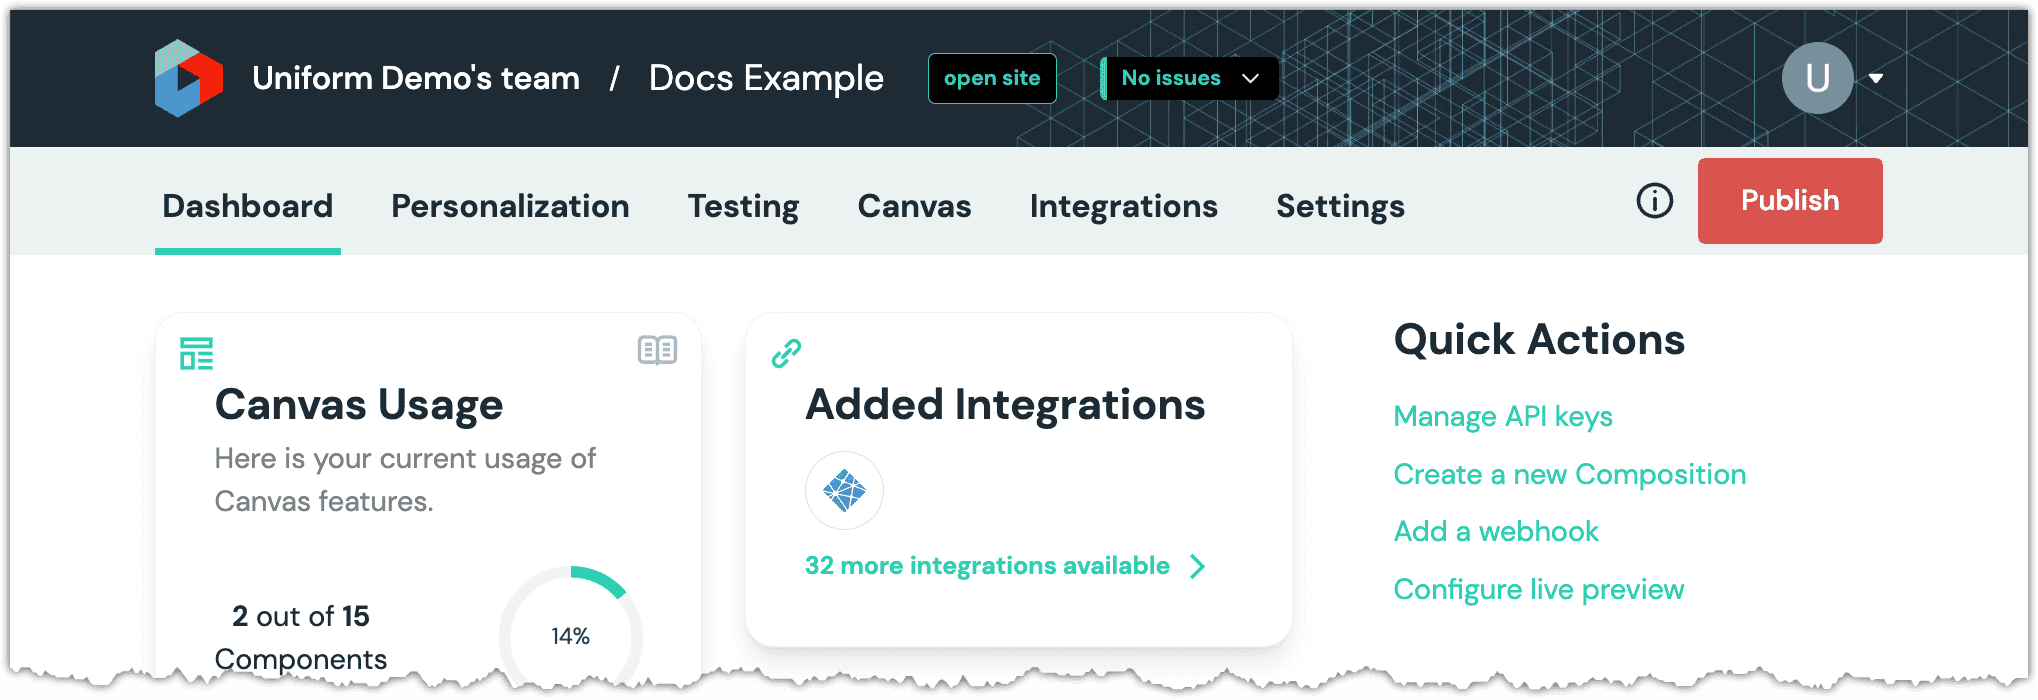
In Uniform, open your project.
Navigate to Settings > Integrations.

Click Netlify.
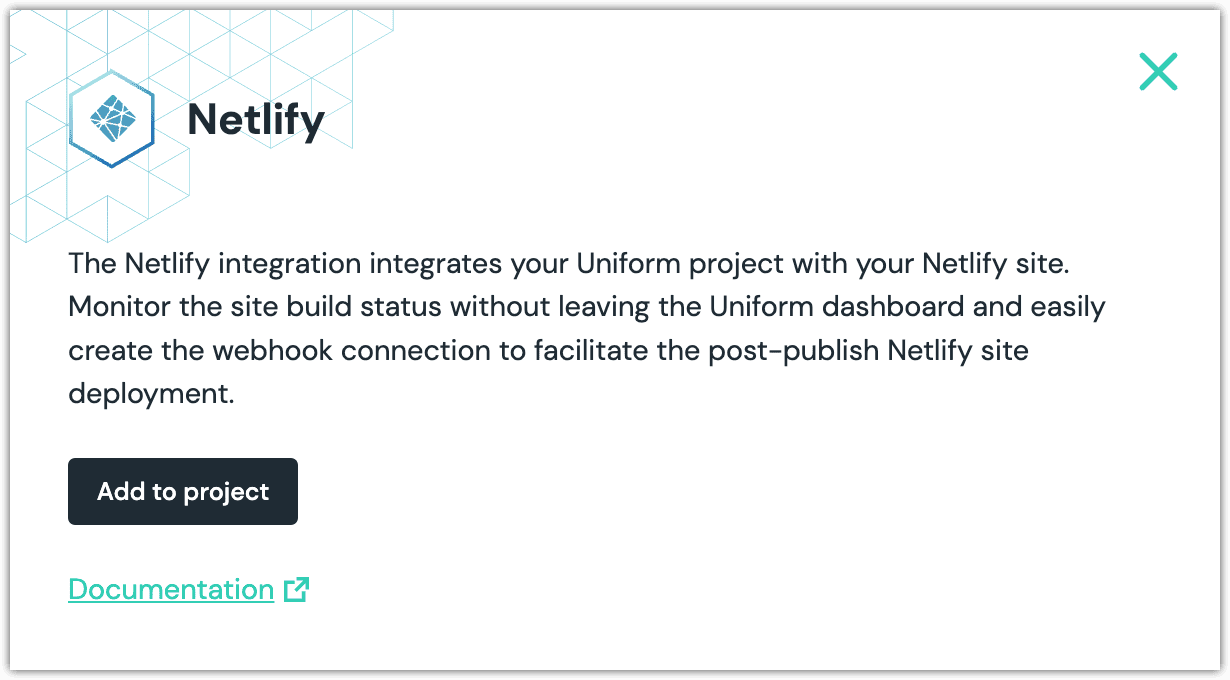
Click Add to project.
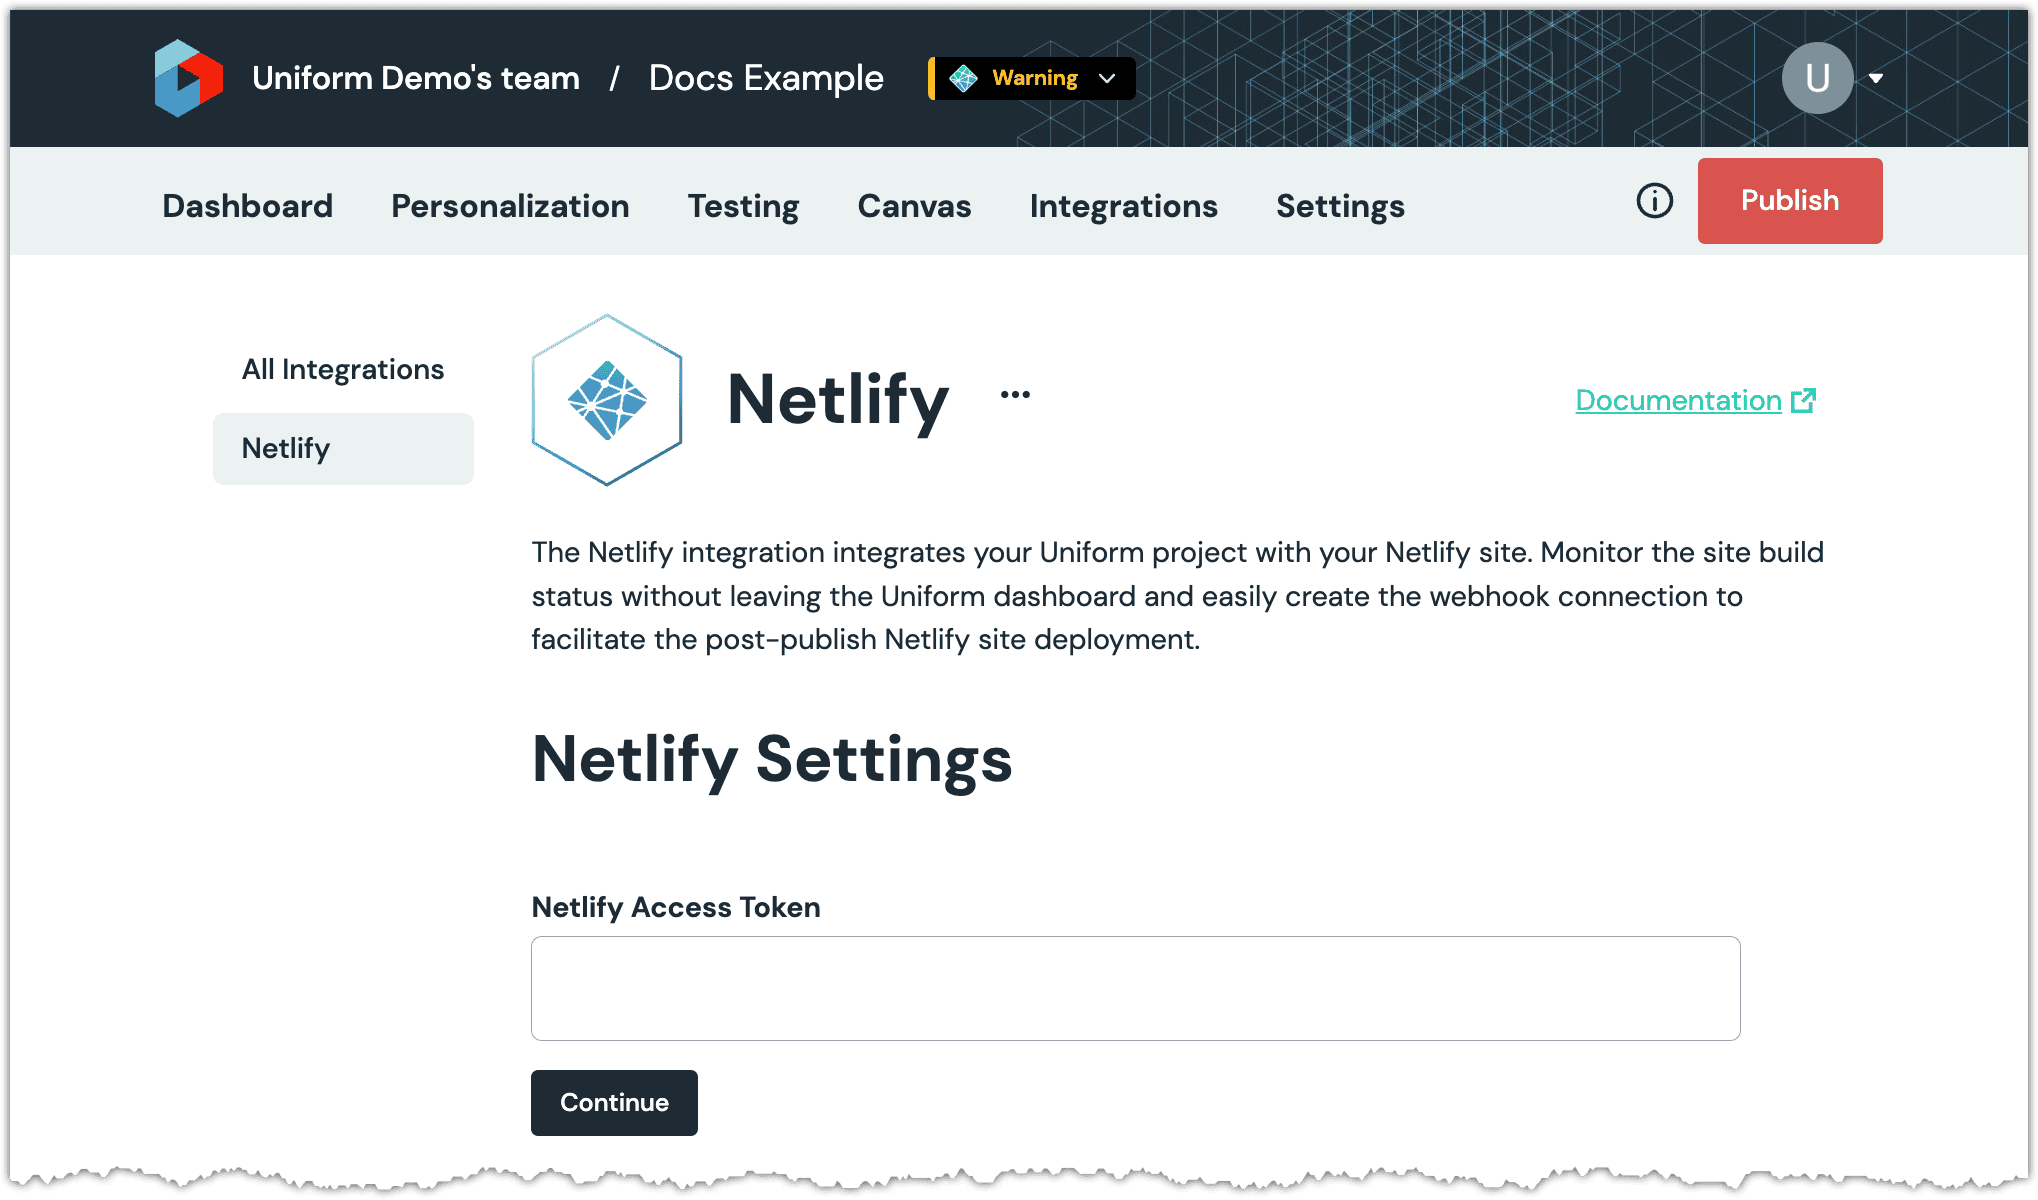
Enter the access token you created in the previous section.
Click Continue.
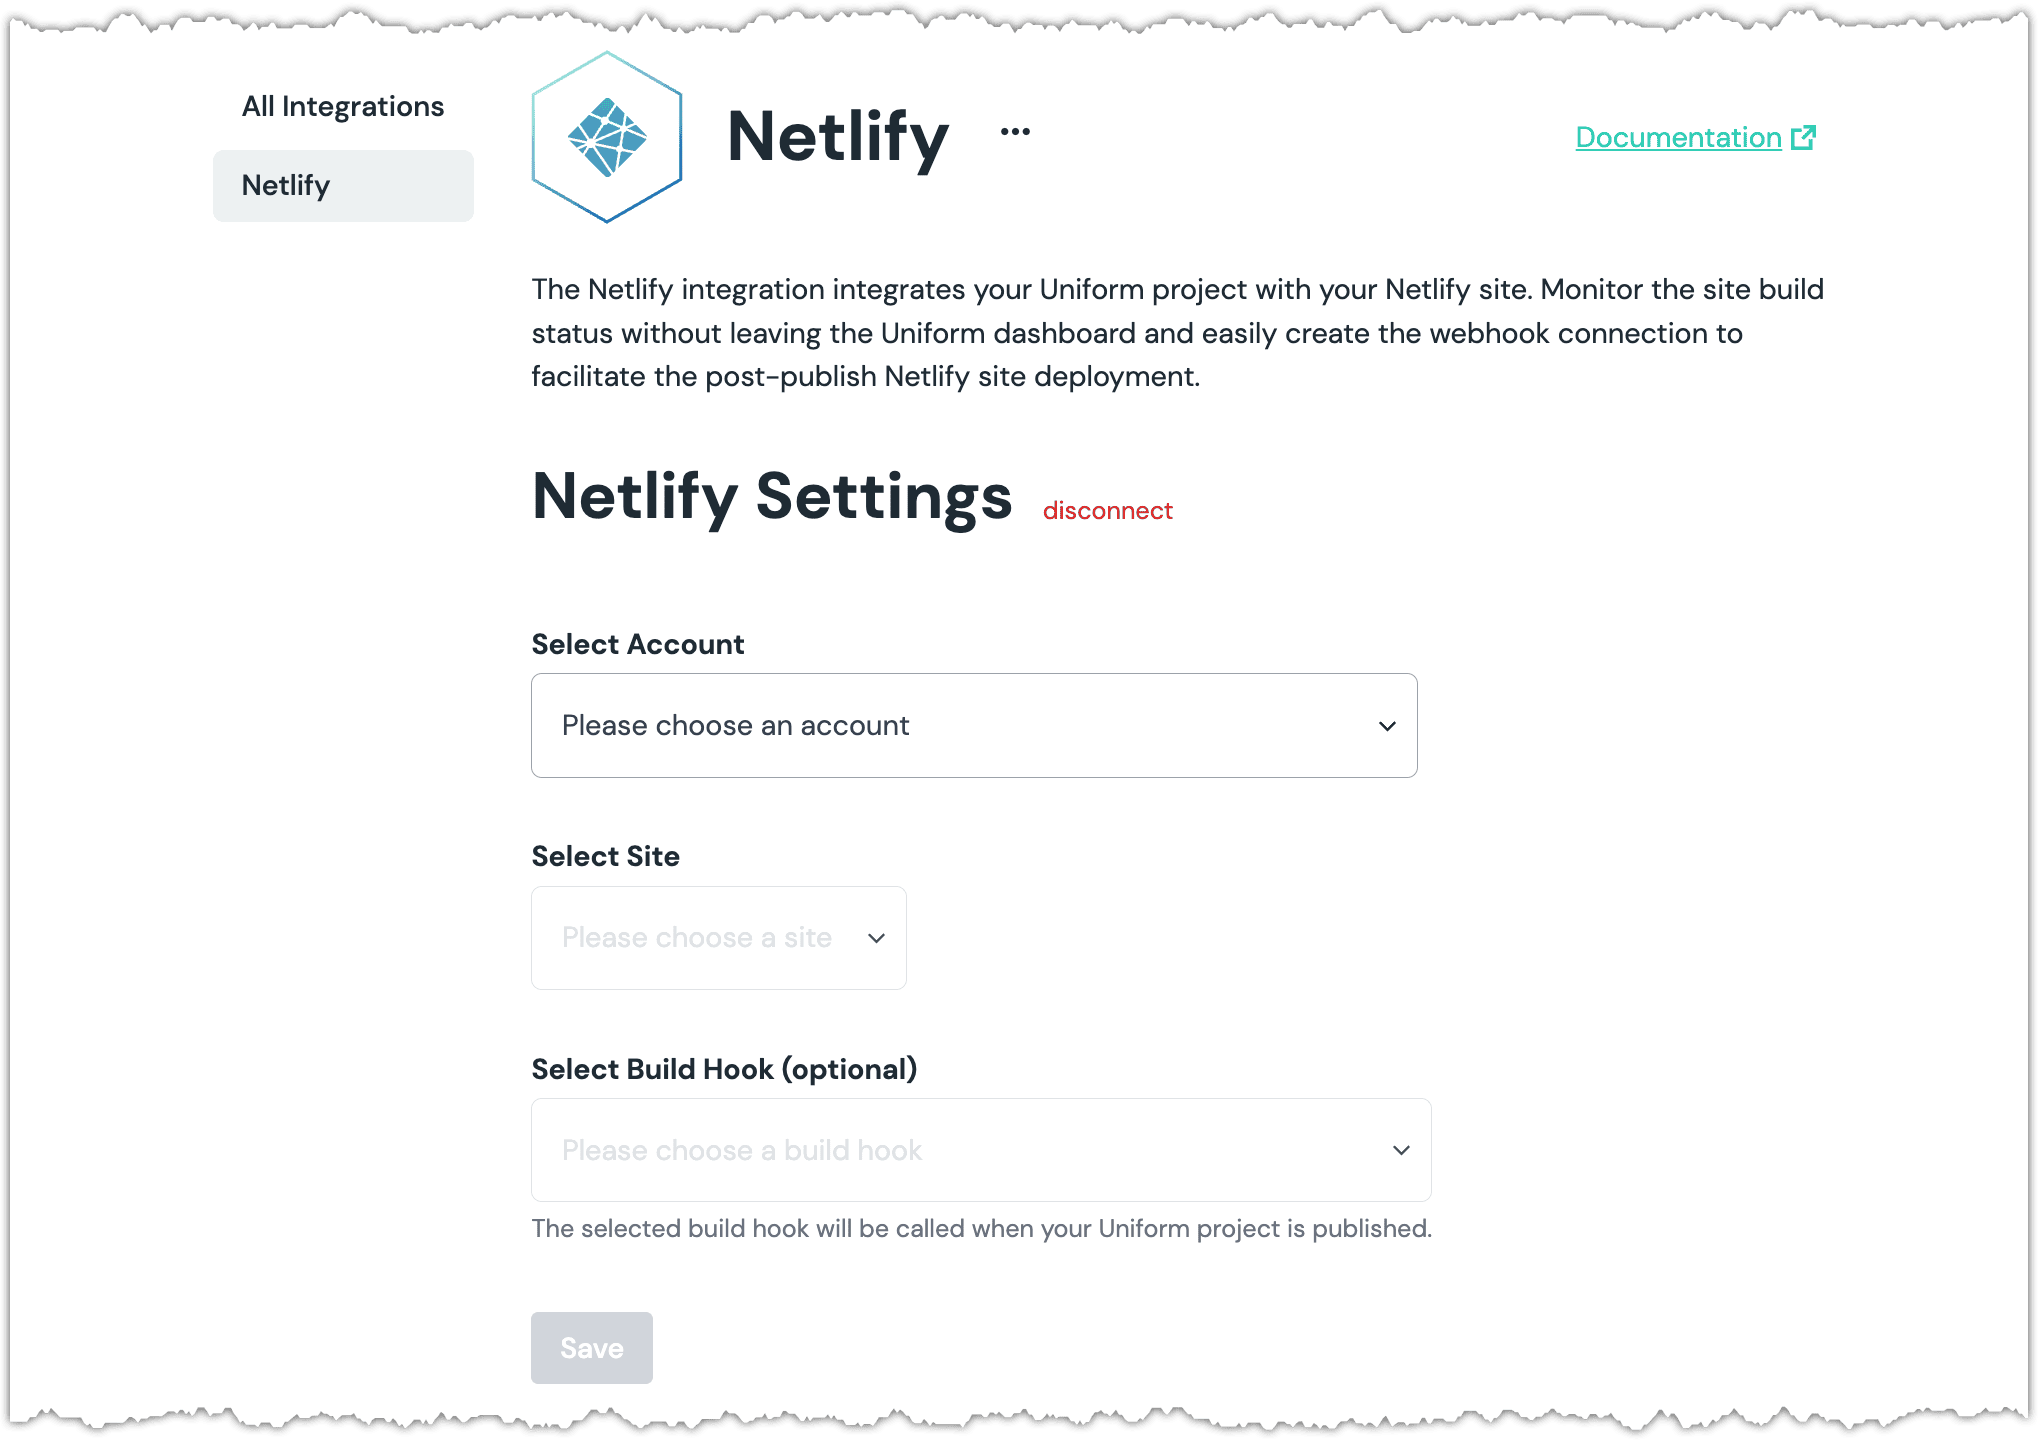
Select the account and site whose build status you want to monitor.
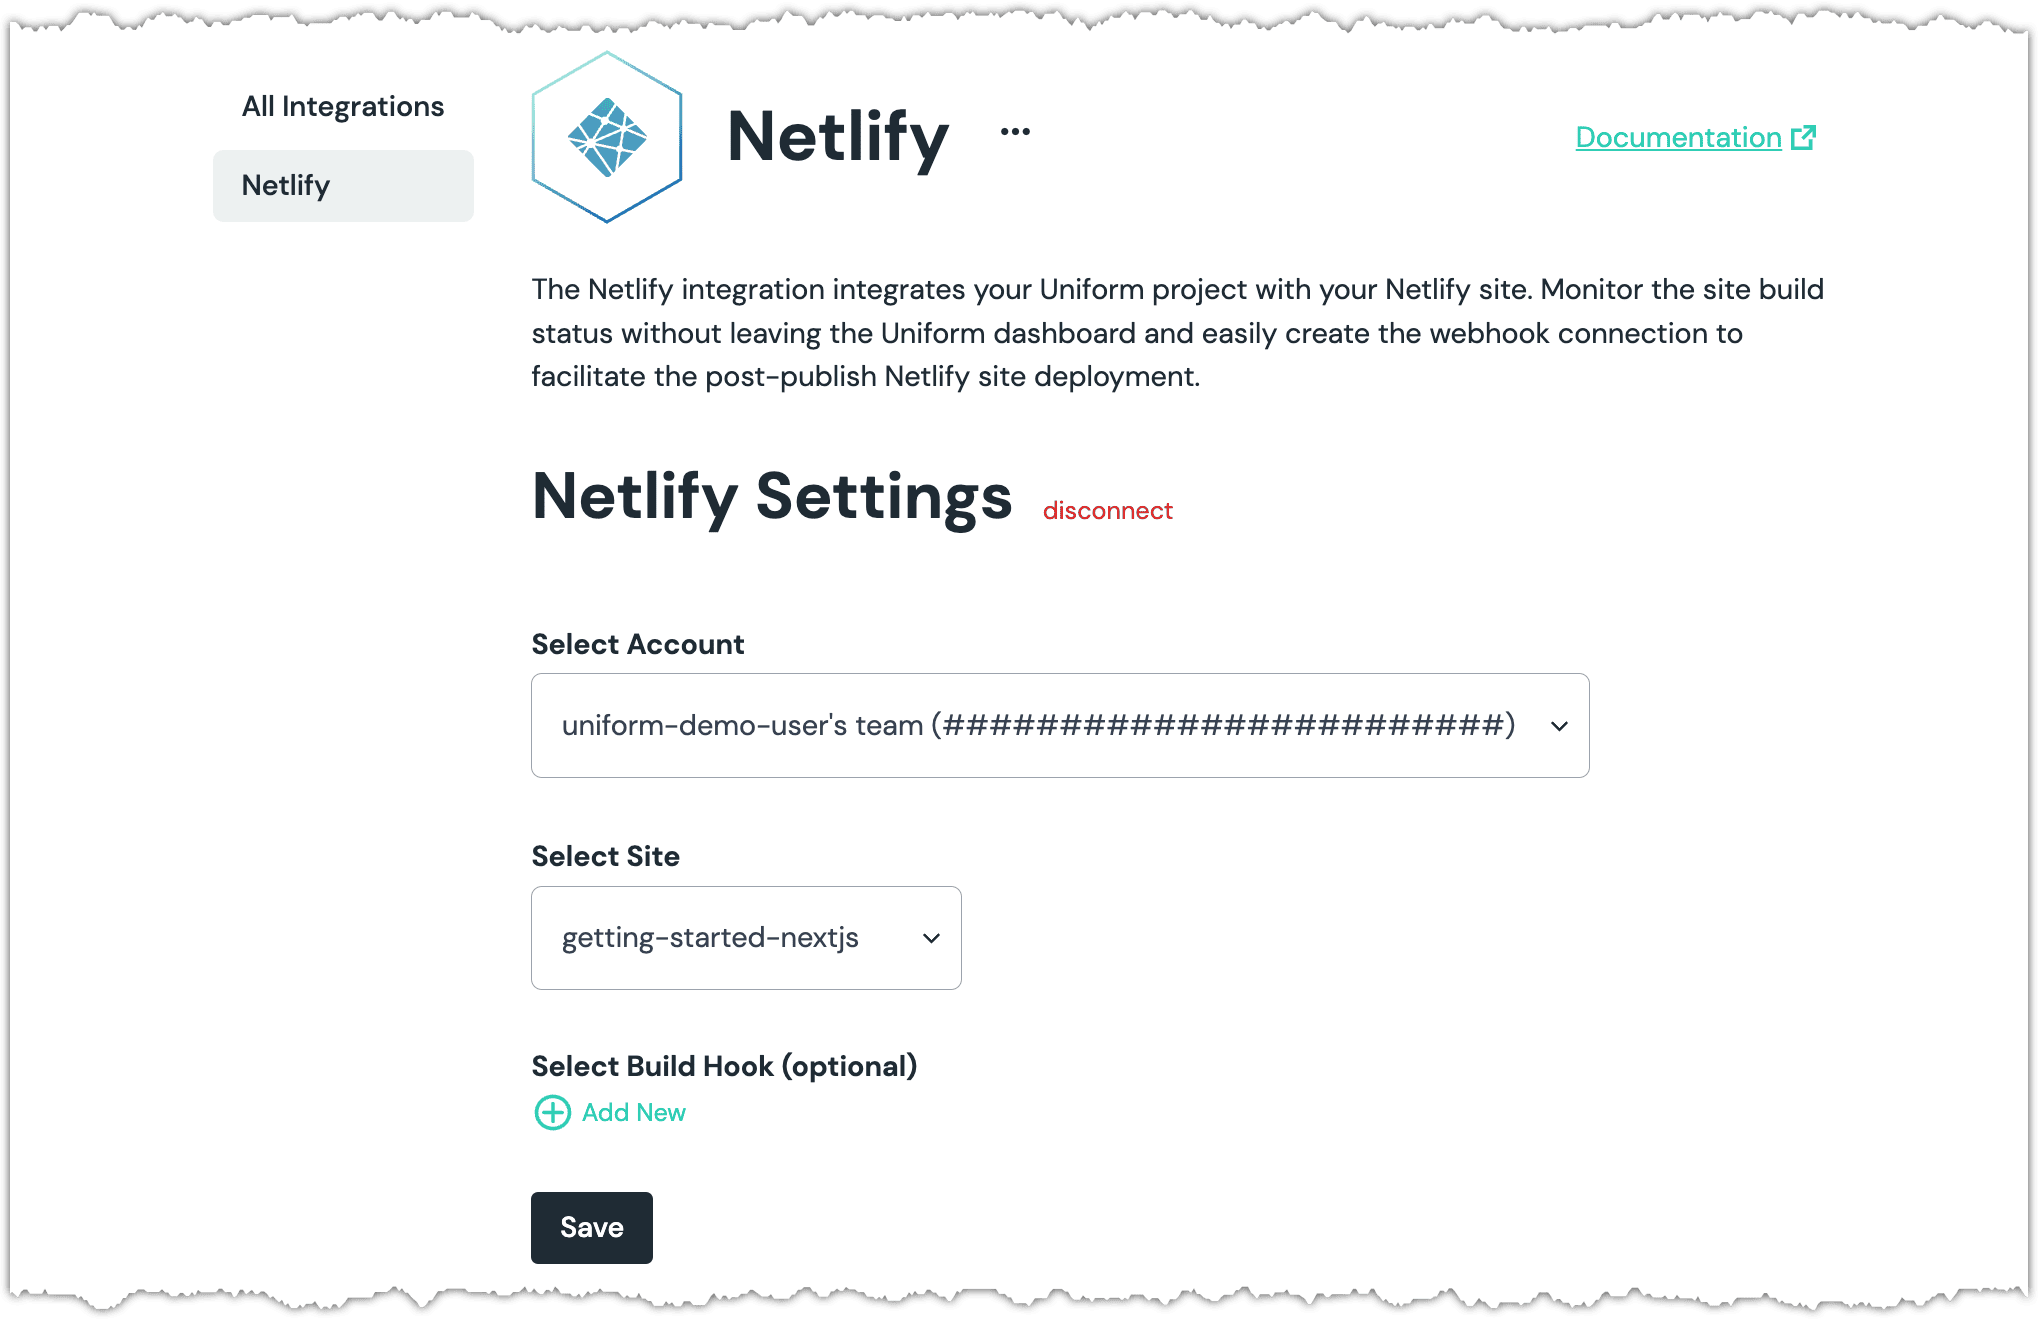
Click Save.
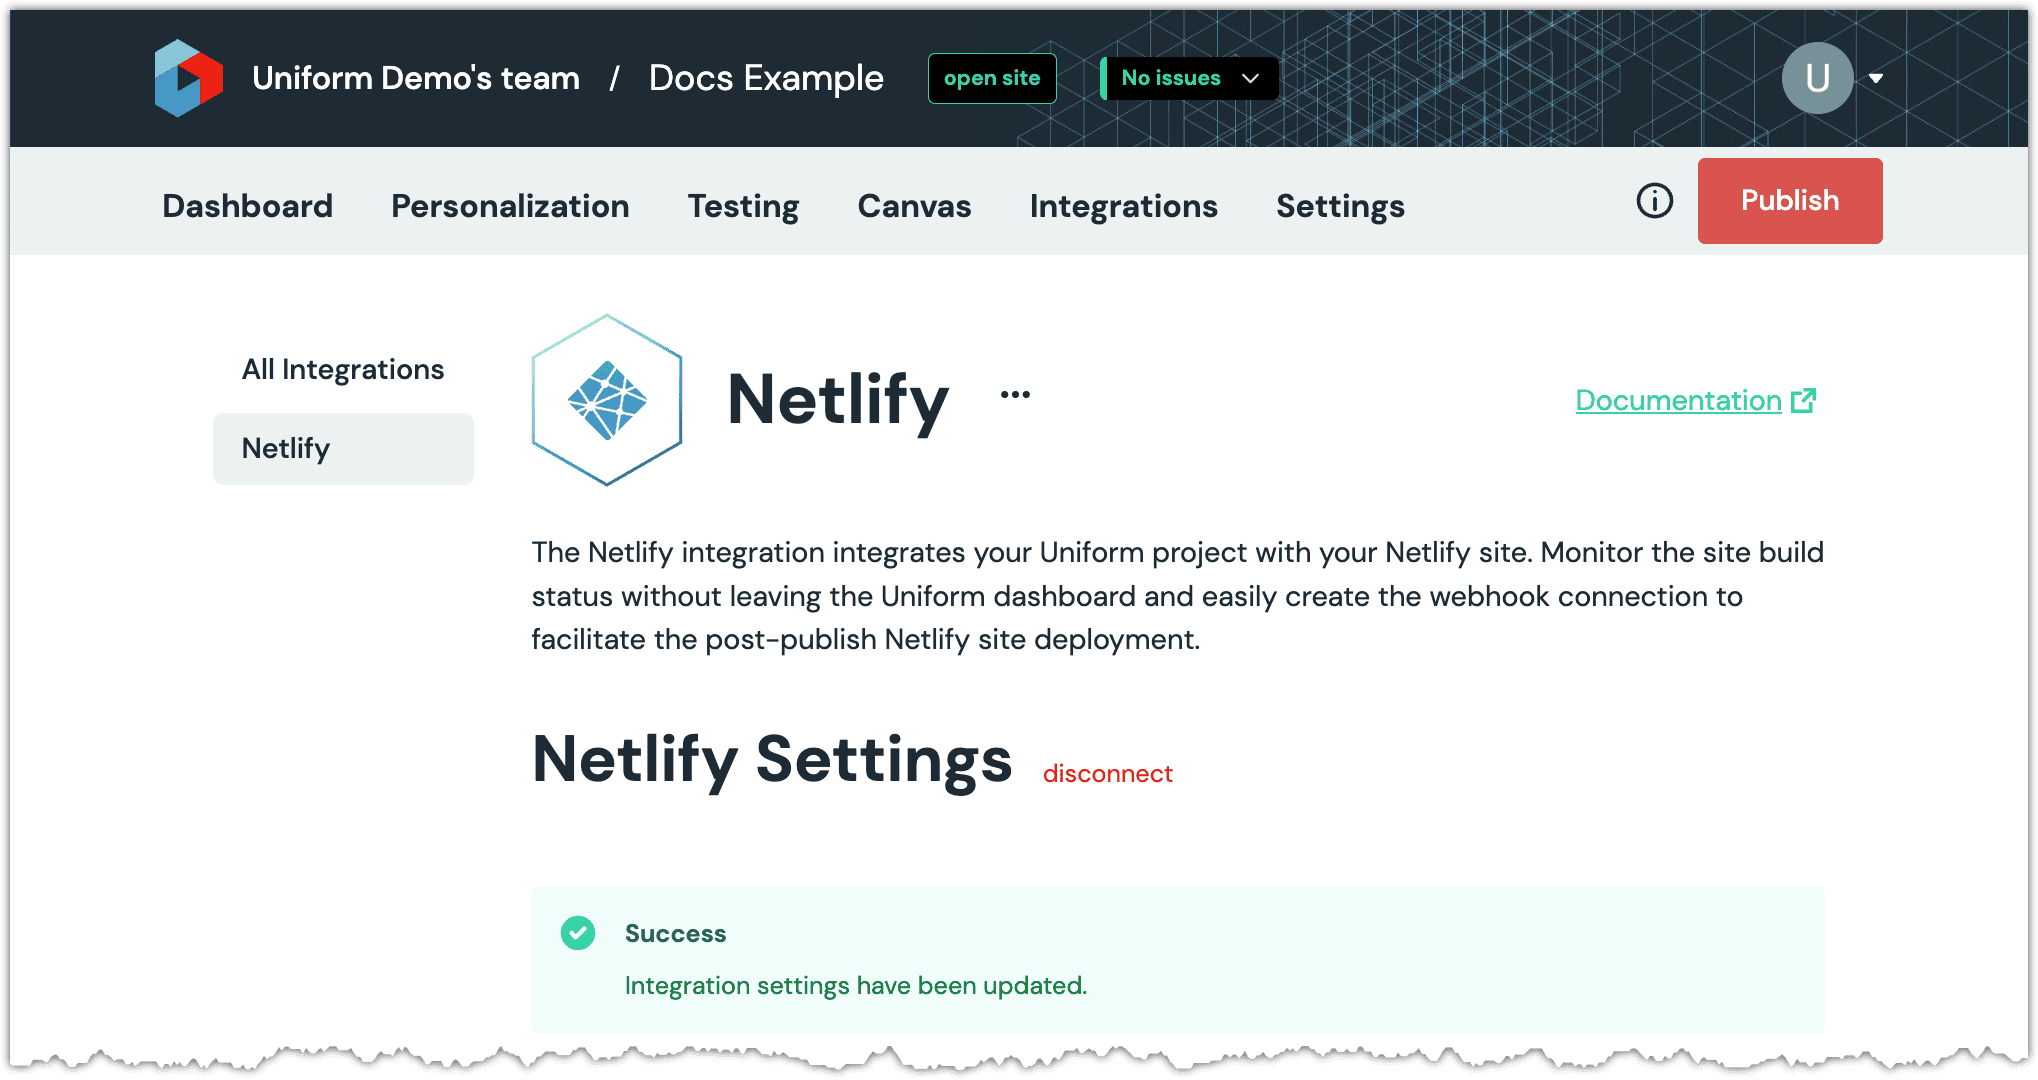
About this step
Now you will see the build status for your Netlify site at the top of the Uniform dashboard.
Navigate to Personalization > Quirks.

About this step
You will see a list of quirks that were added by the Netlify integration. These quirks can be used if you implement edge-side personalization using Netlify edge functions.
Next steps
If you have a personalized web application you are deploying to Netlify, take a look at how you can use Netlify edge functions to power edge-side personalization.