Uniform projects
A project is a collection of configurations to drive an experience. In Uniform, most of the settings that control classification, personalization and layout for your web application are set and stored in a project. To configure these things, you need a project.
About projects#
When logging into the Uniform app, you will be taken to the team dashboard, where you can see the list of projects you can access.
If you are member of multiple teams, you can switch between teams using the team switcher in the header.
Project dashboard#
Your project dashboard brings together everything you need to manage your content effectively. Find recent work faster, access key project areas with one click, and stay on top of releases and product updates—all from a single, organized view:
- Quick content access - Navigate instantly to compositions, entries, and assets with dedicated buttons
- My recents - View your recently modified items with timestamps to pick up where you left off
- Embedded project map - Access your project structure directly from the dashboard
- Release planning - See upcoming releases with dates and item counts
- Quick create shortcuts - Create compositions, components, signals, tests, and read-only API keys with one click
- Product updates - Stay informed with the latest Uniform releases and access the changelog
Manage projects#
Create a project#
- In Uniform, go to the dashboard of the team you want to add the project to.
About this step
You can get to the teams page by clicking the Uniform logo in the upper right-hand corner of the Uniform header.
- Click Add new project.
- Enter the following values:
Field Value Give your project a name The name this will be used to identify your project in Uniform. Choose project type The available project types depend on your Uniform license. - Click Continue.
Delete project#
Backup your project first
Before deleting a project, make sure you have a backup of your project. You can backup your project by using the Uniform CLI.
In Uniform, navigate to Settings > General.
Click the Delete project button. You will be presented with a confirmation message where you need to enter a deletion code to ensure you want to complete the action.
This is a breaking change
By deleting a project all content and settings will be permanently deleted.
Any code relying on this project or its project ID will break and users with permissions to this project will lose access.
Project settings#
Using the Settings item in the main navigation menu you can access the following project settings:
General
Change the project name and type.
Preview
Manage preview settings for your project.
Localization
Manage locales and locale groups.
Project map
Manage project map settings.
Integrations
Install and manage integrations
Webhooks
Create and manage webhooks
Workflows
Create and manage workflows
Prompts
Legacy feature - Create and manage AI prompts
Publishing history
View the publishing history of your project.
General settings#
- Update project name: Change how your project is identified in Uniform. This name is used in the project switcher in the global header and in the project dashboard.
- Access project ID: Retrieve the unique identifier for your project, useful for developer tasks or when communicating with Uniform support.
- Change project type: Change the project type to manage entitlements to and usage limits for your project.
Change project type#
The project type determines the Uniform features your project can use. This value is set when the project is created. You can change it at any time.
info
Which project type you have access to will be based on your team's subscription.
If you have any questions about the project types available to you, please contact us.
Project types will be based on different pricing tiers and wether they are Production or Non-production projects:
- Production: Production projects are used for live environments.
- Non-production: Non-production projects are used for development and testing environments.
note
Changing the project type won't delete any data. If you exceed the new project limits, you can't publish changes until you're back under the limit.
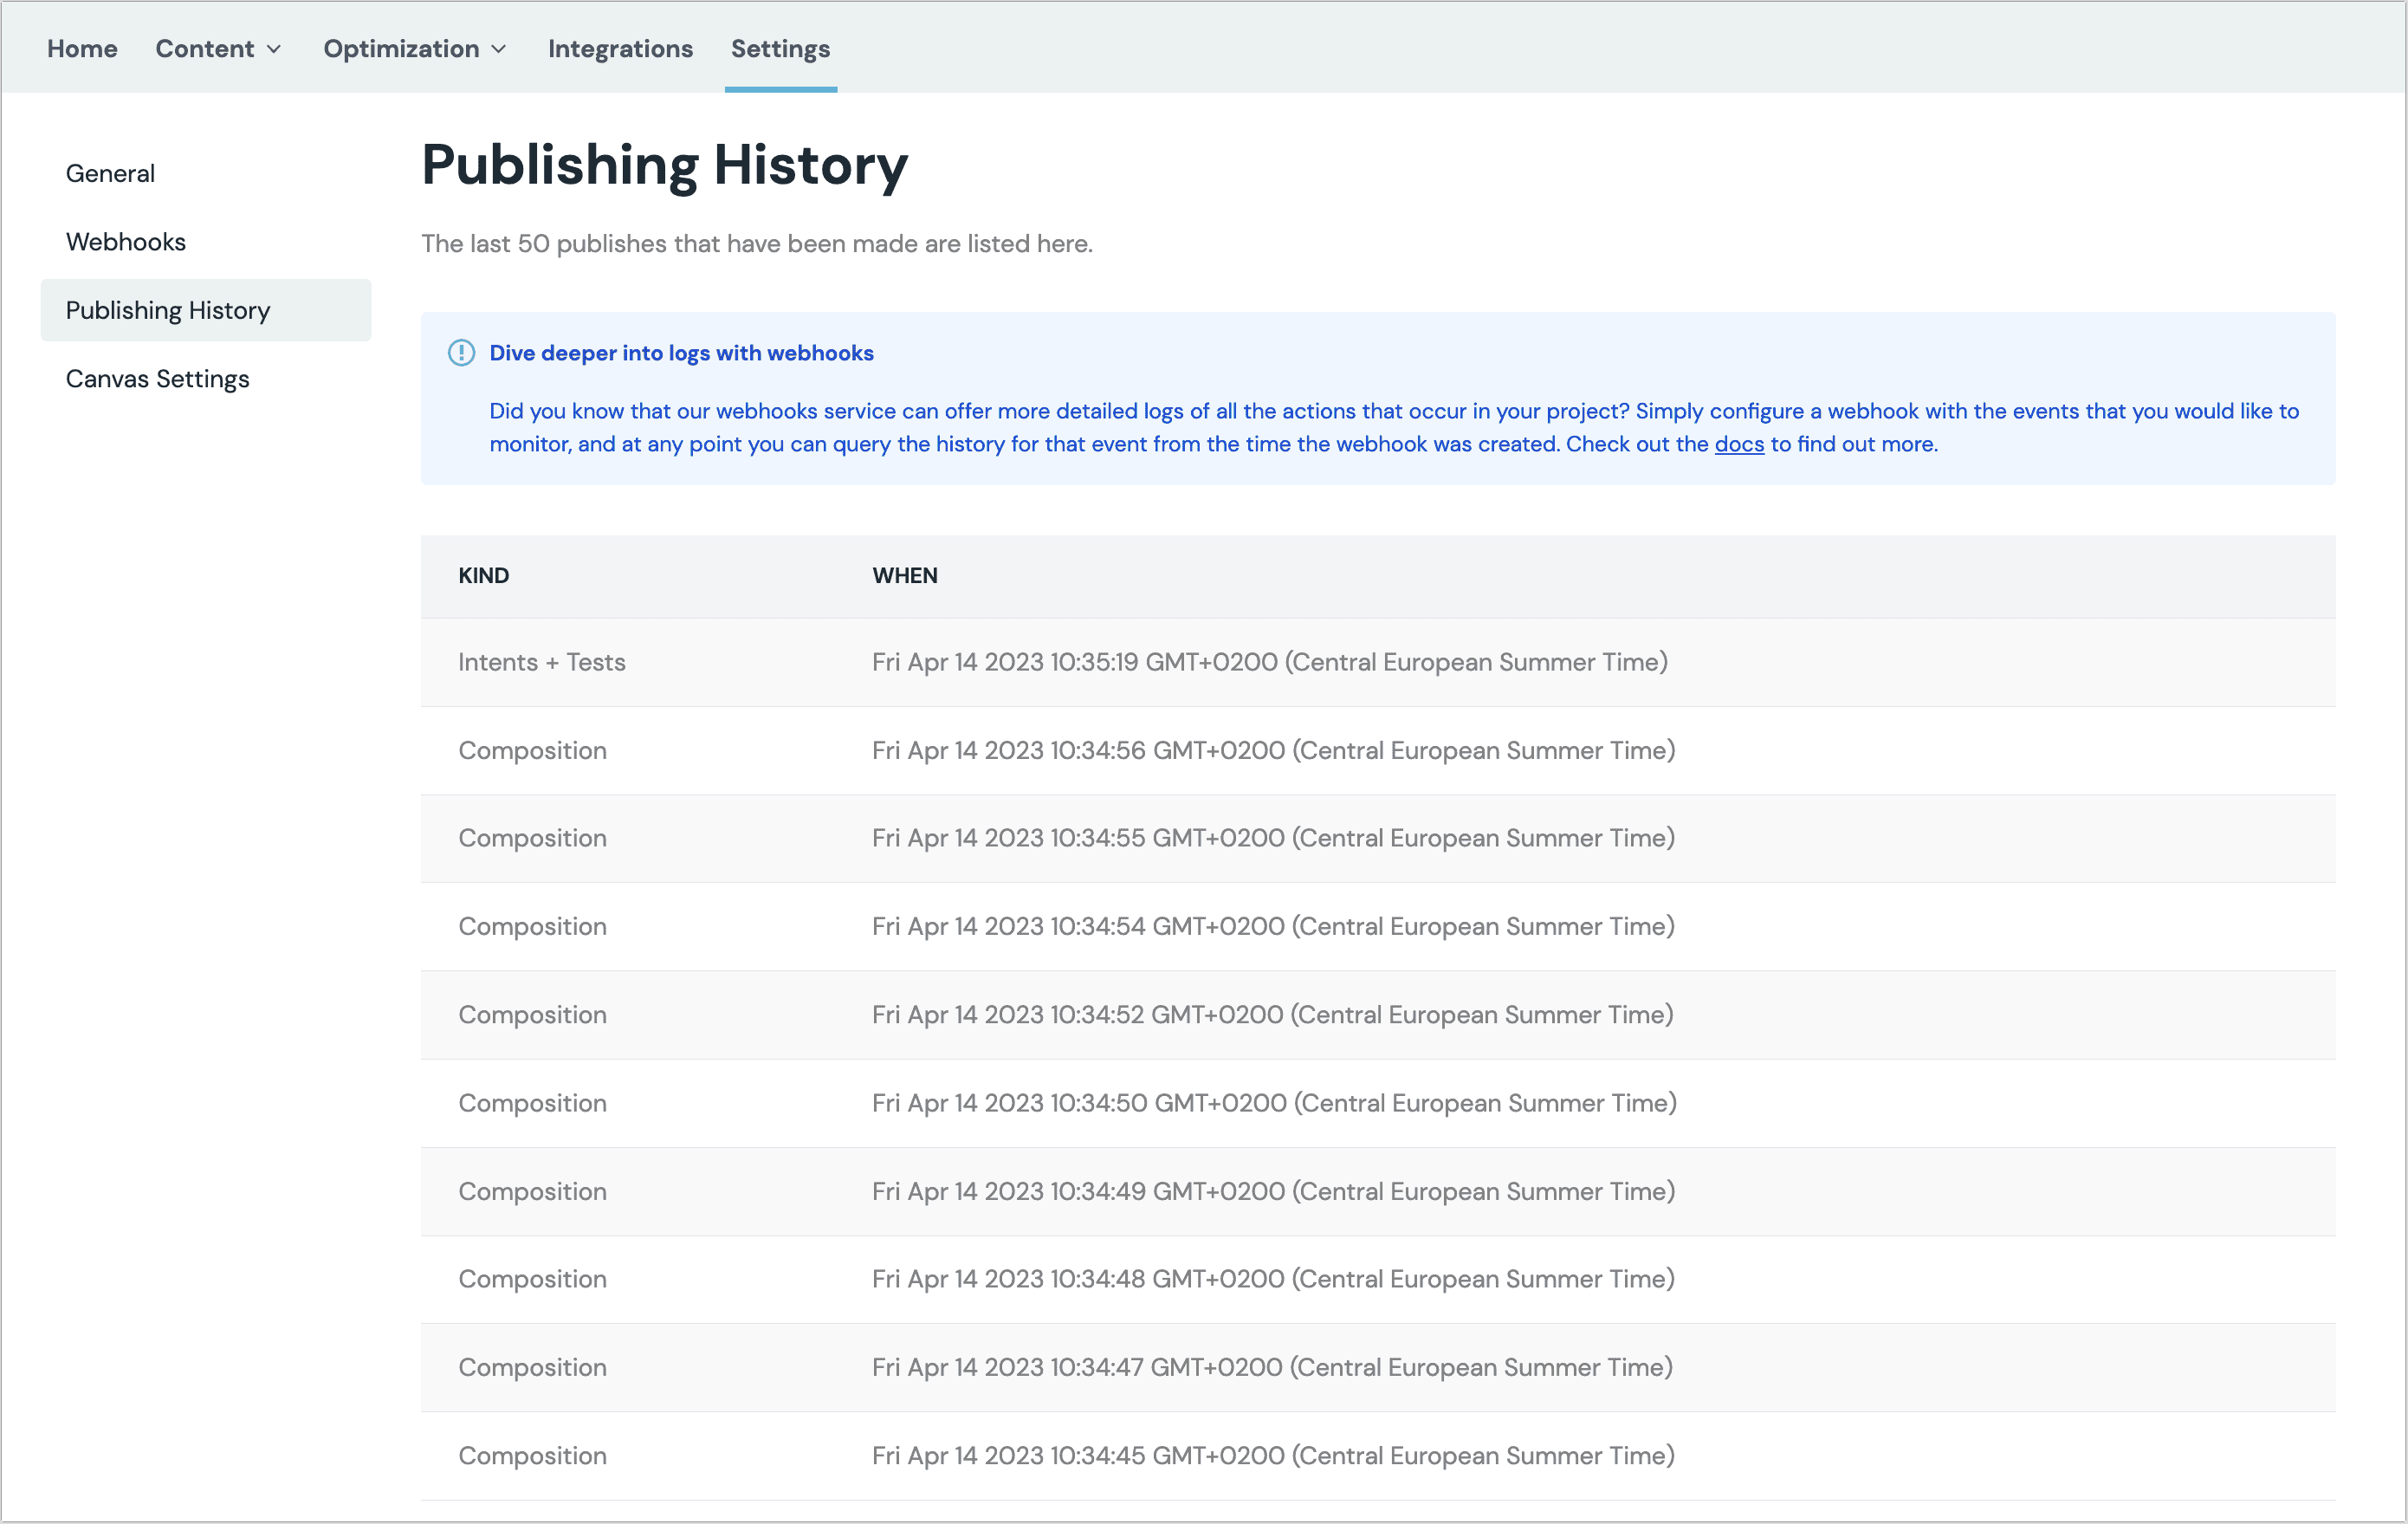
Publishing history#
Dive deeper into logs with webhooks
Did you know that our webhooks can offer more detailed logs of all the actions that occur in your project? Simply configure a webhook with the events that you would like to monitor, and at any point you can query the history for that event from the time the webhook was created.
The publishing history provides access to details about the most recent 50 times the publishing process was triggered. The following information is available:
- What entity type was published
- When it was published
To see the publishing history:
- In Uniform, open your project.
- Navigate to the Settings tab.
- In the left menu, click Publishing History.