Canvas personalization
Uniform personalization is built directly into the composition process. You can add, change and remove personalization in a composition from within Canvas. Once configured, no developer is required.
note
See personalization for background information, what personalization is, and examples of how it is used.
Enable personalization on slot#
tip
Before you can assign personalization criteria to a component, you must have classification configured and a component defined. For information on how to configure classification, see the classification guide. For information on how to define a component, see the components guide.
In Uniform, edit a component with the slot that you want to add personalized components to.
Click Edit Component.
Navigate to the slot.
In the section Allowed Components, select the component Personalization.
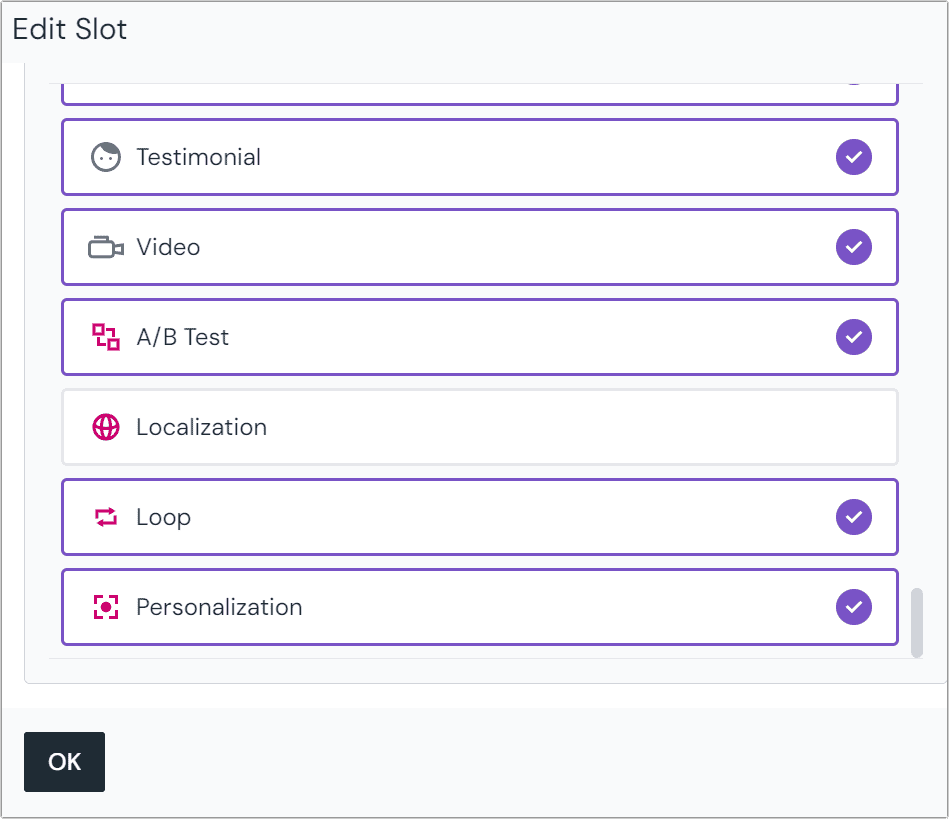 This configuration allows testimonials components to be personalized in the slot.
About this step
You must have other components selected on the slot. Those will be the component types that can be personalized in this slot.
Click OK.
Save the component.
tip
Next you must update your composition to use personalized components.
Personalize components#
In Uniform, open a composition that has a component you have enabled personalization for.
Click the component.
Click the button Personalize This.
About this step
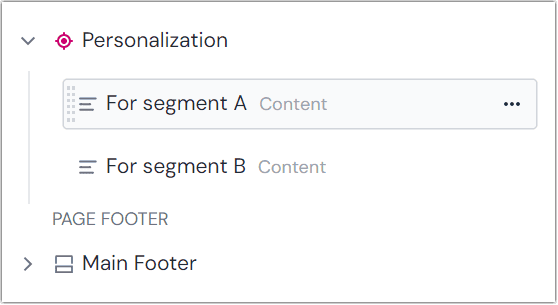
A new component Personalization is added to the slot, and the component is moved into that component. In this way personalization works the same as testing and localization.
Select the new component Personalization.
Enter the following values:
Field Description Notes Analytics tracking name Uniform tracks personalization activity and allows you to pass that activity to external analytics systems. The value you enter here acts as a label for the activity that's captured so you can identify which instance of personalization was triggered. Selection method The selection method to use for personalization. Default is Top-down criteria matching Number of variations to show Each component has its own personalization criteria assigned. It's possible that more than one component has criteria that match the visitor. This value allows you to control the maximum number of matching components that are displayed. If no value is specified, 1 variation is displayed. Matches are used in the order they're evaluated. In other words, Uniform doesn't attempt to determine which criteria is the best match. Save the composition.
To assign personalization criteria to the original component, select the component.
About this step
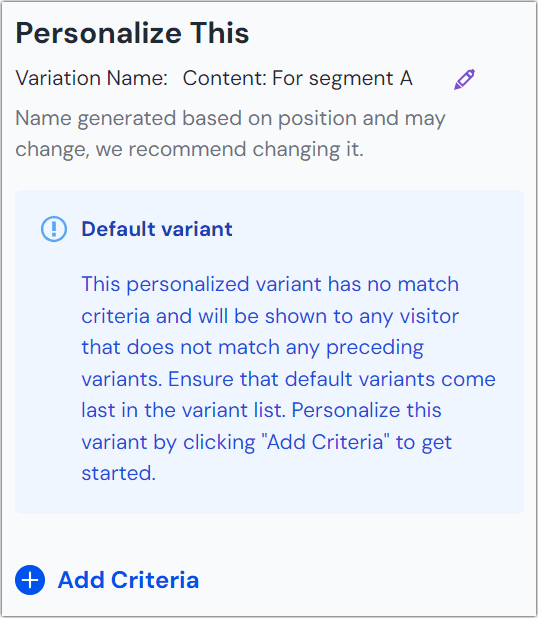
The original component is now the default component because it doesn't have any personalization criteria assigned to it. This means this component will be used if no other component has personalization criteria that matches the visitor.
You can leave it as the default component and add another component under the Personalization component and assign personalization criteria to it.
Set a value for the field Variation Name.
About this step
This value is the companion value to the Analytics tracking name parameter on the Personalization component. When personalization is triggered, that event is captured. The name of the event is the Analytics tracking name. The value for the event is the Variation Name.
If your component has its Title Parameter set, that value will be default variation name. However, if you don't have a Title Parameter set on the component, Uniform will generate a variation name for you. This isn't a user-friendly name - e.g.
pz-01-event- so you to change it.Click + Add Criteria.
About this step
How criteria are defined depends on the selection method you've chosen. In this example, we are using Top-down criteria matching.

You must configure 3 values:
Dimension Available dimensions depend on classification is configured. Operator This determines how Uniform compares the value you specify to the visitor's profile. For more information on operators, see the operators reference. Value A numeric value that you want to compare to the value of the dimension in the visitor's profile. Add more components under the component Personalization and assign personalization criteria to each component you add.
About this step
For more information about the format Uniform uses to store personalization criteria, see the personalization reference.
You must publish your composition before the personalization instructions you've configured are available to the front-end.
note
Next steps: Personalization is already integrated into Canvas, so there are no front-end code changes you need to make. After you publish your composition, personalization should be activated.
This personalization happens on the client. You can run personalization instructions in other places, including on a CDN. For more information on how to get personalization instructions to execute in other environments, see the personalization activation guide.