Build landing page
This tutorial requires a Uniform sandbox with the JavaDrip project. If you need access to one, contact us.
In addition, a video tutorial is available on our Connect portal.
Marketing teams are always looking for ways to reduce time to market. Often this comes to light when planning to launch a new campaign. Because of the inflexibility and complexity of the brand’s primary digital stack and CMS, this has historically driven many marketing teams to acquire their own martech stack for building landing pages and launch campaigns. While this is a short term fix to the time to launch problem, it creates a longer term set of challenges with silos of content, analytics and customer experiences.
Lets review a day in the life of the JavaDrip marketing team and how Uniform’s Visual Workspace helps reduce time-to-market and improve the self-sufficiency and flexibility of the digital team. JavaDrip is launching their first inhouse branded Coffee Machine, the JavaDrip Specialty. In this tutorial you will play the role of a member of the JavaDrip marketing team who is responsible for building a landing page.
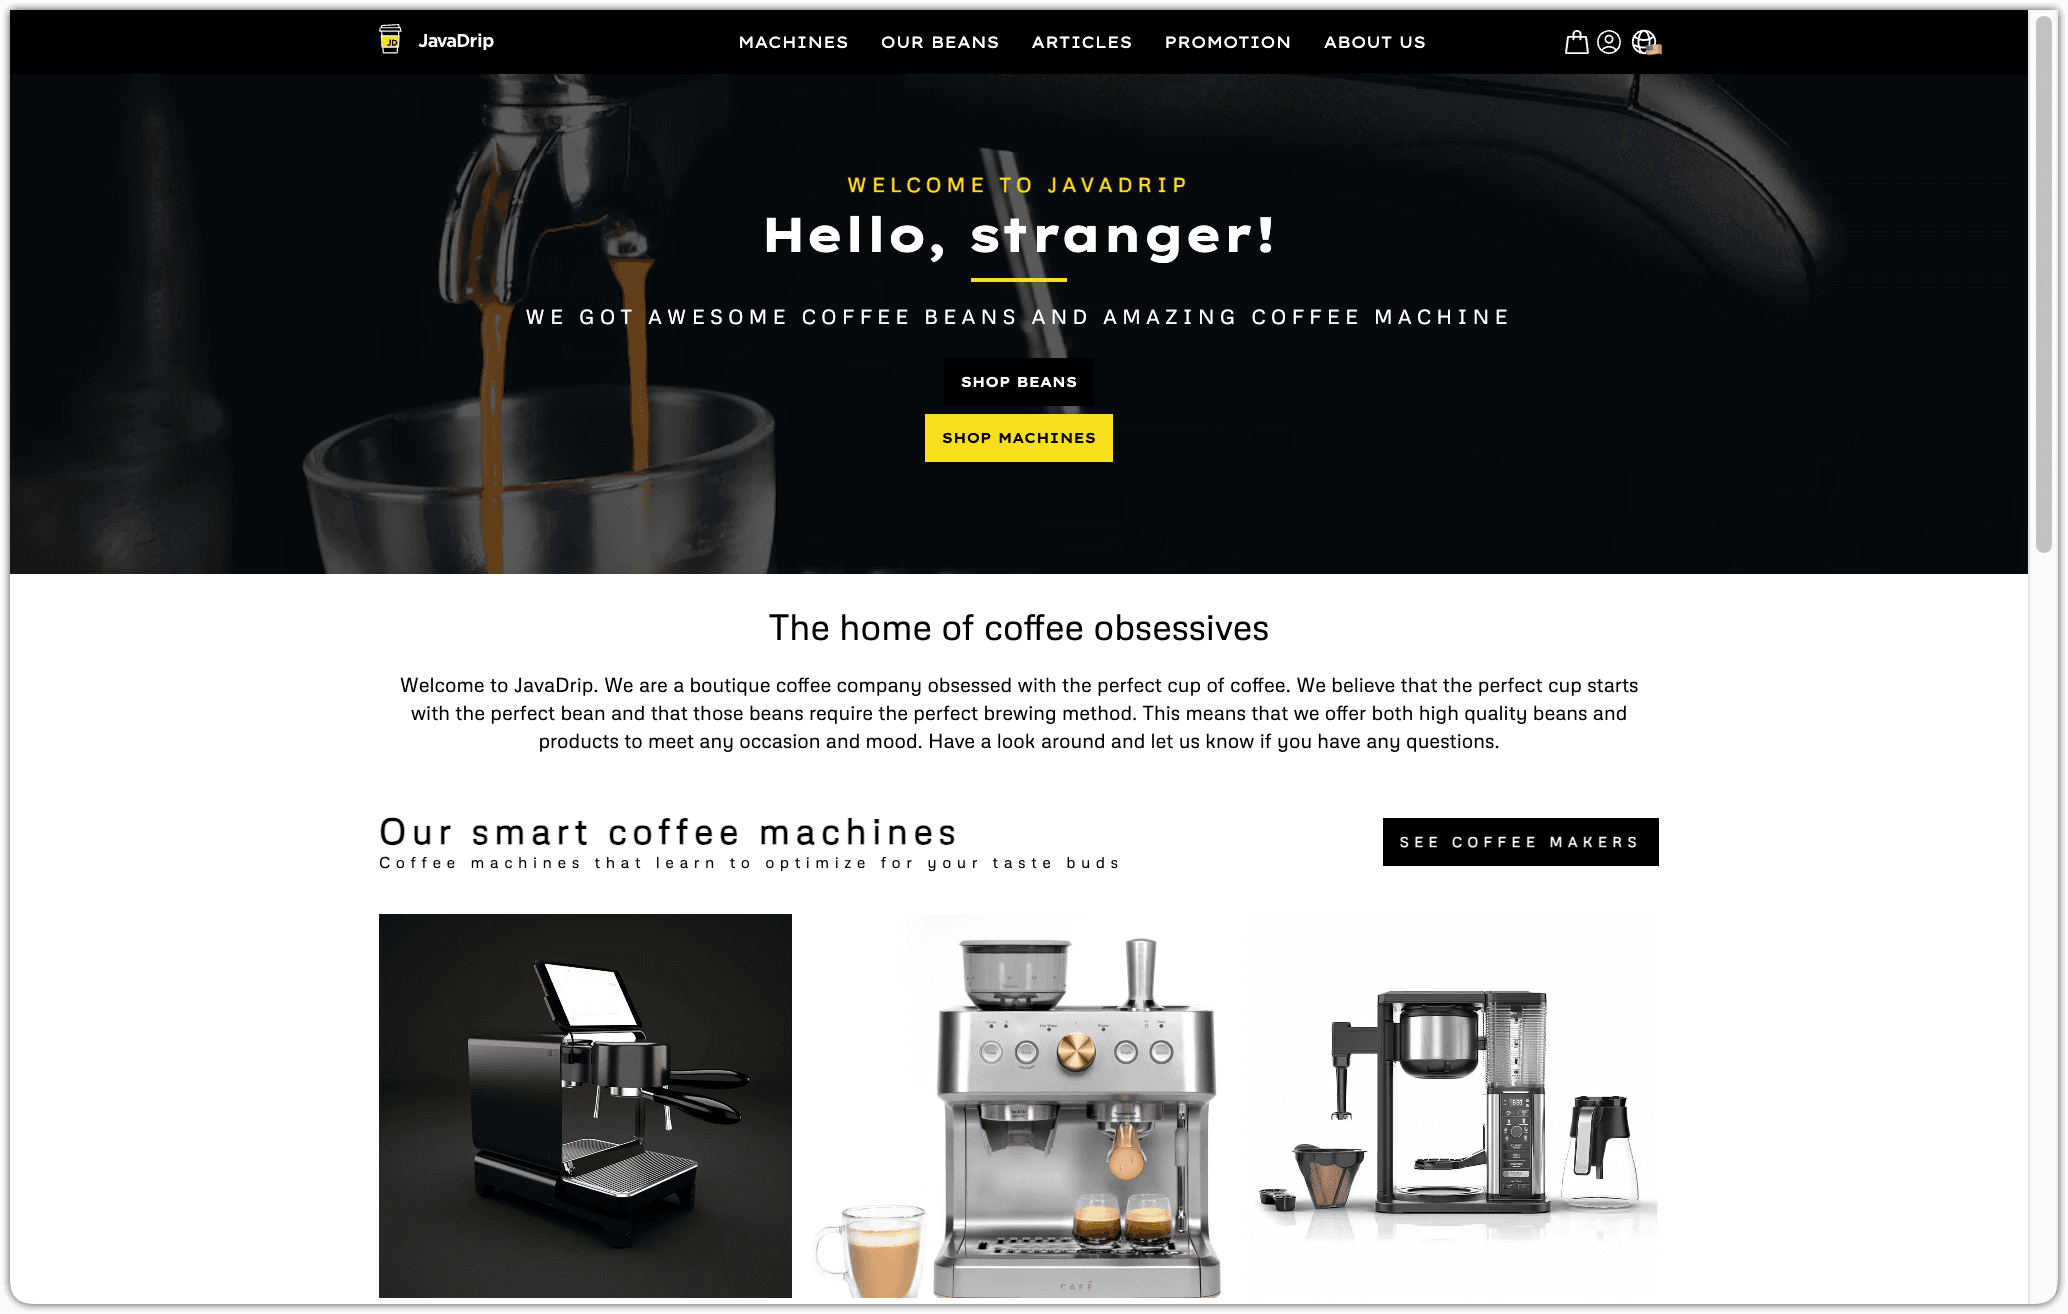
About the JavaDrip website#
The JavaDrip web site is built by the marketing team using component built by the development team. These components are the building blocks the marketers use. Marketers can select the components they want to use, and can specify the content that is displayed in those components.
Build the landing page#
Open the composition#
A composition represents a page in the JavaDrip web site. The Uniform project you use in this tutorial already has the composition created. You will go through the process of updating it to create a more engaging experience for your visitors.
In Uniform, open the project
JavaDrip.Click the composition
JavaDrip Speciality Launch.About this step
This composition should be in the draft state. The changes you make to the composition will not be available on the web site until the composition is published. You will publish the composition later in the tutorial.
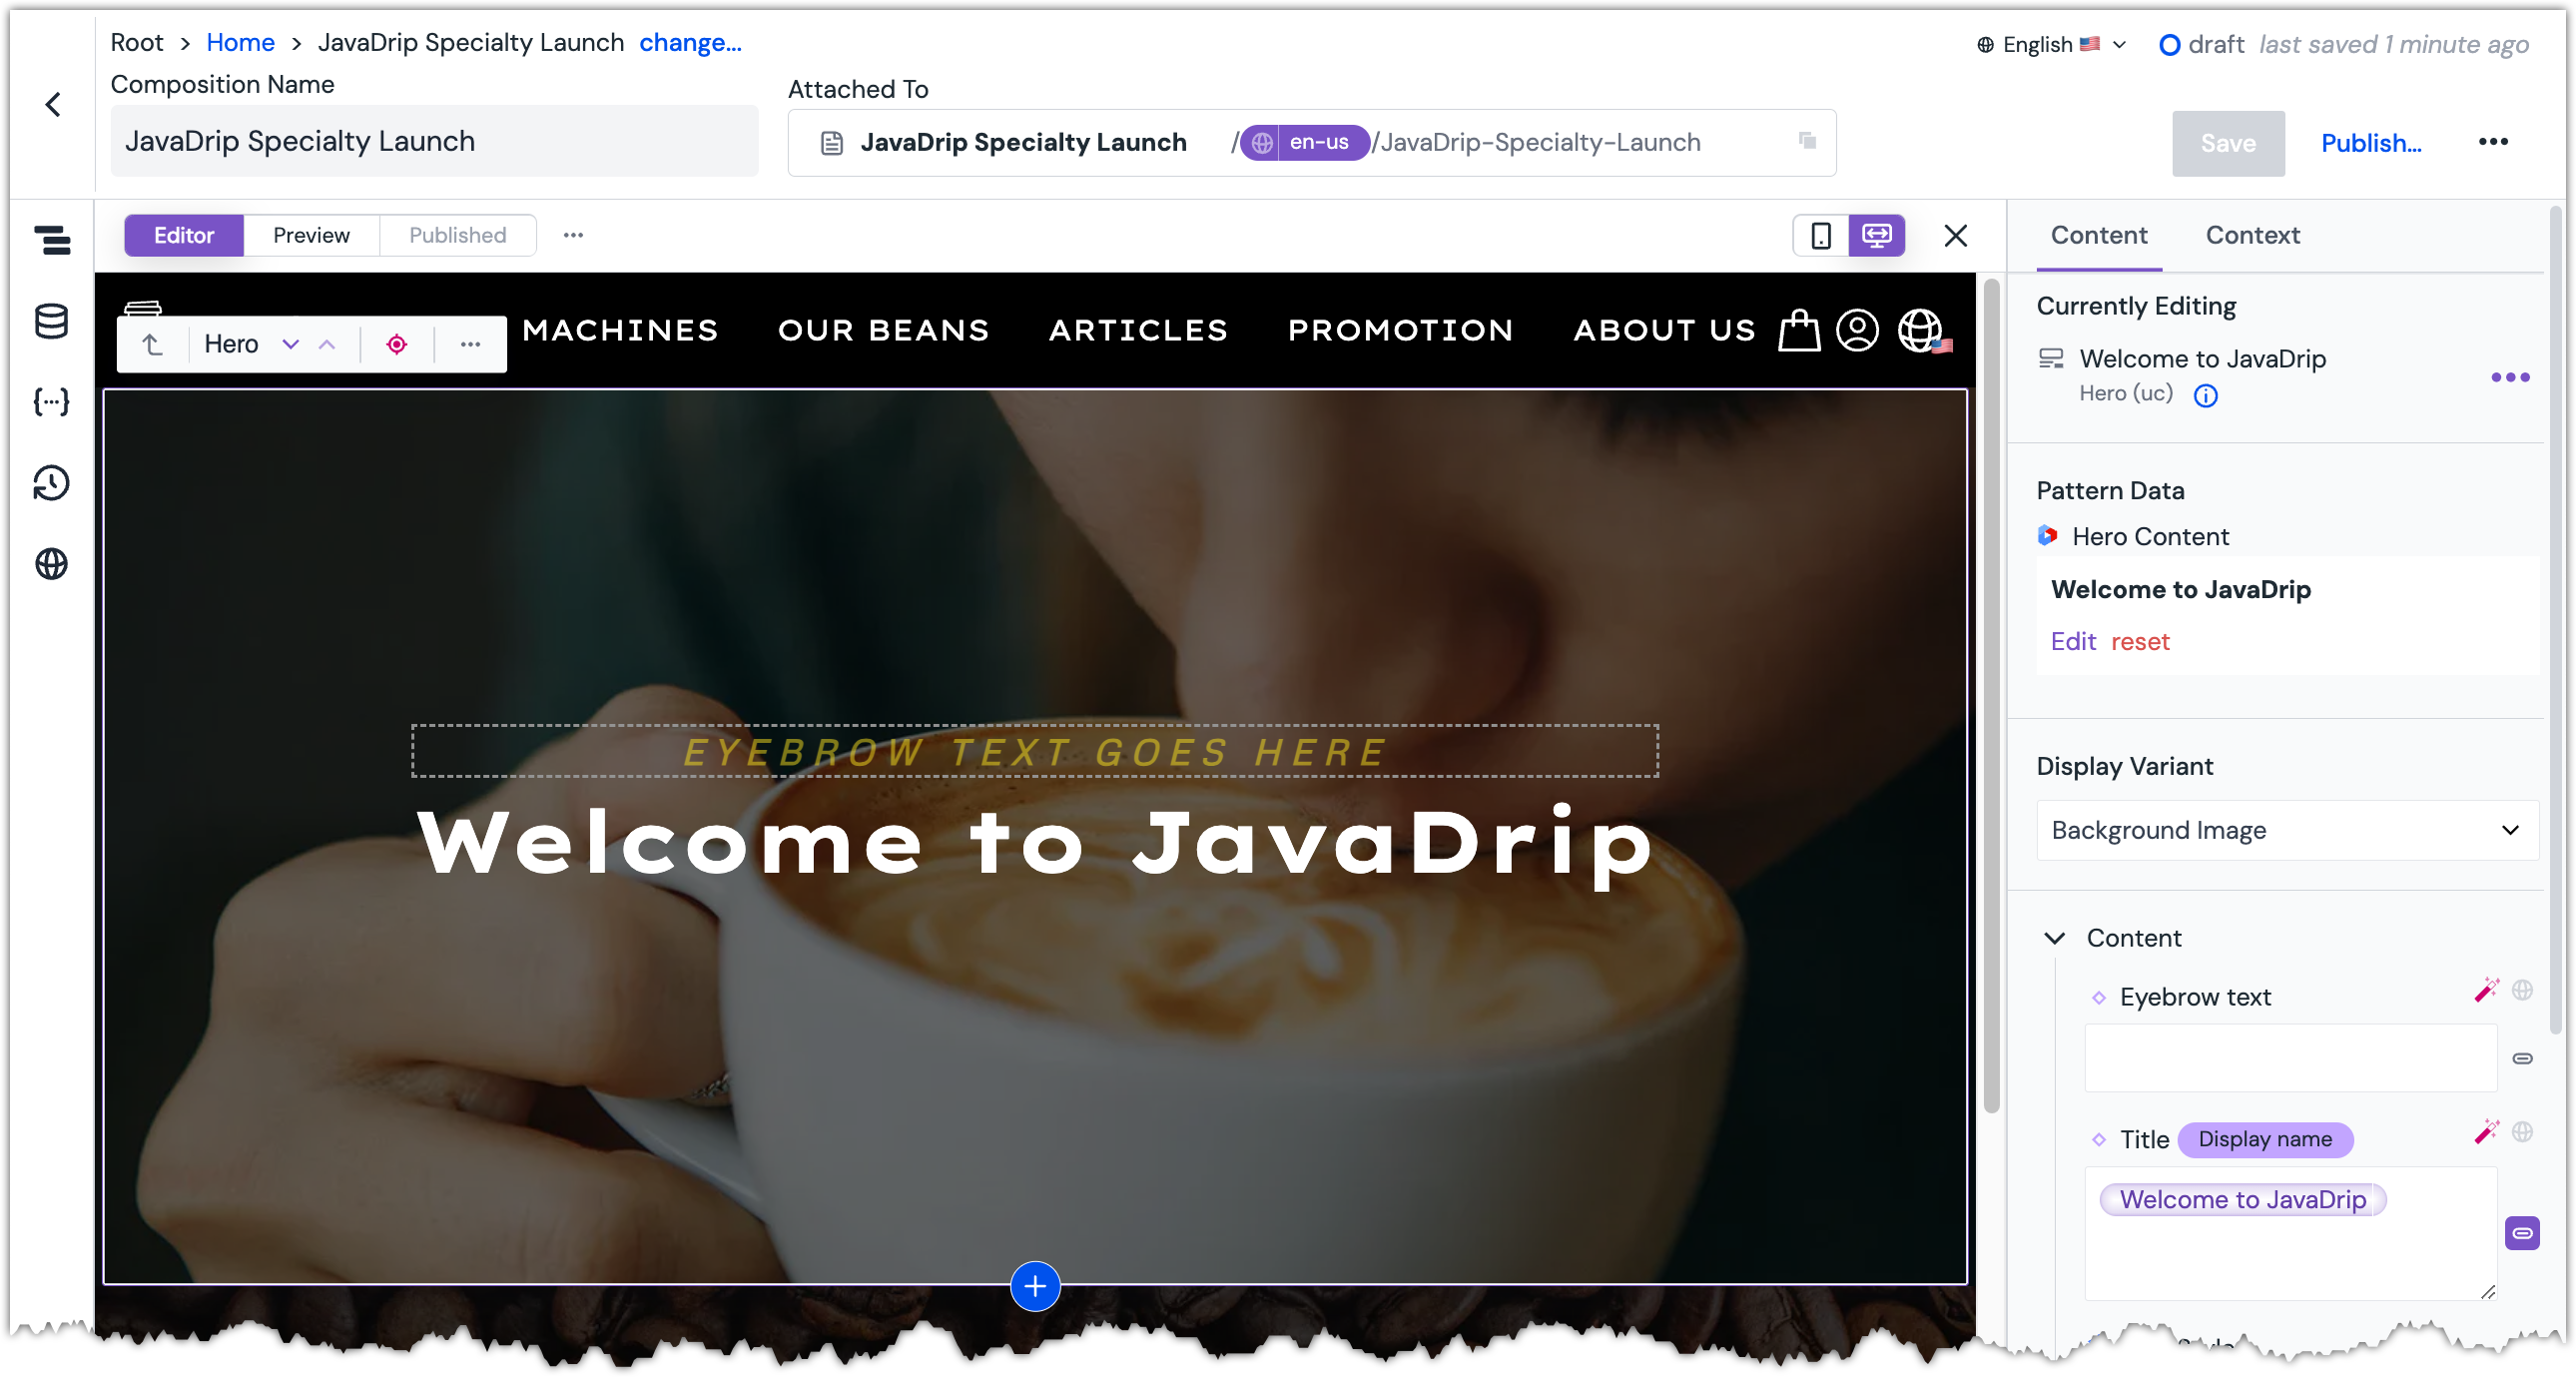
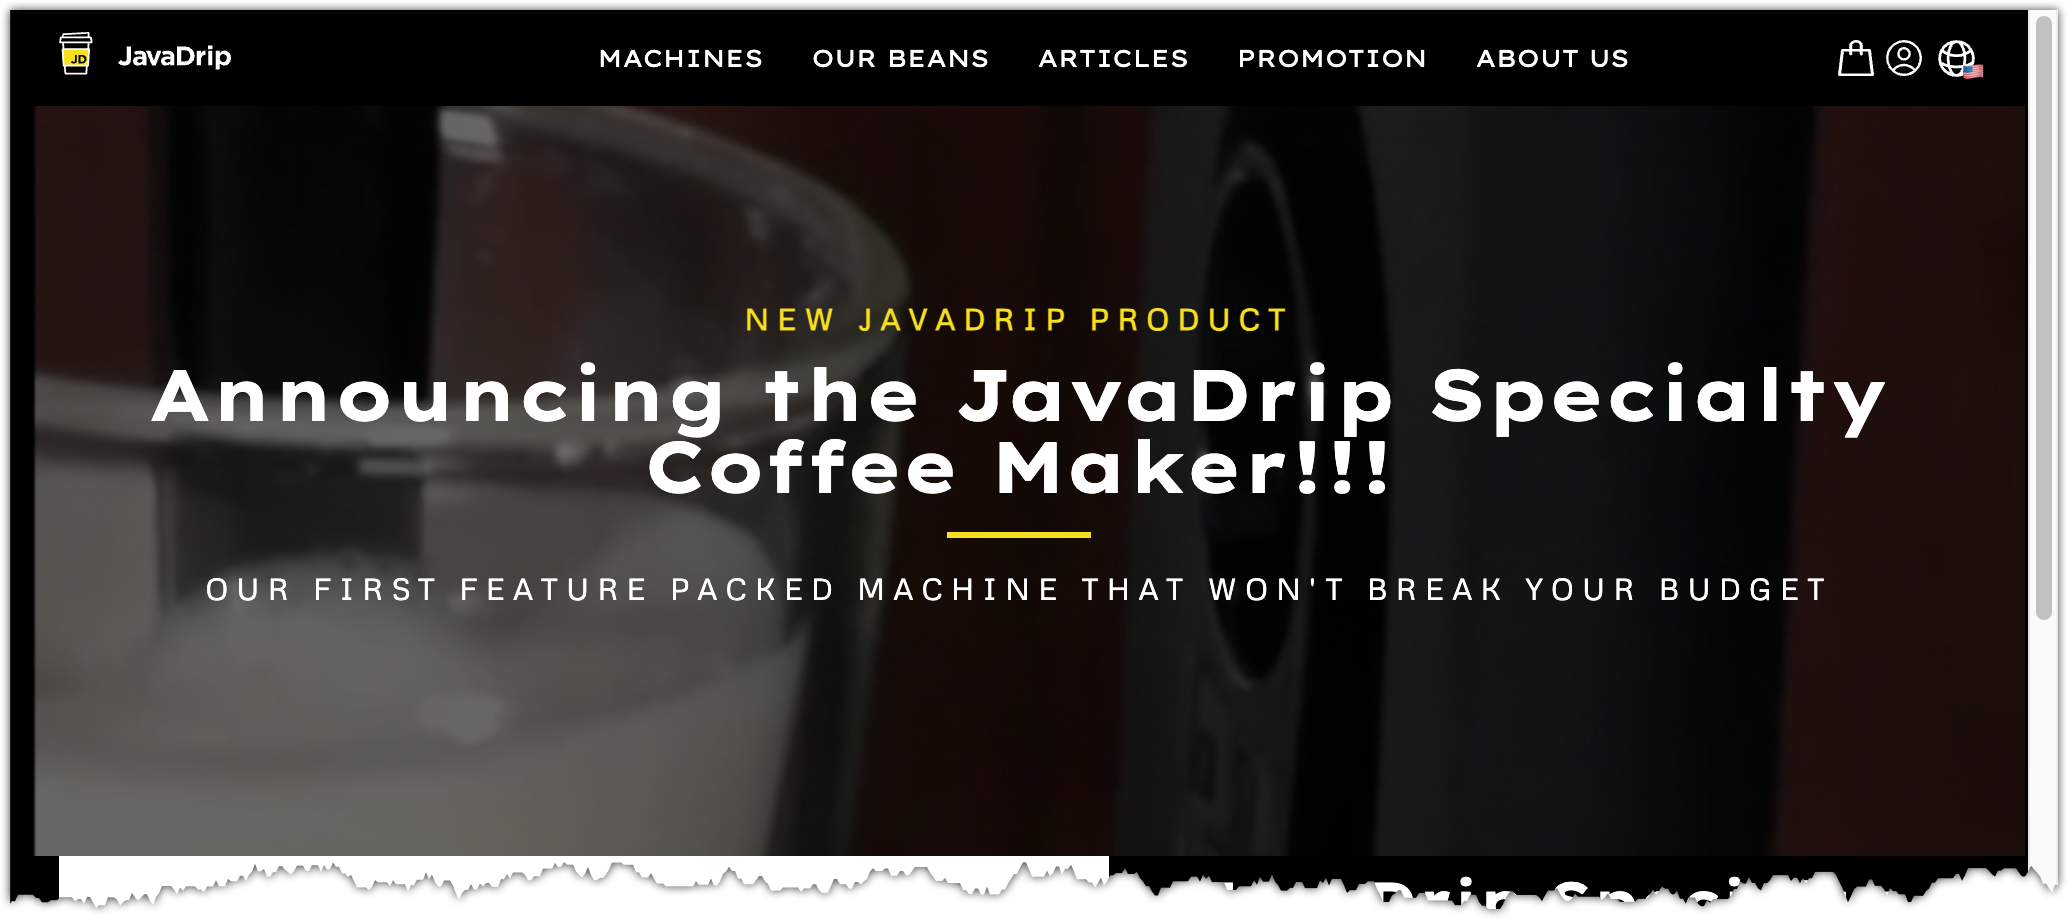
Change the CMS entry for the Hero#
The Hero component is already assigned to the landing page. Some of the content this component displays comes from a CMS. The component is currently configured to use the content from a specific entry from the CMS. You will change the component to use a different entry.
What is a pattern?
The Hero component assigned to the landing page is a special type of component called a pattern. Patterns do many things. One of that is to make it easier to use components with a content source, like a headless CMS.
For example, an entry from a CMS may have a number of fields that need to be displayed in a component. A pattern allows a developer to configure the component so the parameters on the component are mapped to the fields from the CMS entry.
How does this make your life easier? It means all you have to do is select the entry from the CMS, and the component knows how to display the fields automatically.
Click the Hero component. This is the first component beneath the header.
 Hero component selected in the Preview Panel.
About this step
This is how you select a component.
On the right-hand side of the screen is the Content Panel. Under the section Pattern Data, click Edit.
 Content Panel shows Pattern Data is already assigned to the component.
Scroll down and select the entry
Announcing the JavaDrip Speciality Coffee Maker!!!.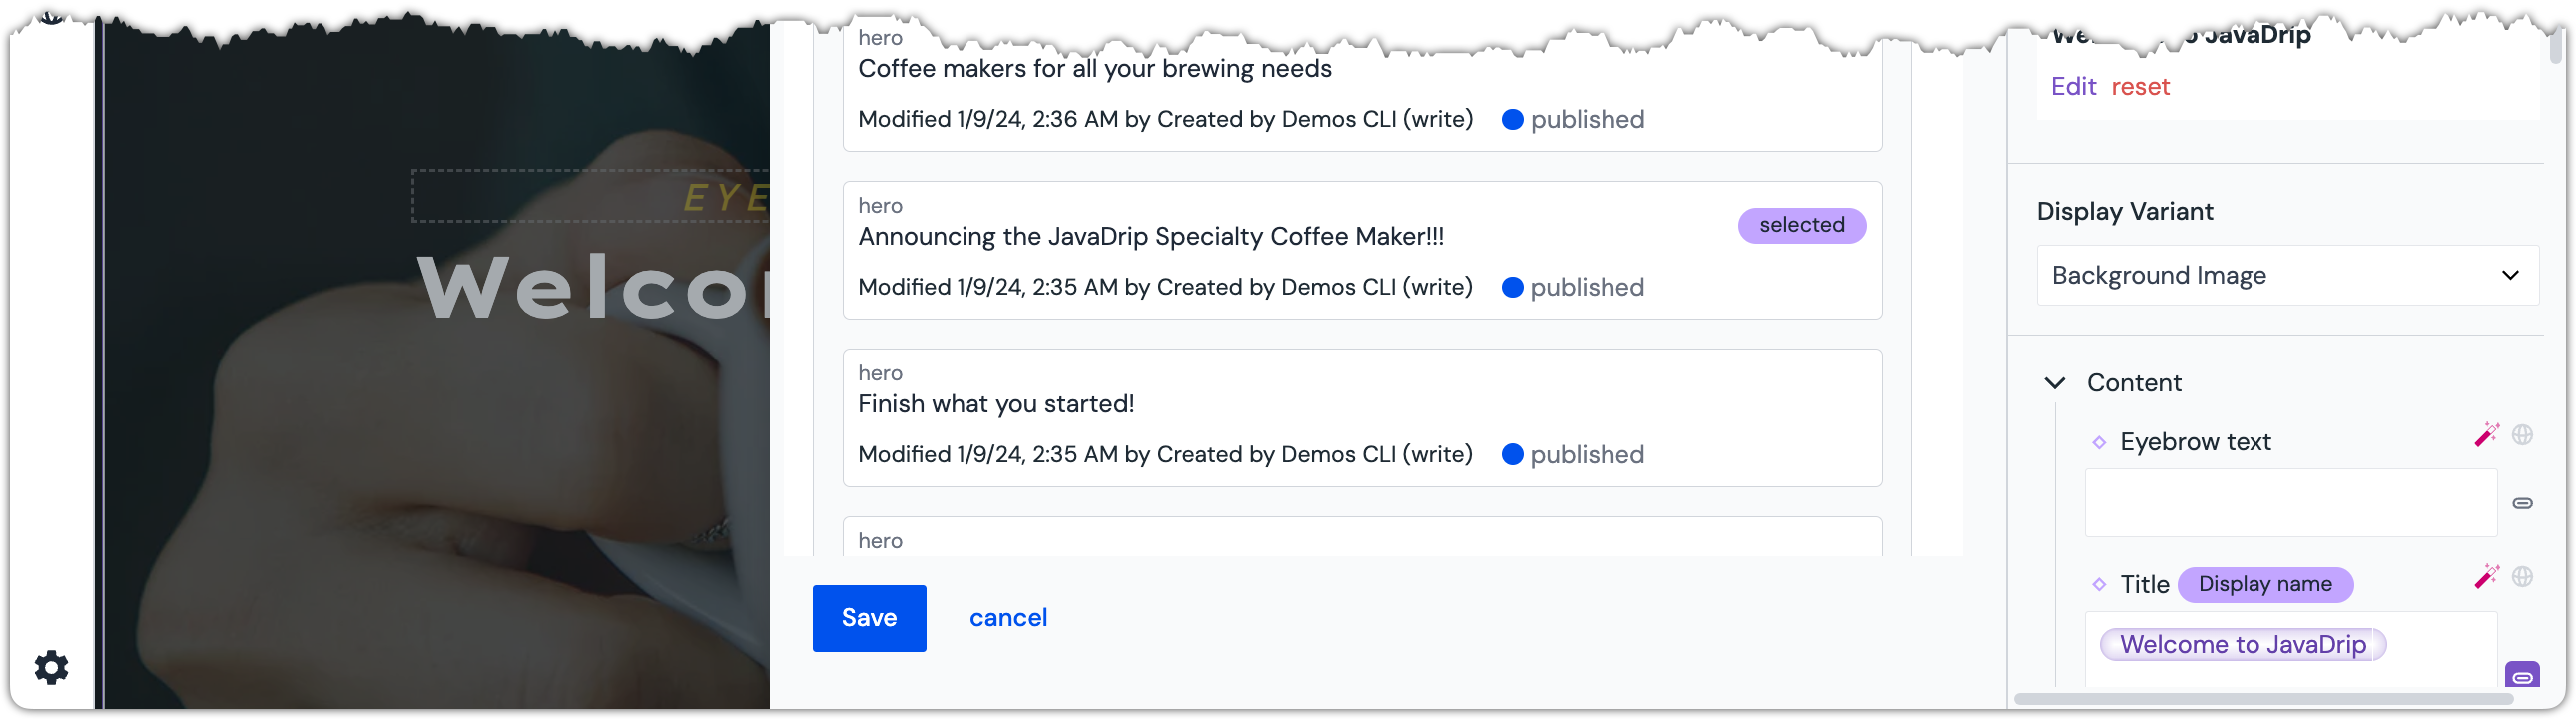 The entry from the CMS is selected.
Click the button Save.
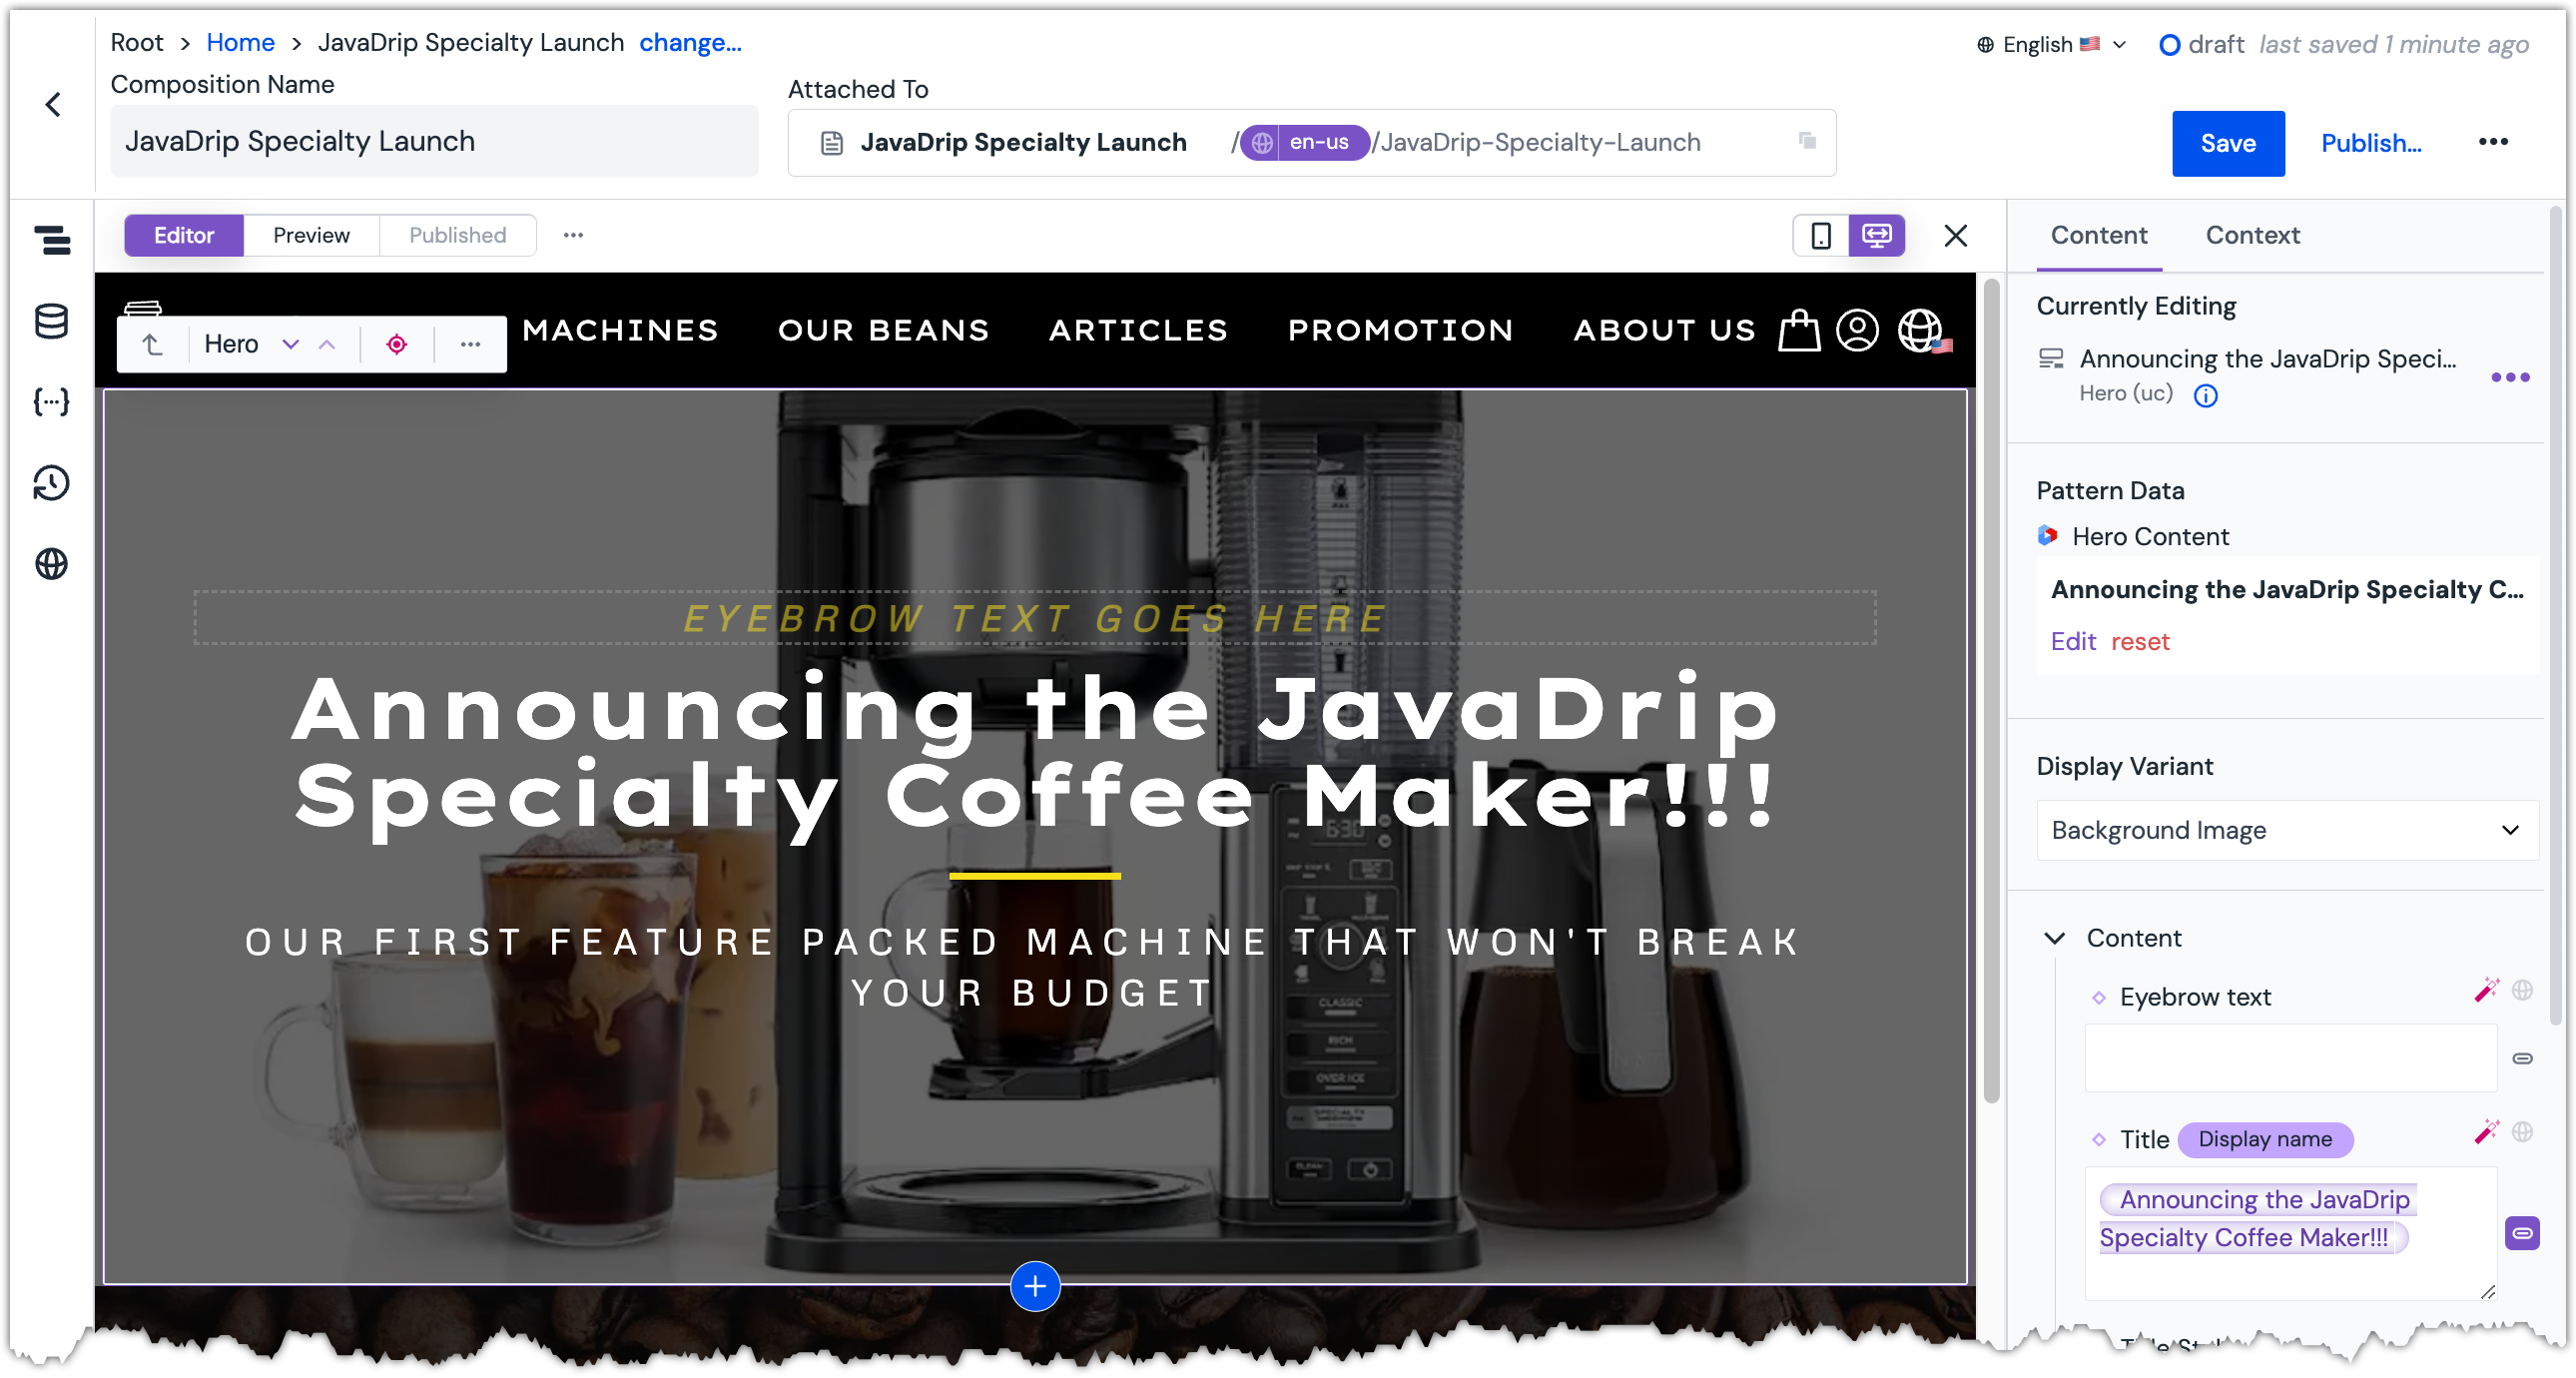 The component shows the content from the newly selected CMS entry.
About this step
The title and description parameters on the component are now populated with content from the entry you selected. This is how you change the pattern data on a pattern component.
Add a video to the Hero#
In the Content Panel, scroll down to the parameter
Video.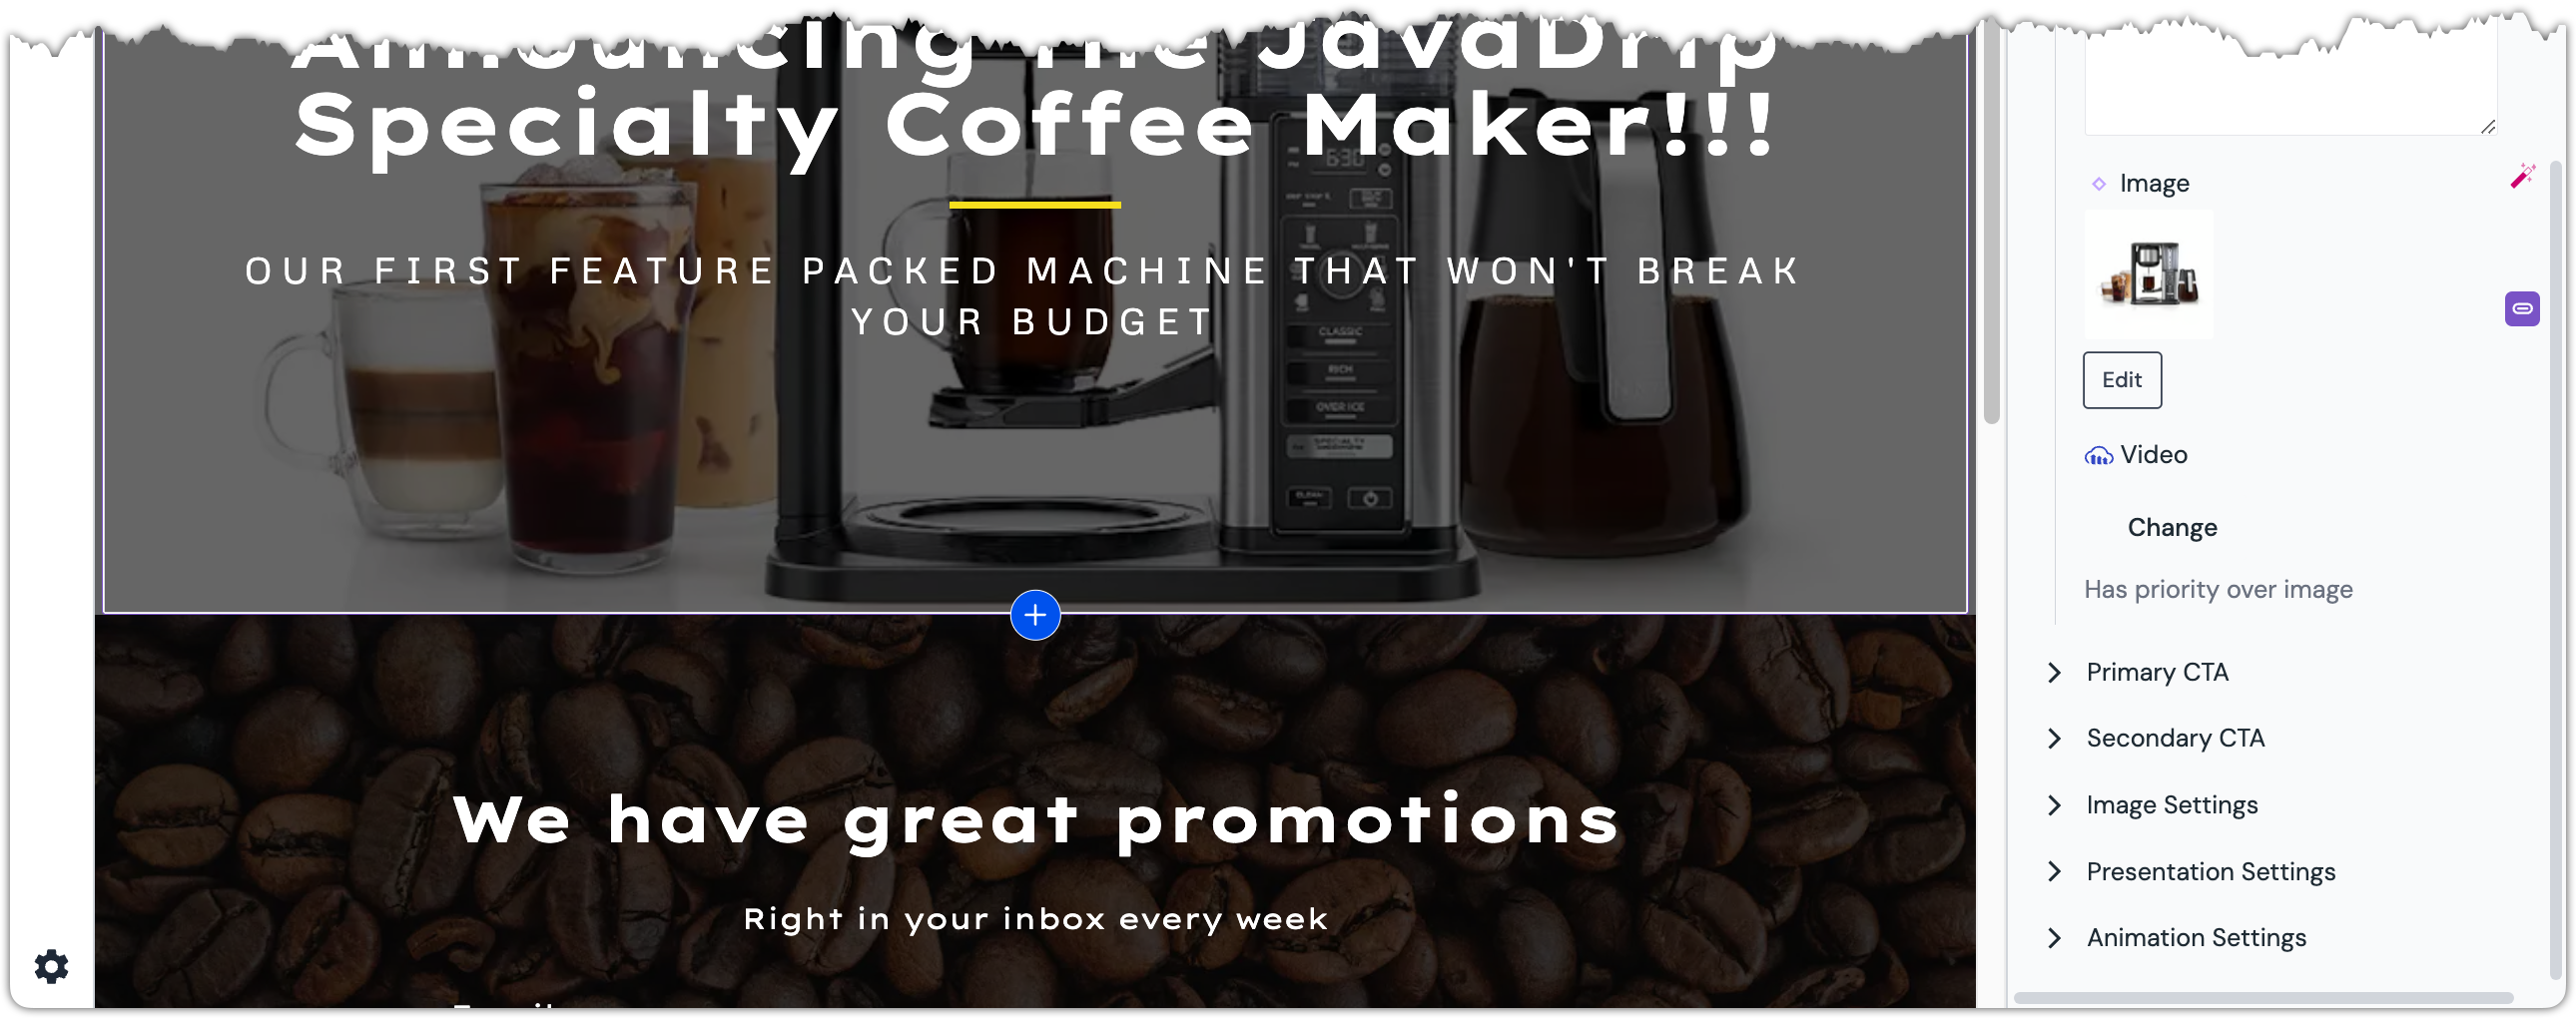 The Video parameter is located at the bottom of the Content parameters section of the Content Panel.
Click the button Change.
 A view into the Cloudinary Media Library is displayed.
About this step
You may need to log into Cloudinary before you see the Cloudinary Media Library. A shared login for the tutorial site is available upon request. For more information, contact us.
Double-click the folder
coffee-marketing.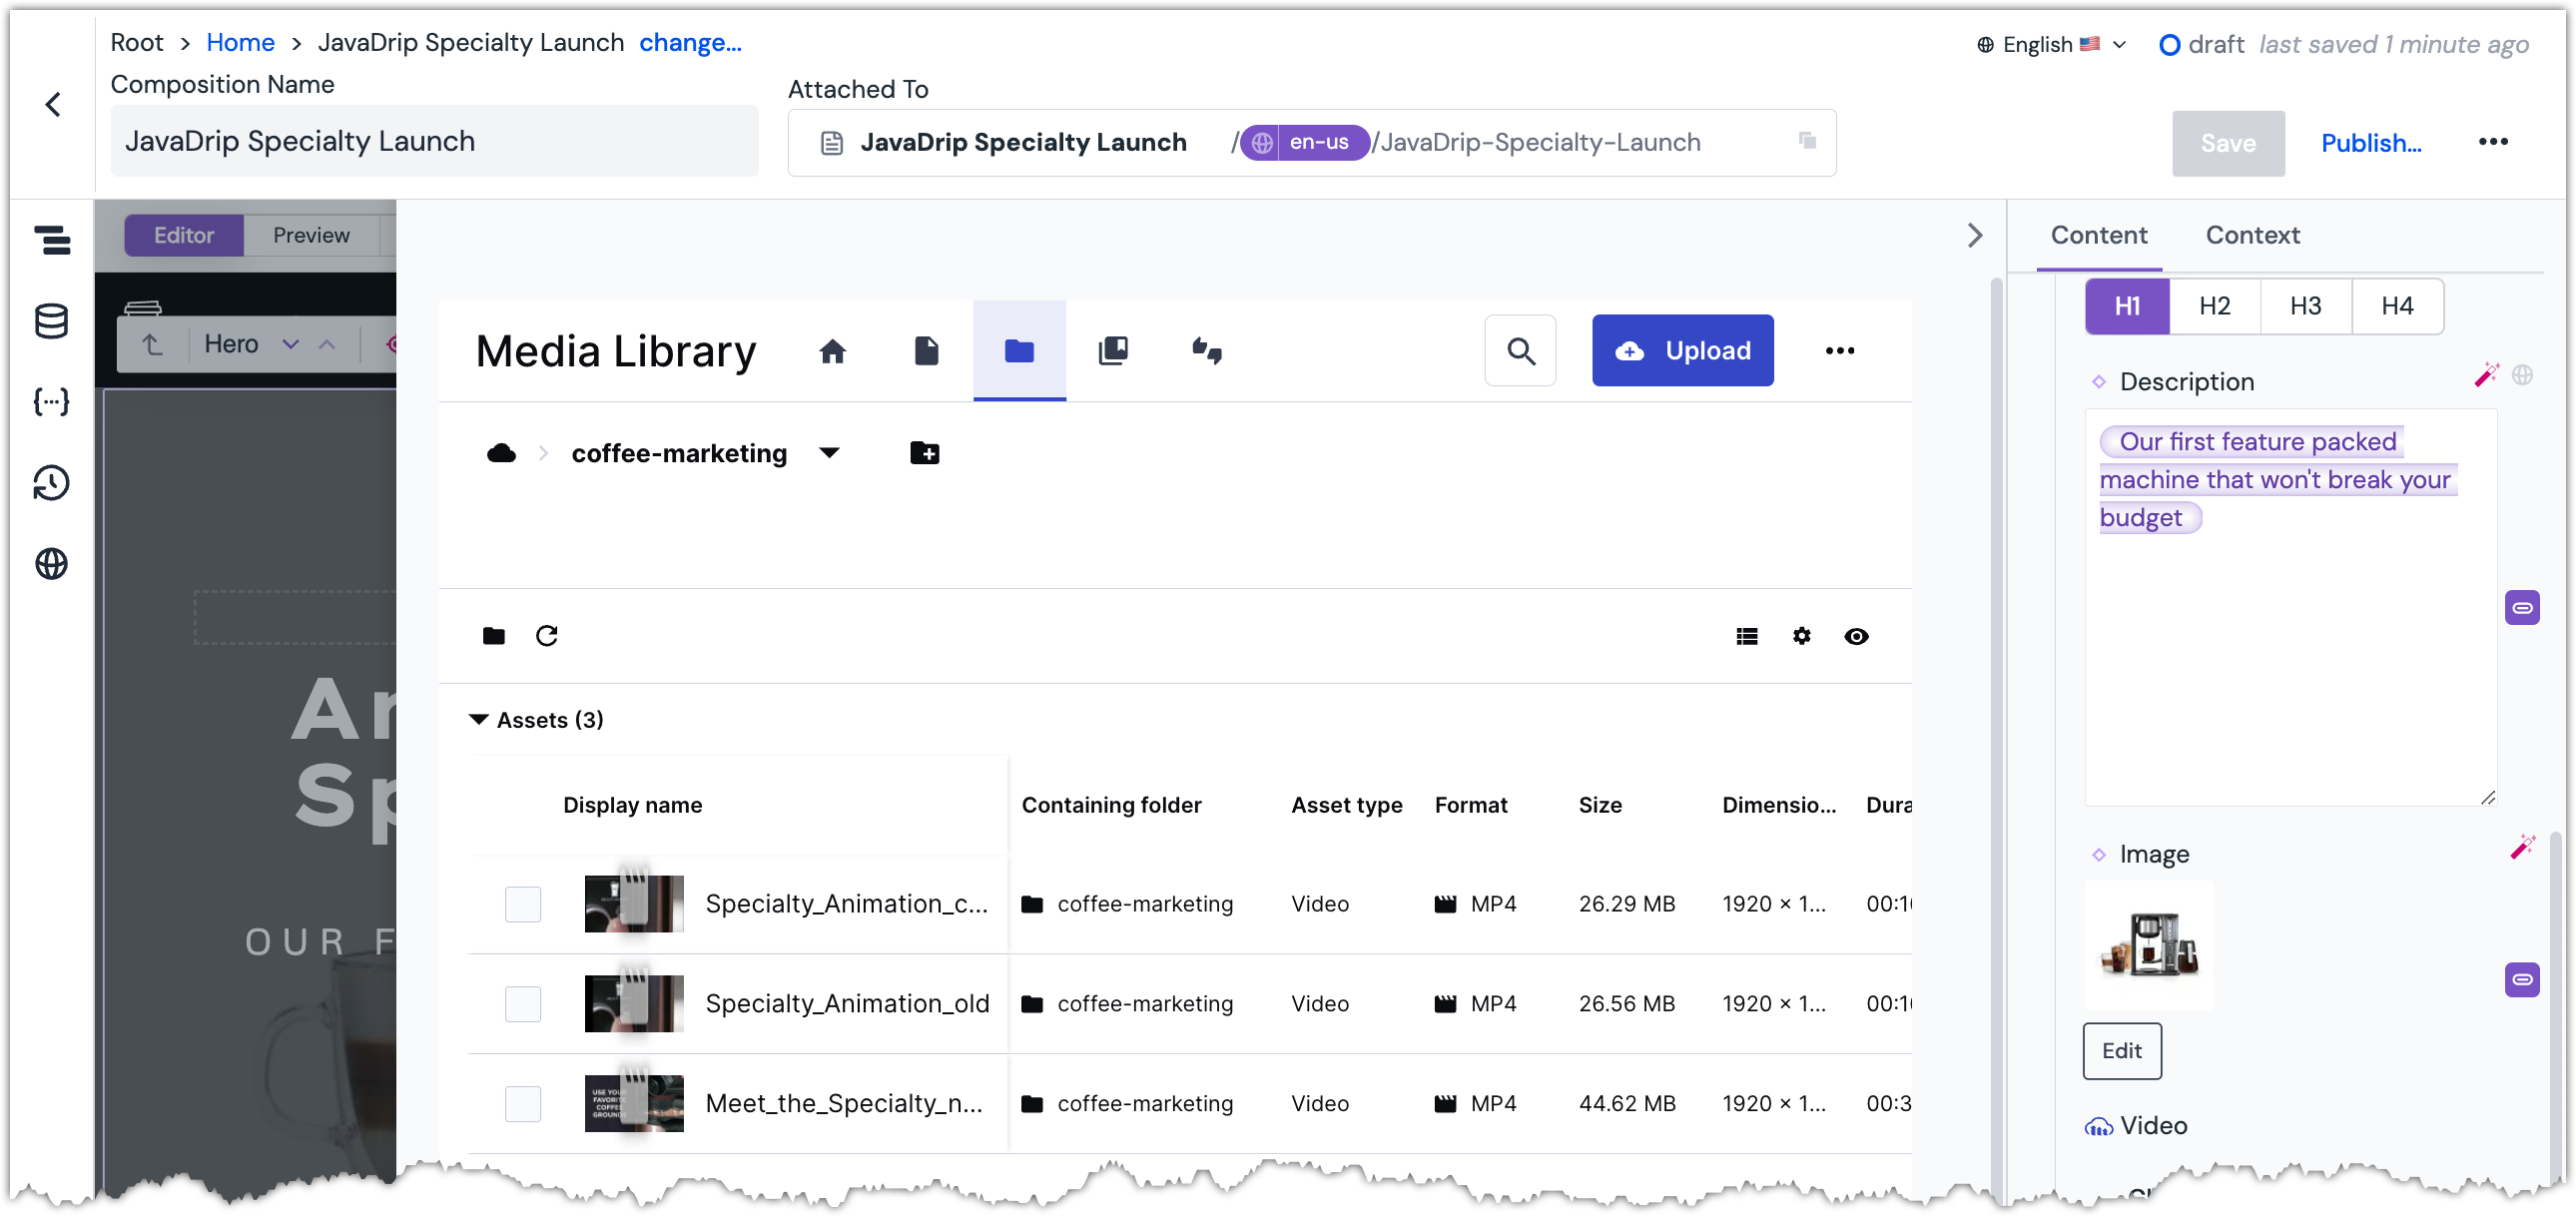 Assets in the folder are displayed.
Click the file
Specialty_Animation_co3vth. The video asset is selected.
Click the button Insert.
 The Video parameter value is set to the selected asset.
About this step
The background image for the Hero was replaced with the video you selected. This is how you set the value of a Cloudinary parameter on the component.
Edit content inline#
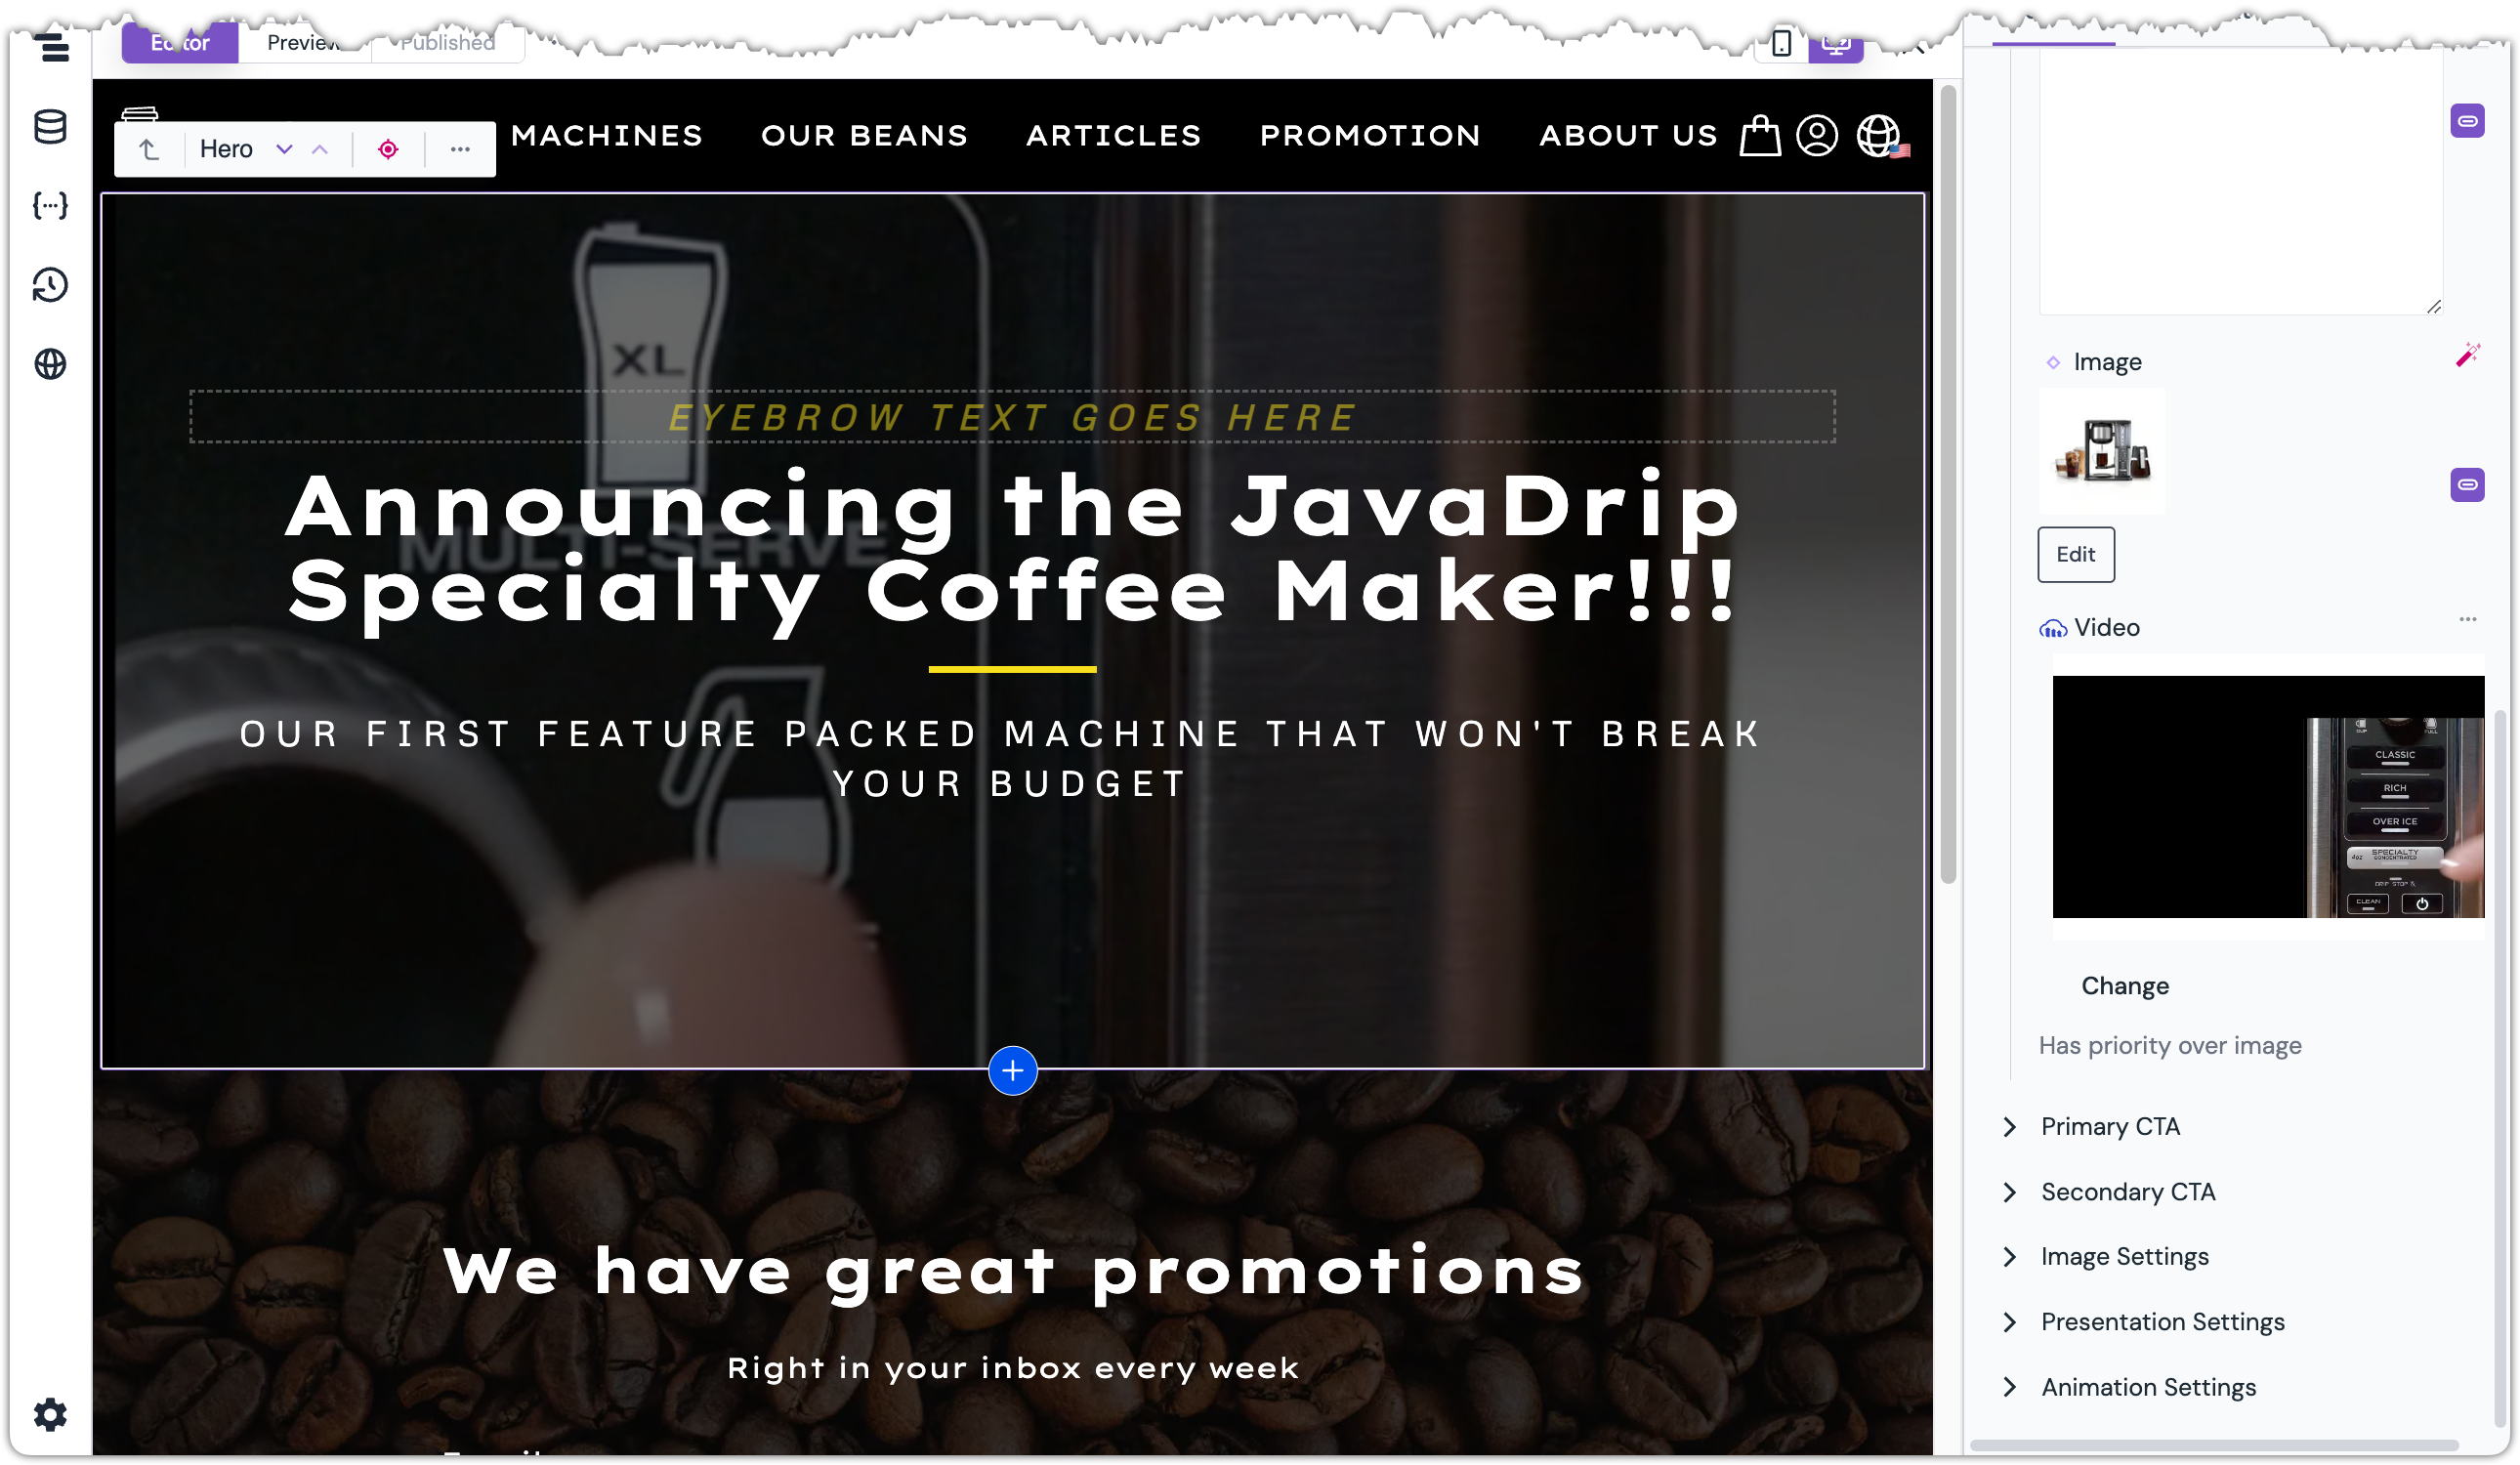
In the Preview Panel, click the eyebrow text. This is the yellow text that reads
EYEBROW TEXT GOES HERE.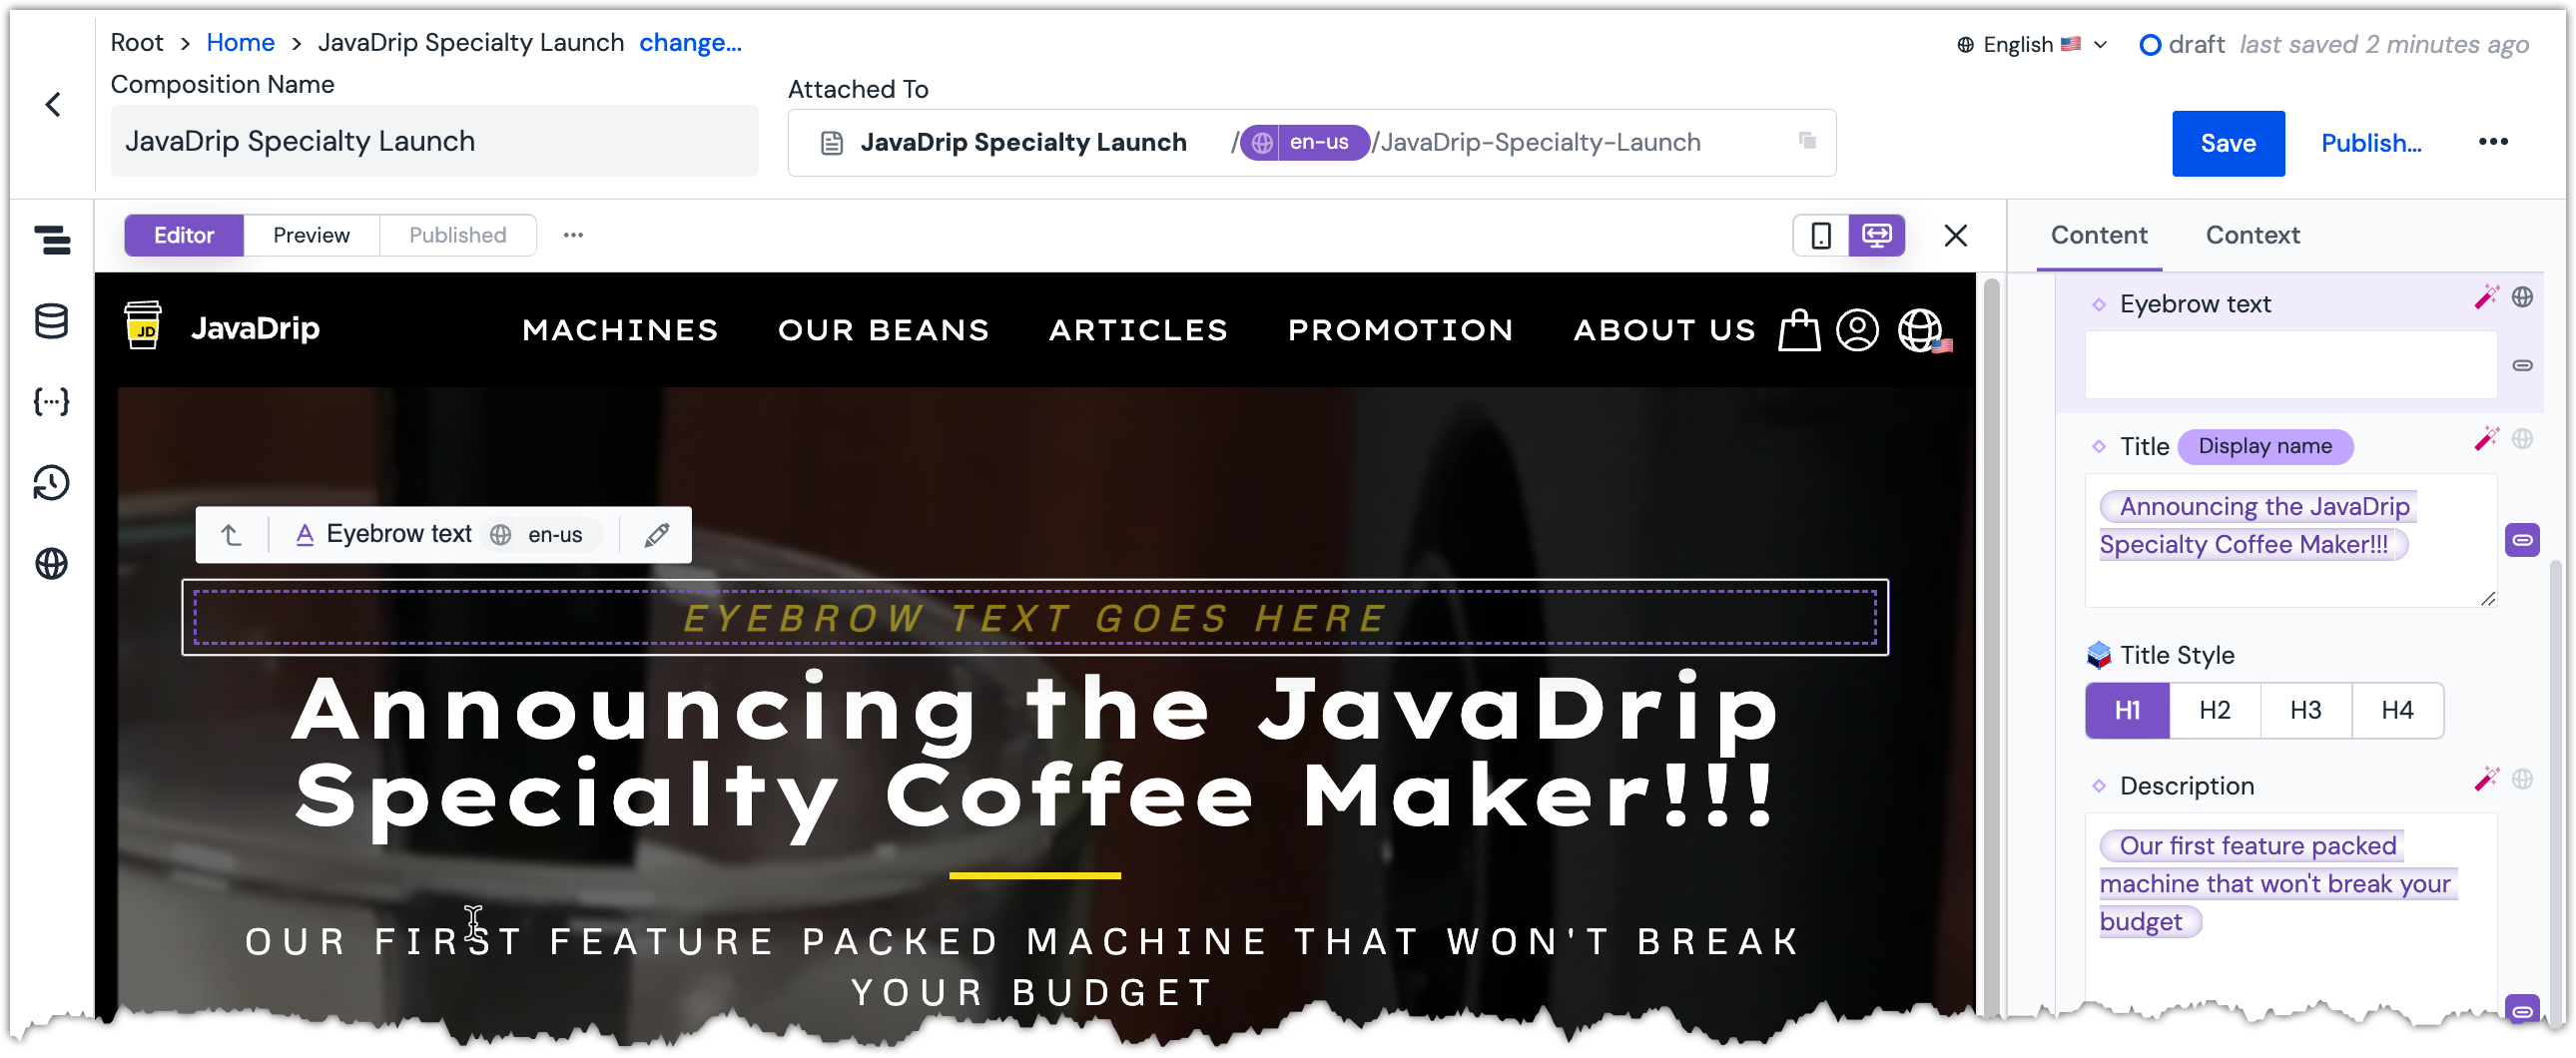 The Eyebrow text parameter is selected.
Enter the following value:
New JavaDrip Product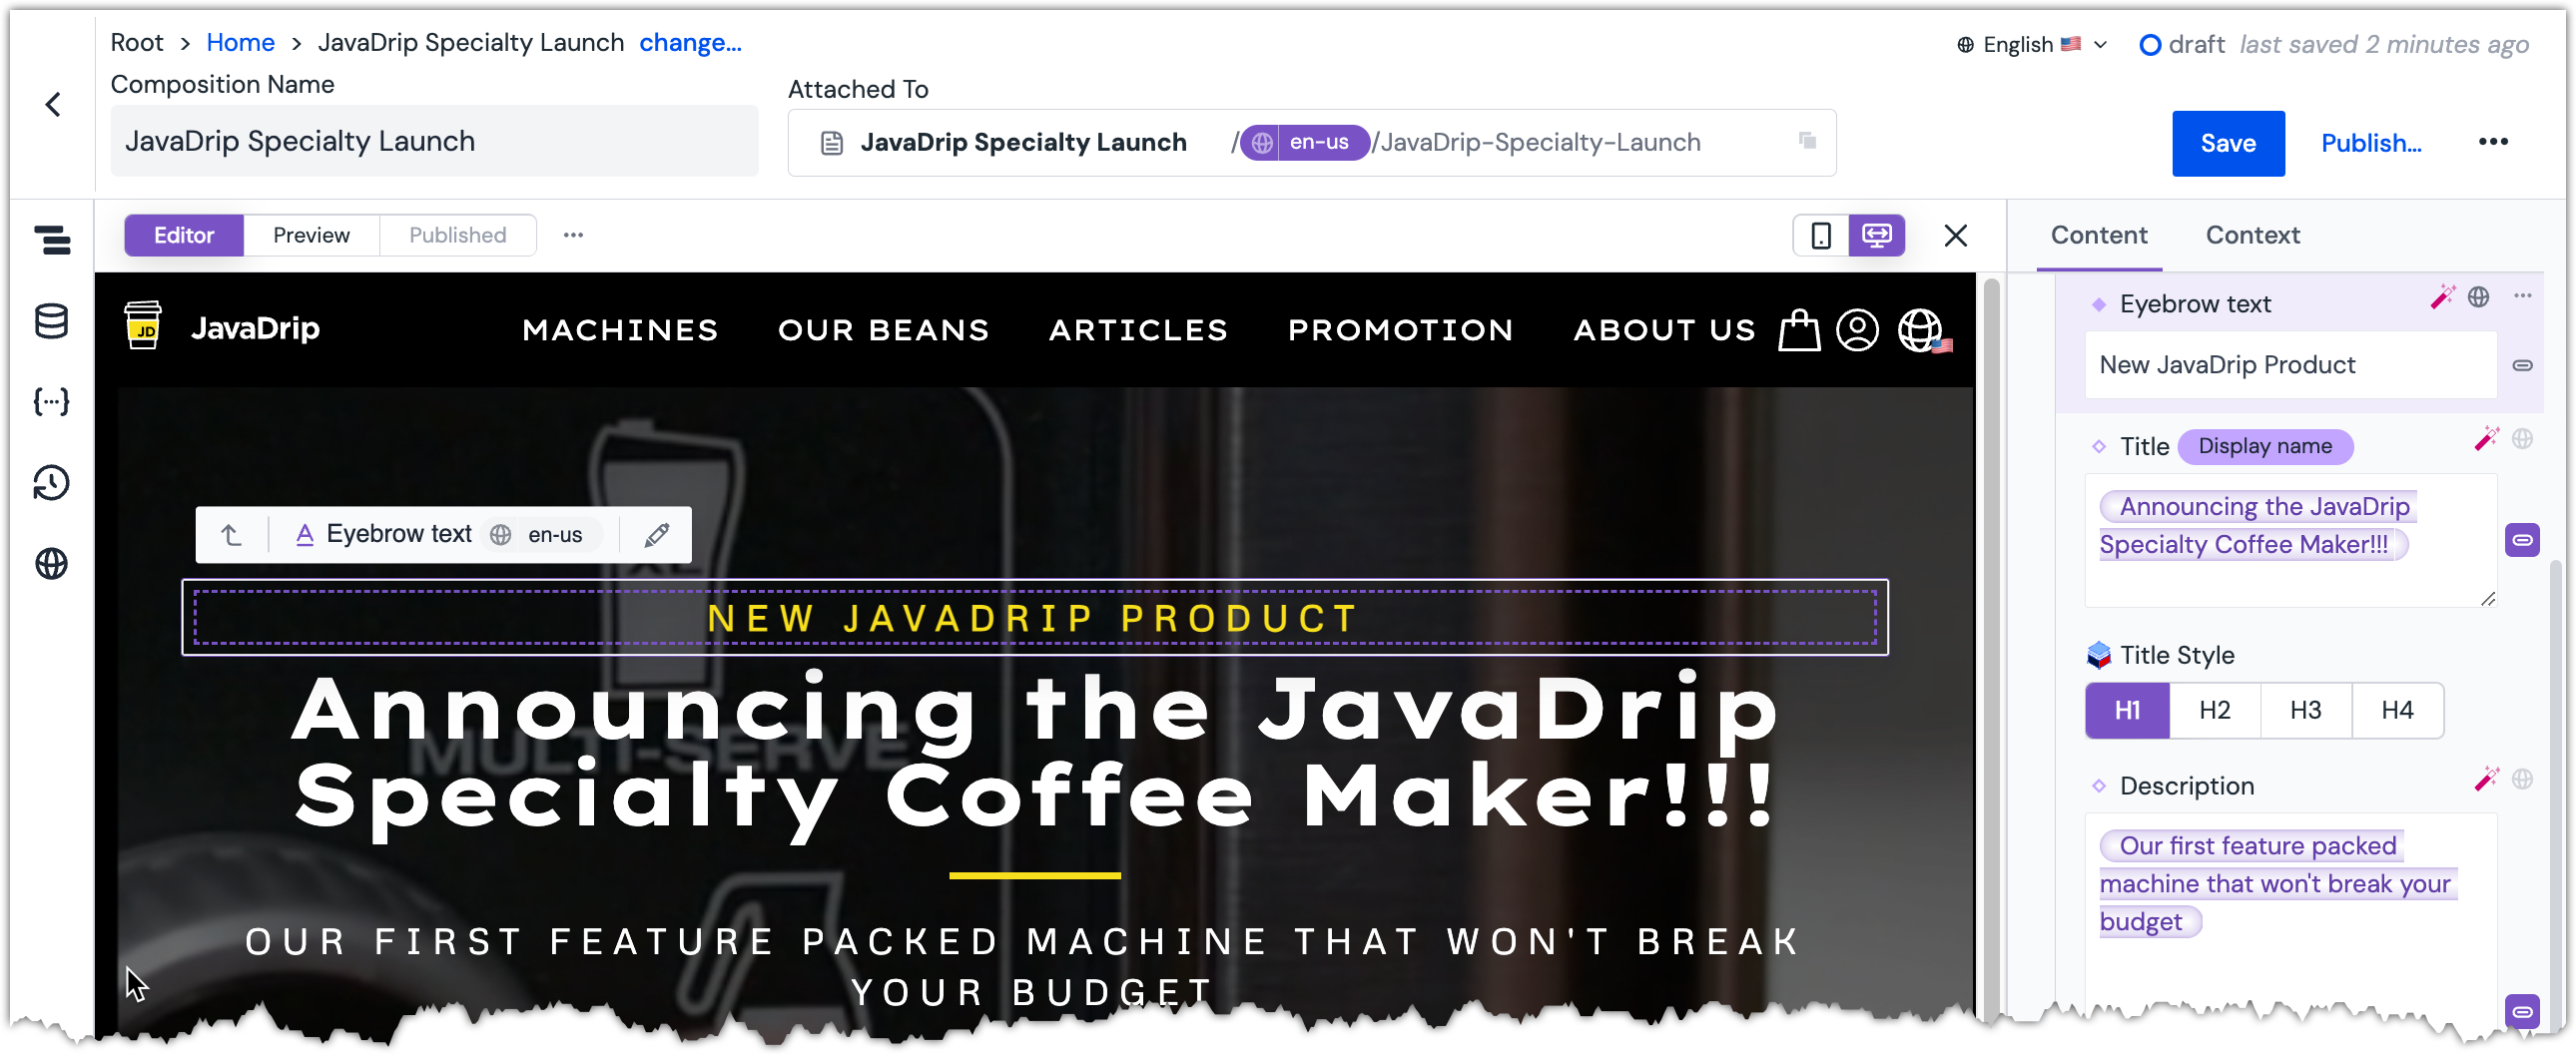 The Eyebrow text parameter value is set.
Why is the text all upper case?
Due to the way the Hero component was built, the eyebrow text appears in all upper-case letters. This is a design decision made by the developers in order to align with the JavaDrip style guide. This is an example of the kind of styling a brand would want to be enforced automatically - and to prevent marketers from being able to override - to ensure consistency across the site.
Add a Product Hero#
Click on the Hero component.
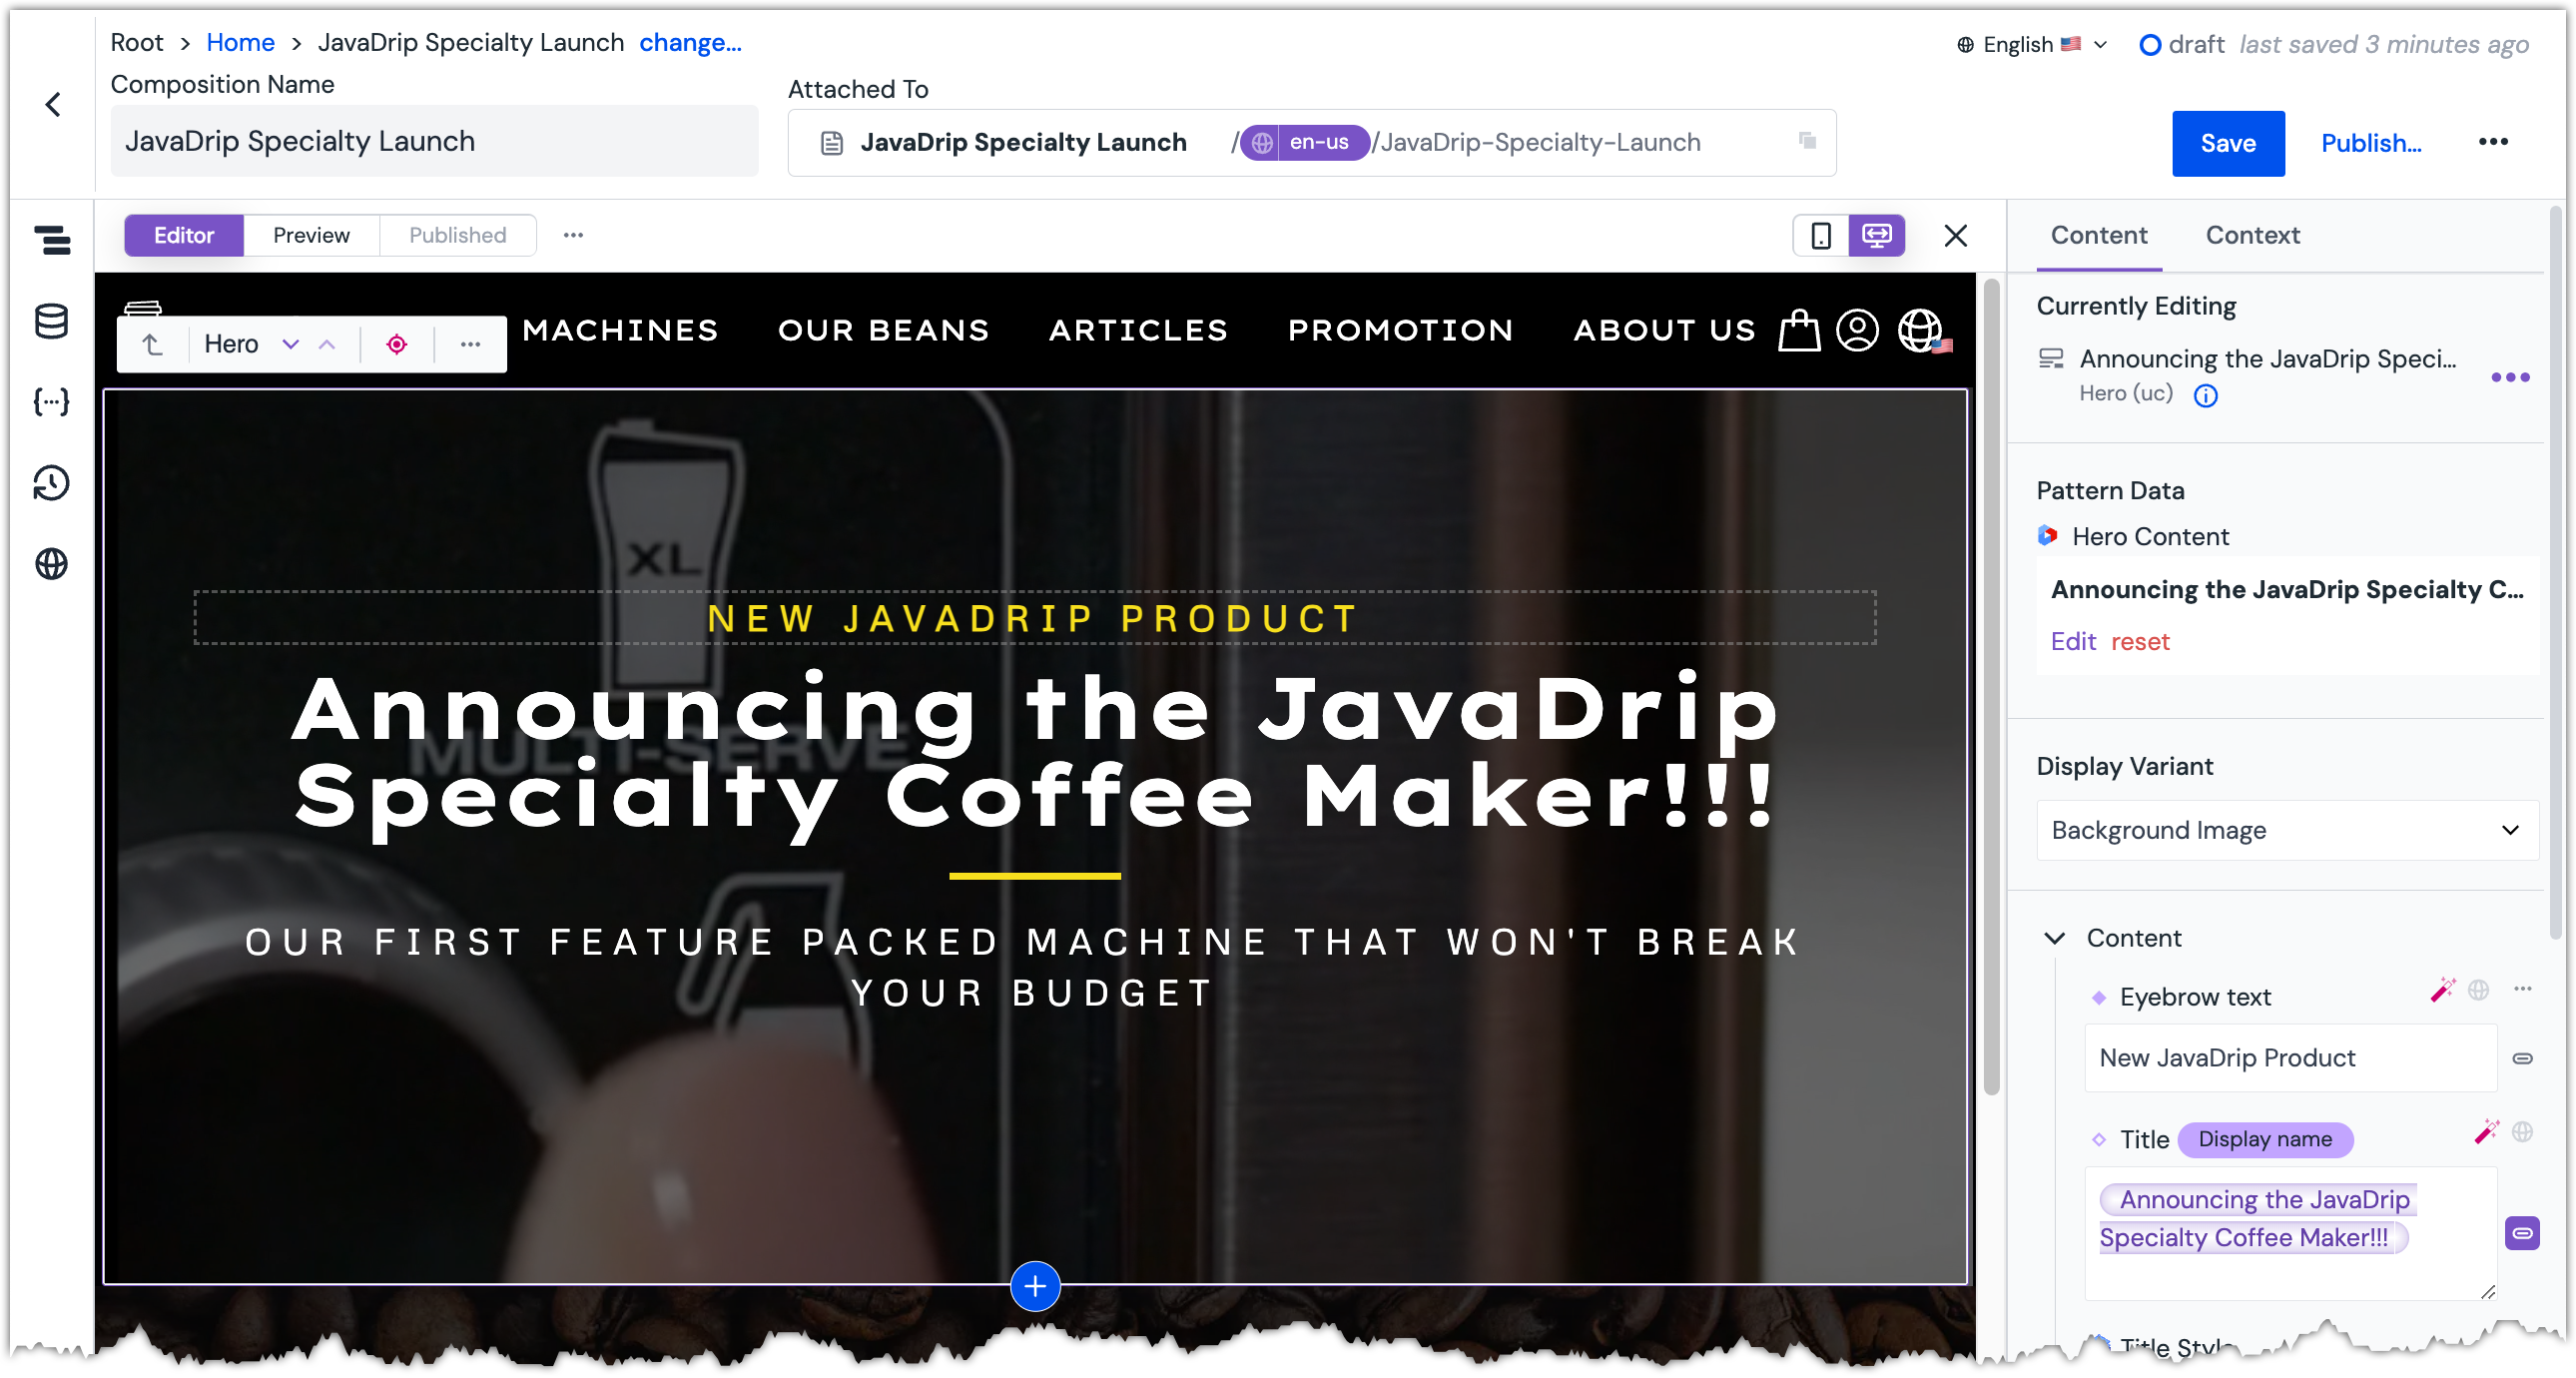 The Hero component is selected.
Click the blue button at the bottom of the component.
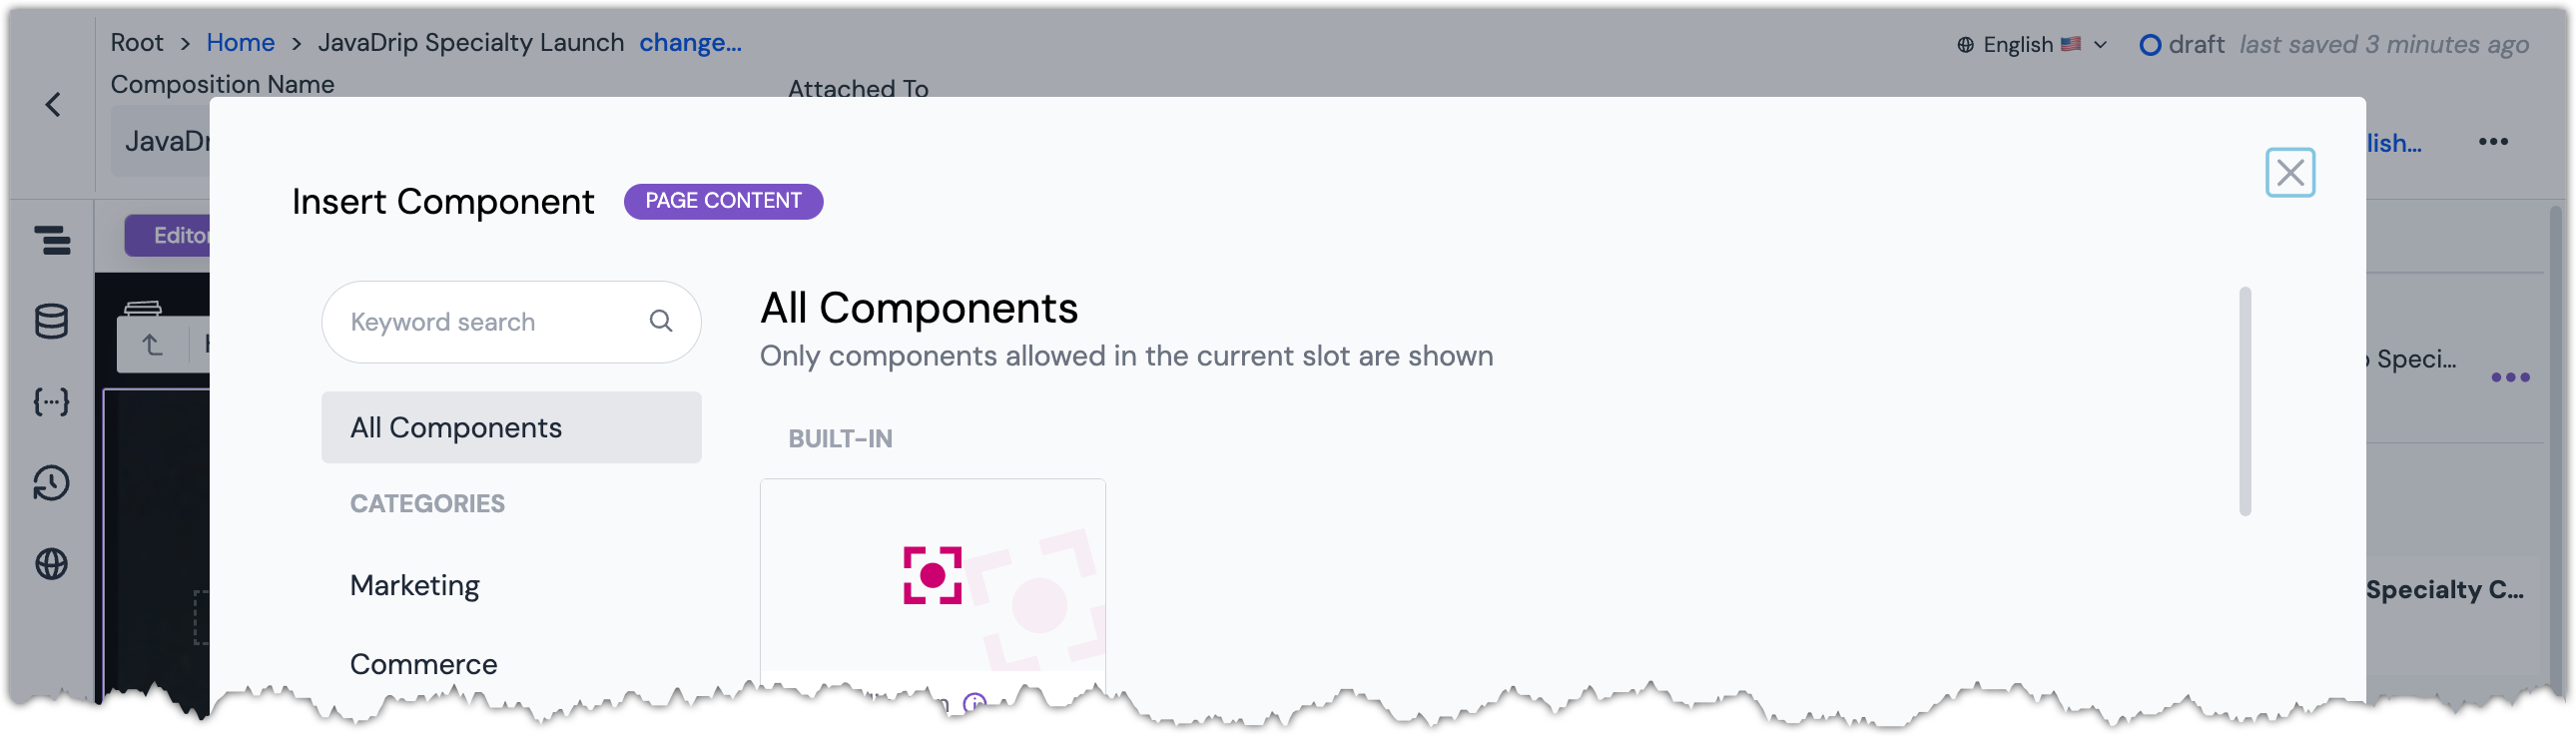 The Insert Component dialog is displayed.
In the input field Keyword search, enter the following value:
hero - product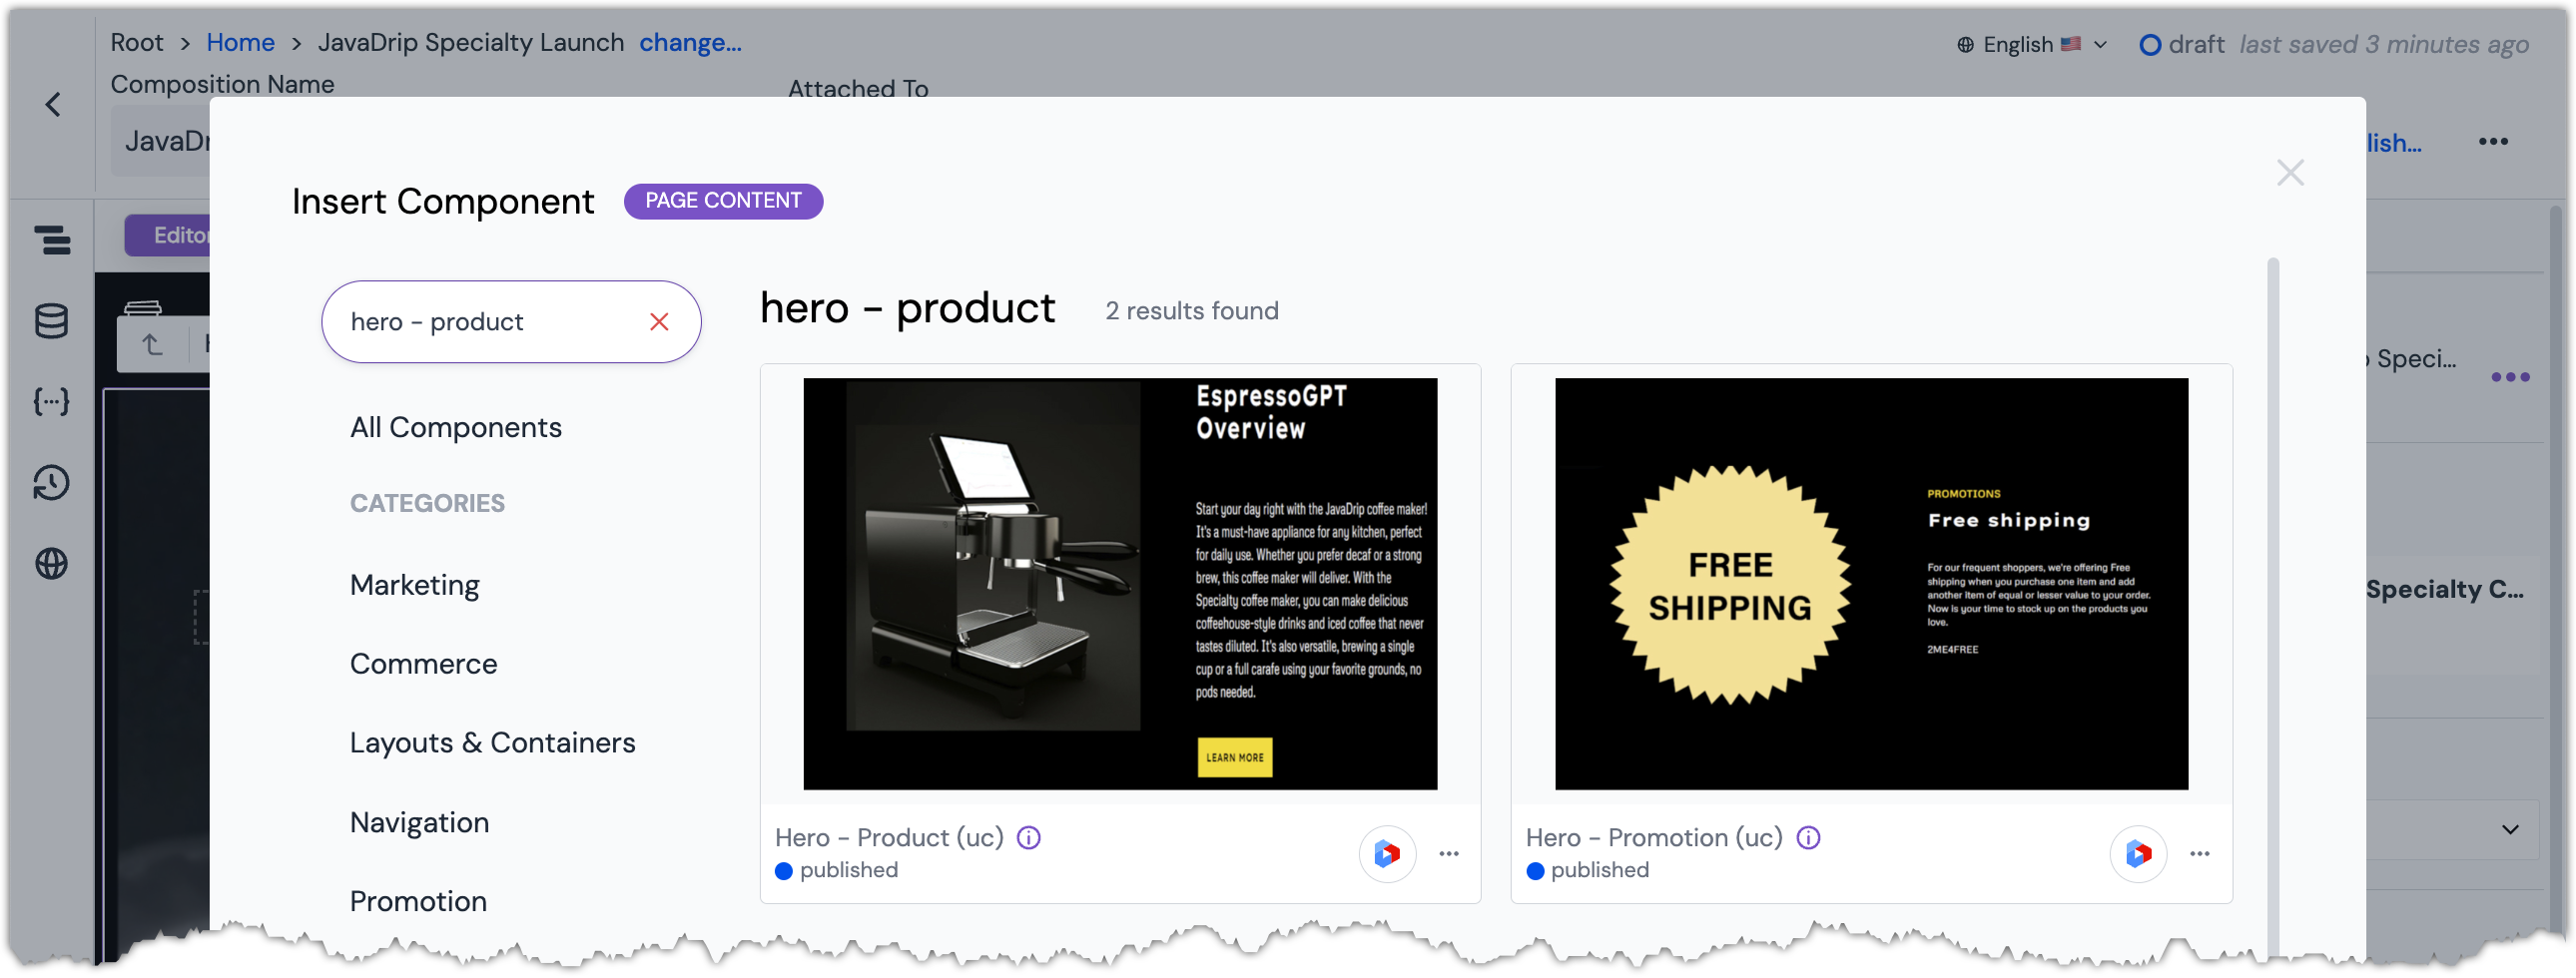 Search filters the components displayed.
Click the component
Hero - Product (uc). The Product Hero component is added below the Hero component.
About this step
This is how you add a new component to a composition.
Select the CMS entry for the Product Hero#
Like the Hero component you modified at the start of this tutorial, the Product Hero component is also a pattern. And like the Hero component, the Product Hero component also has many of its parameters pre-mapped to an entry from a CMS. You need to select the entry from the CMS.
In the Content Panel, under the section Pattern Data, click Select.
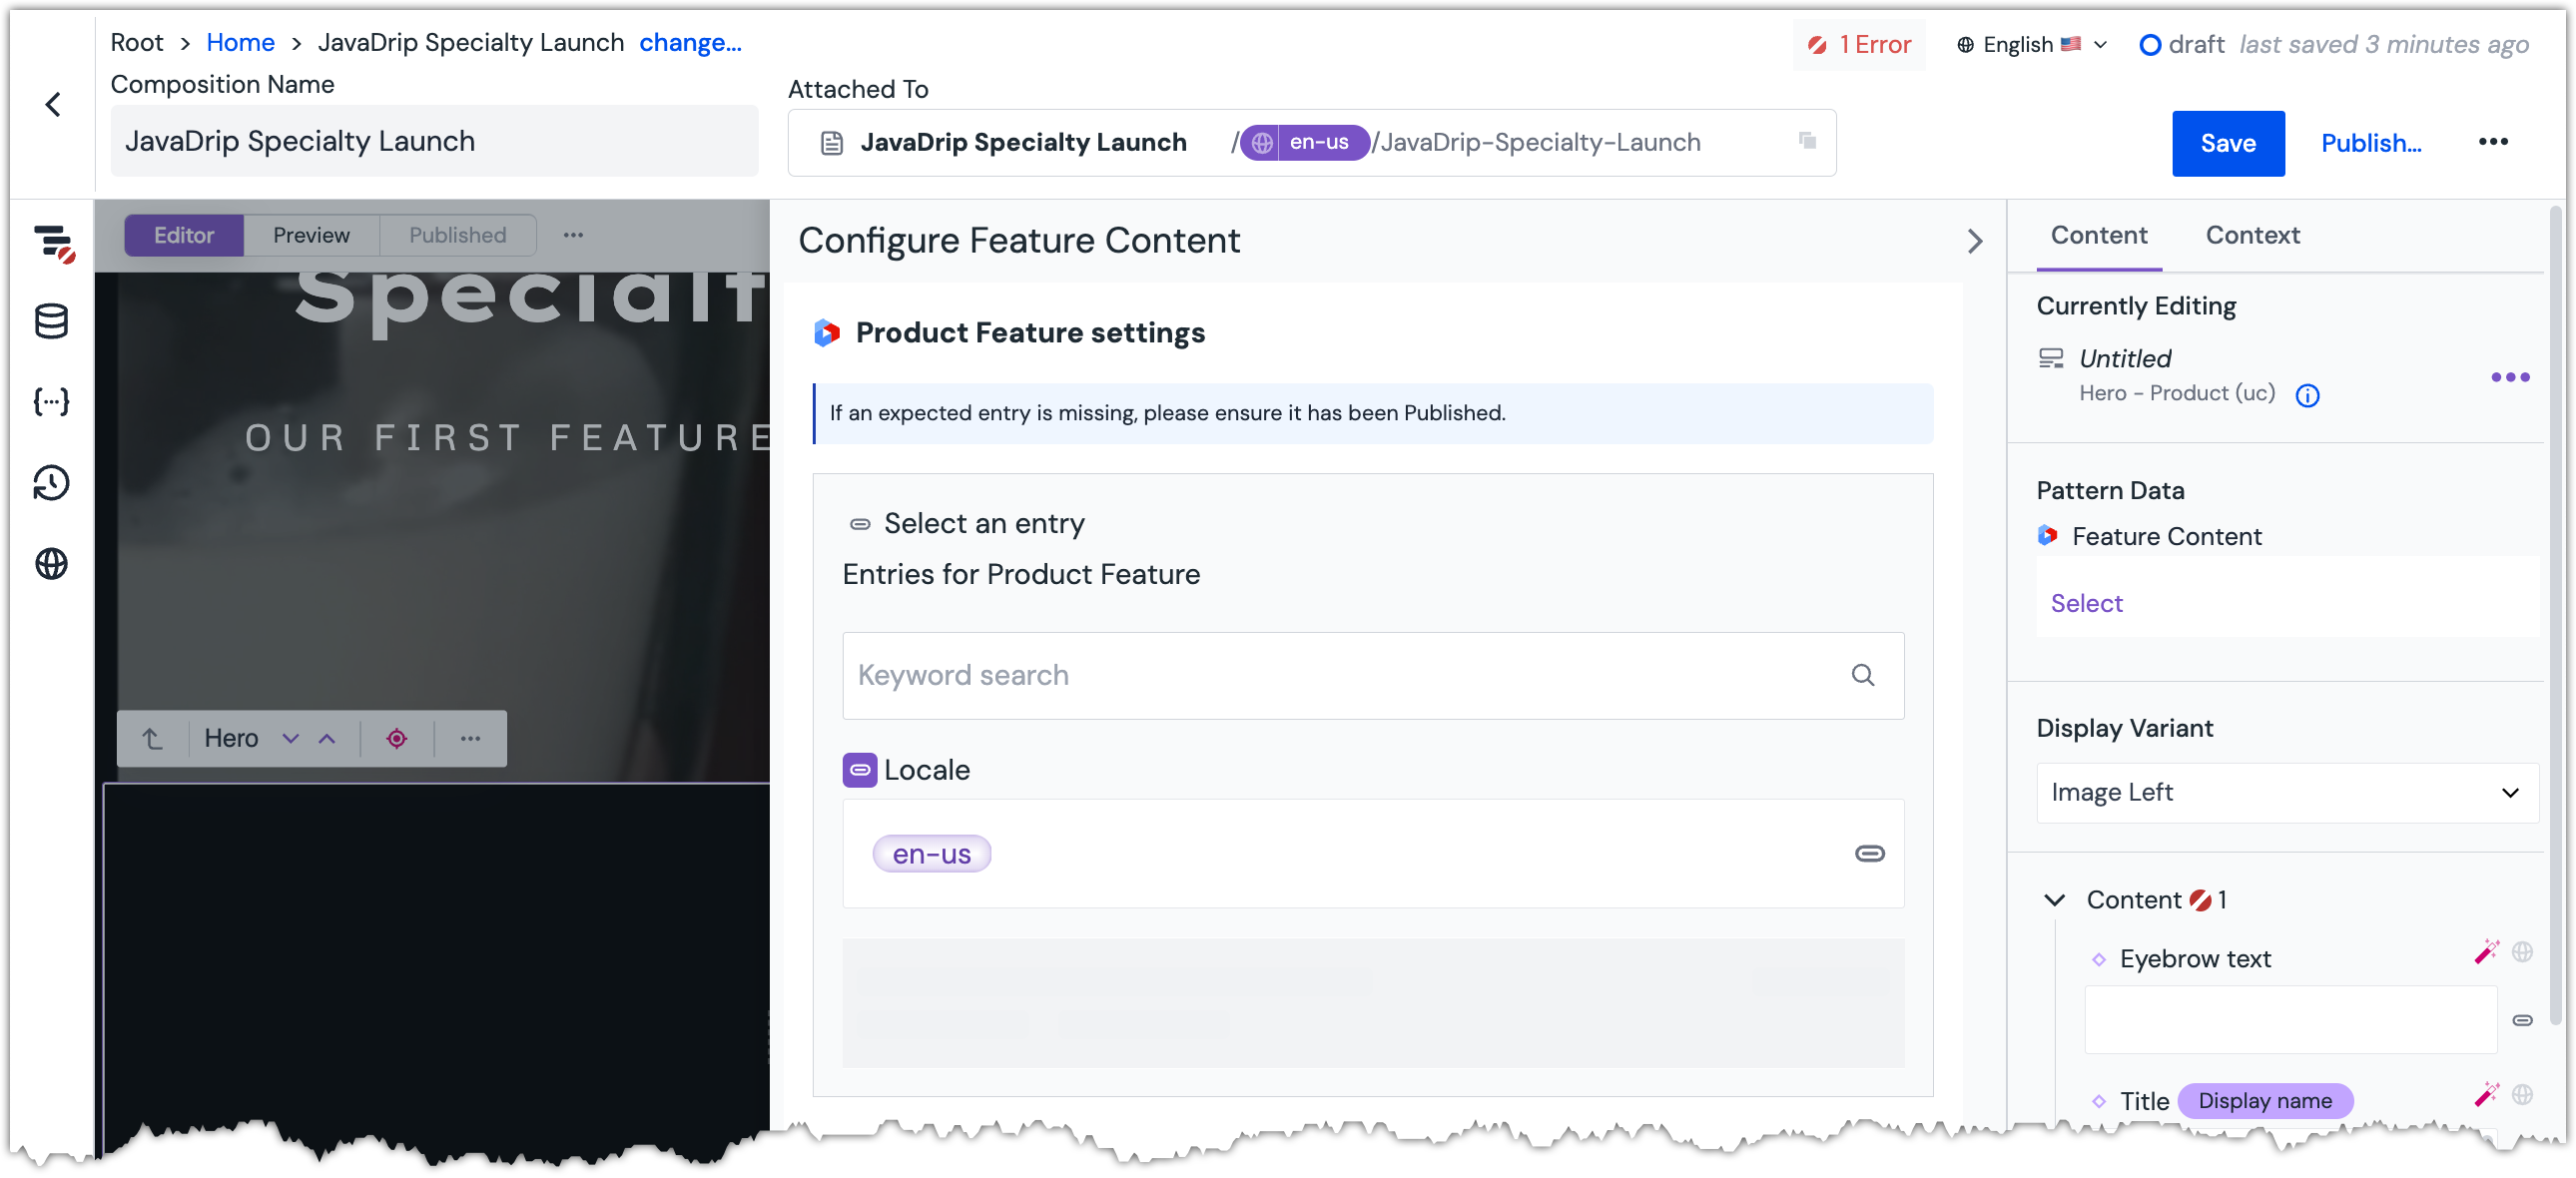 No entry from the CMS has been selected yet.
In the search field, enter the following value:
JavaDrip Specialty Overview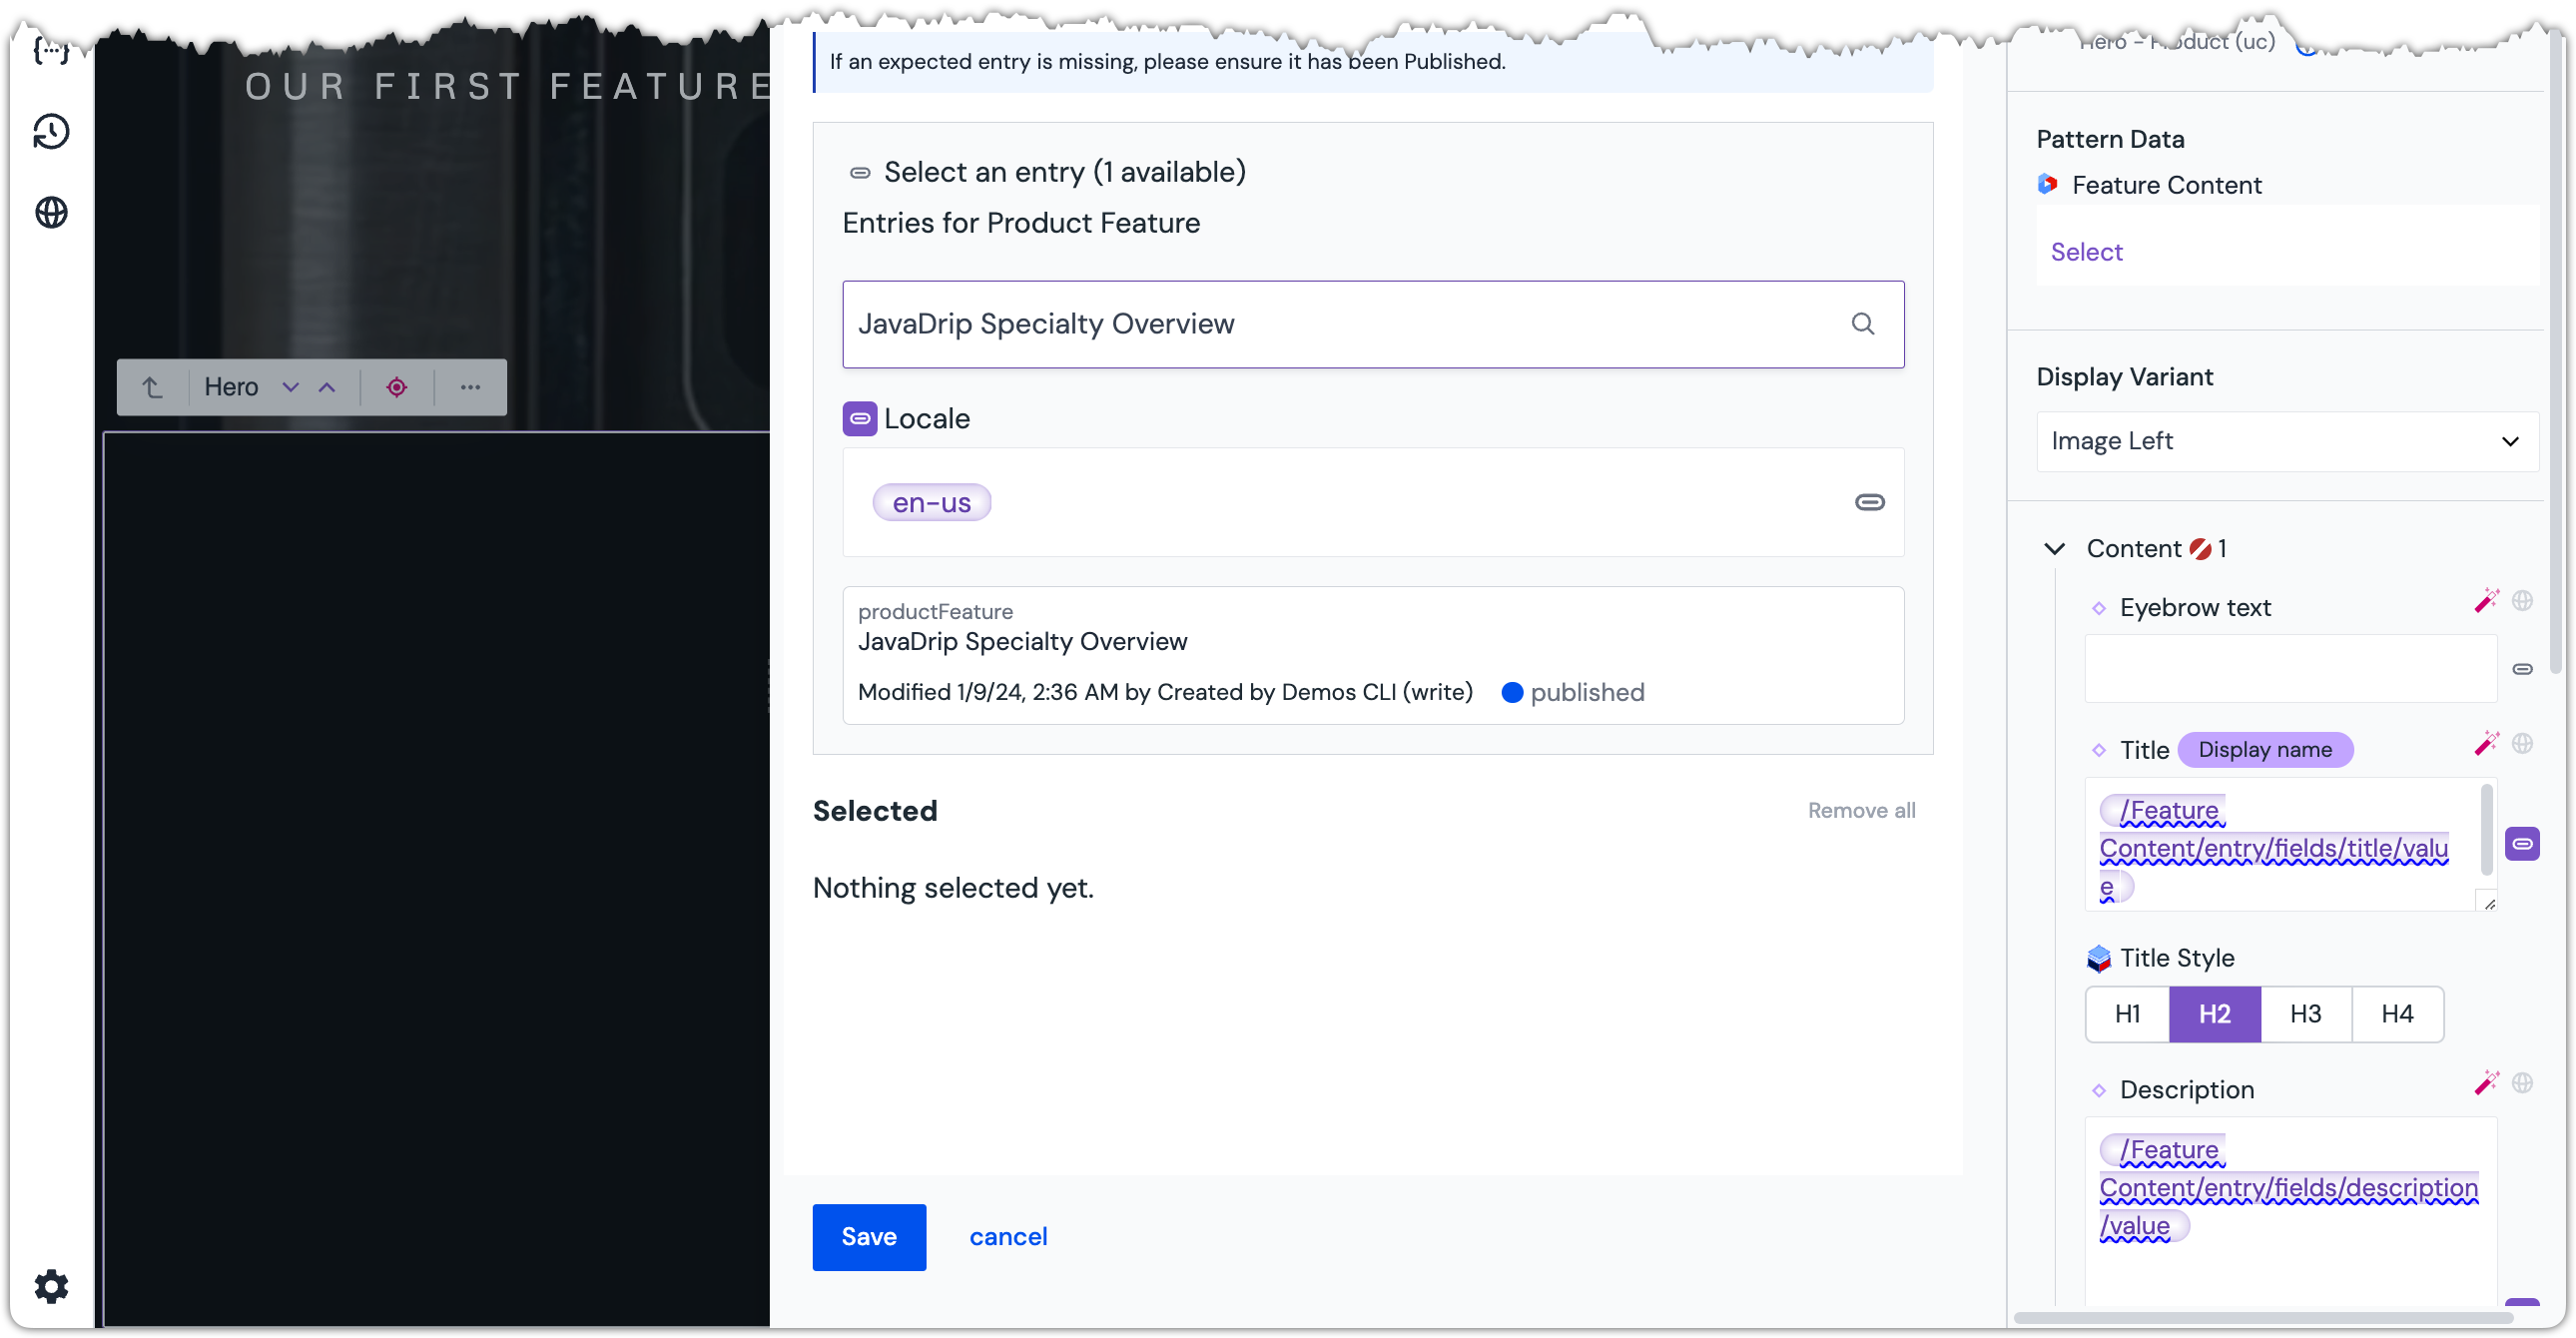 Entries from the CMS that match the search text are displayed.
Click the entry
JavaDrip Specialty Overviewfrom the list.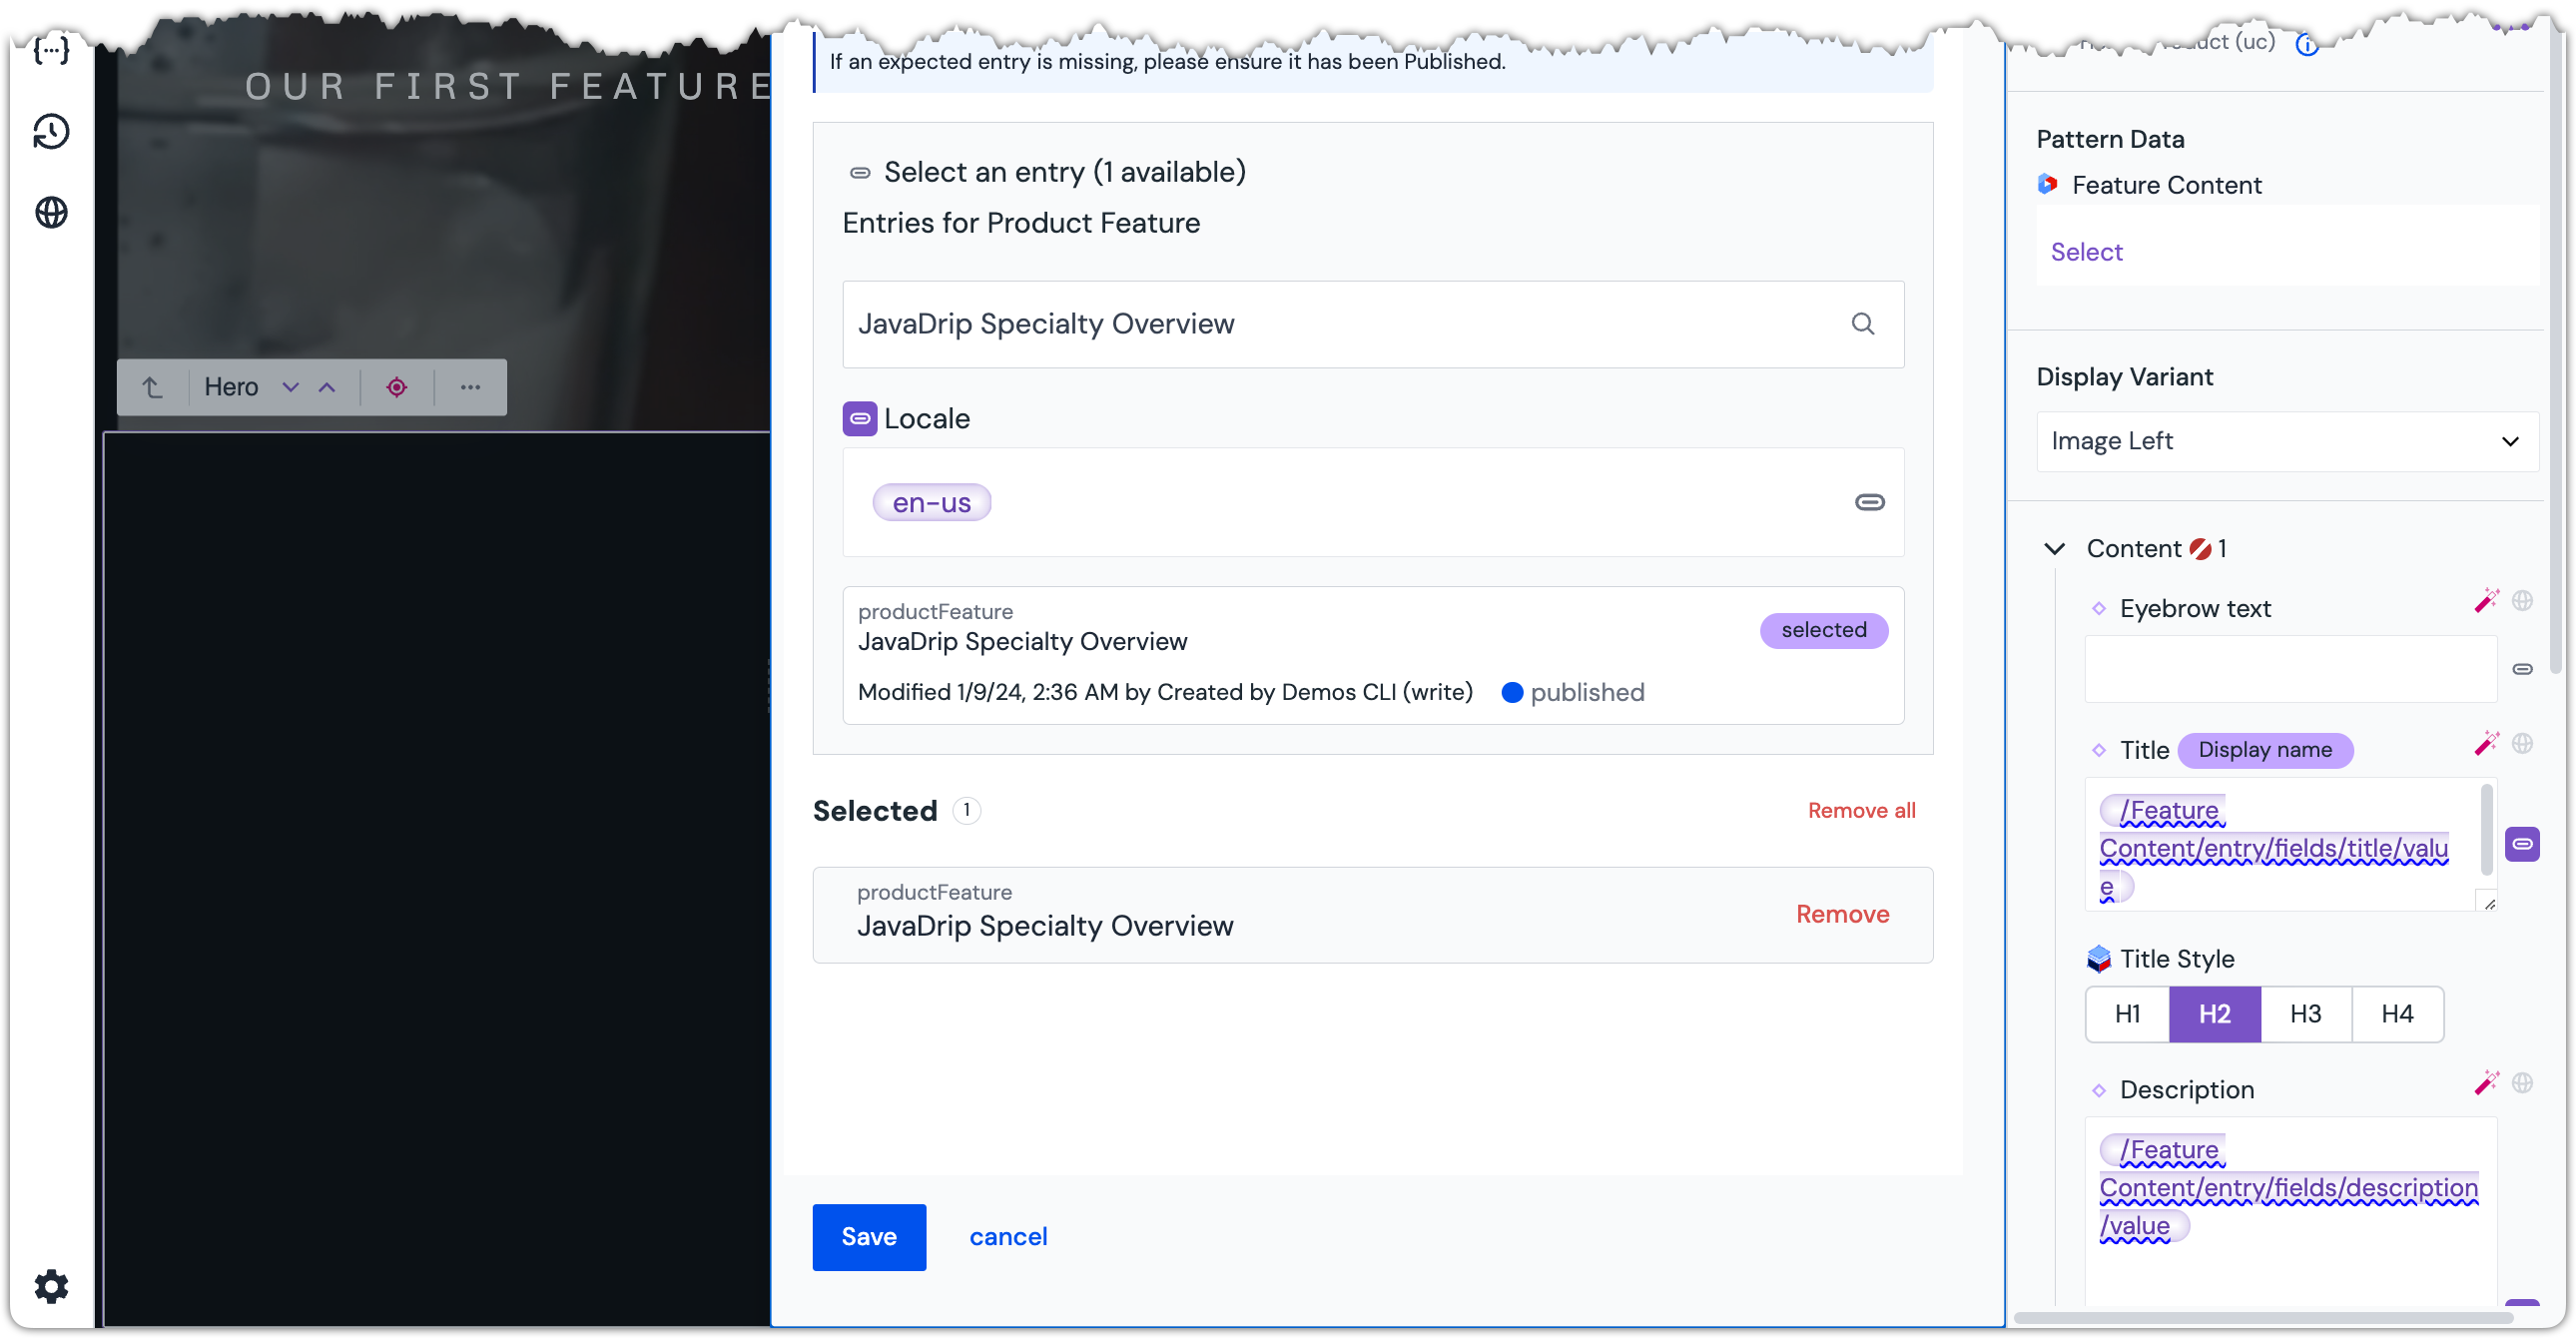 The entry from the CMS is selected.
Click Save.
About this step
This is how you set the pattern data on a pattern component. The process is almost identical to how you change the pattern data on a pattern component.
Use AI to shorten long text#
Click the product description.
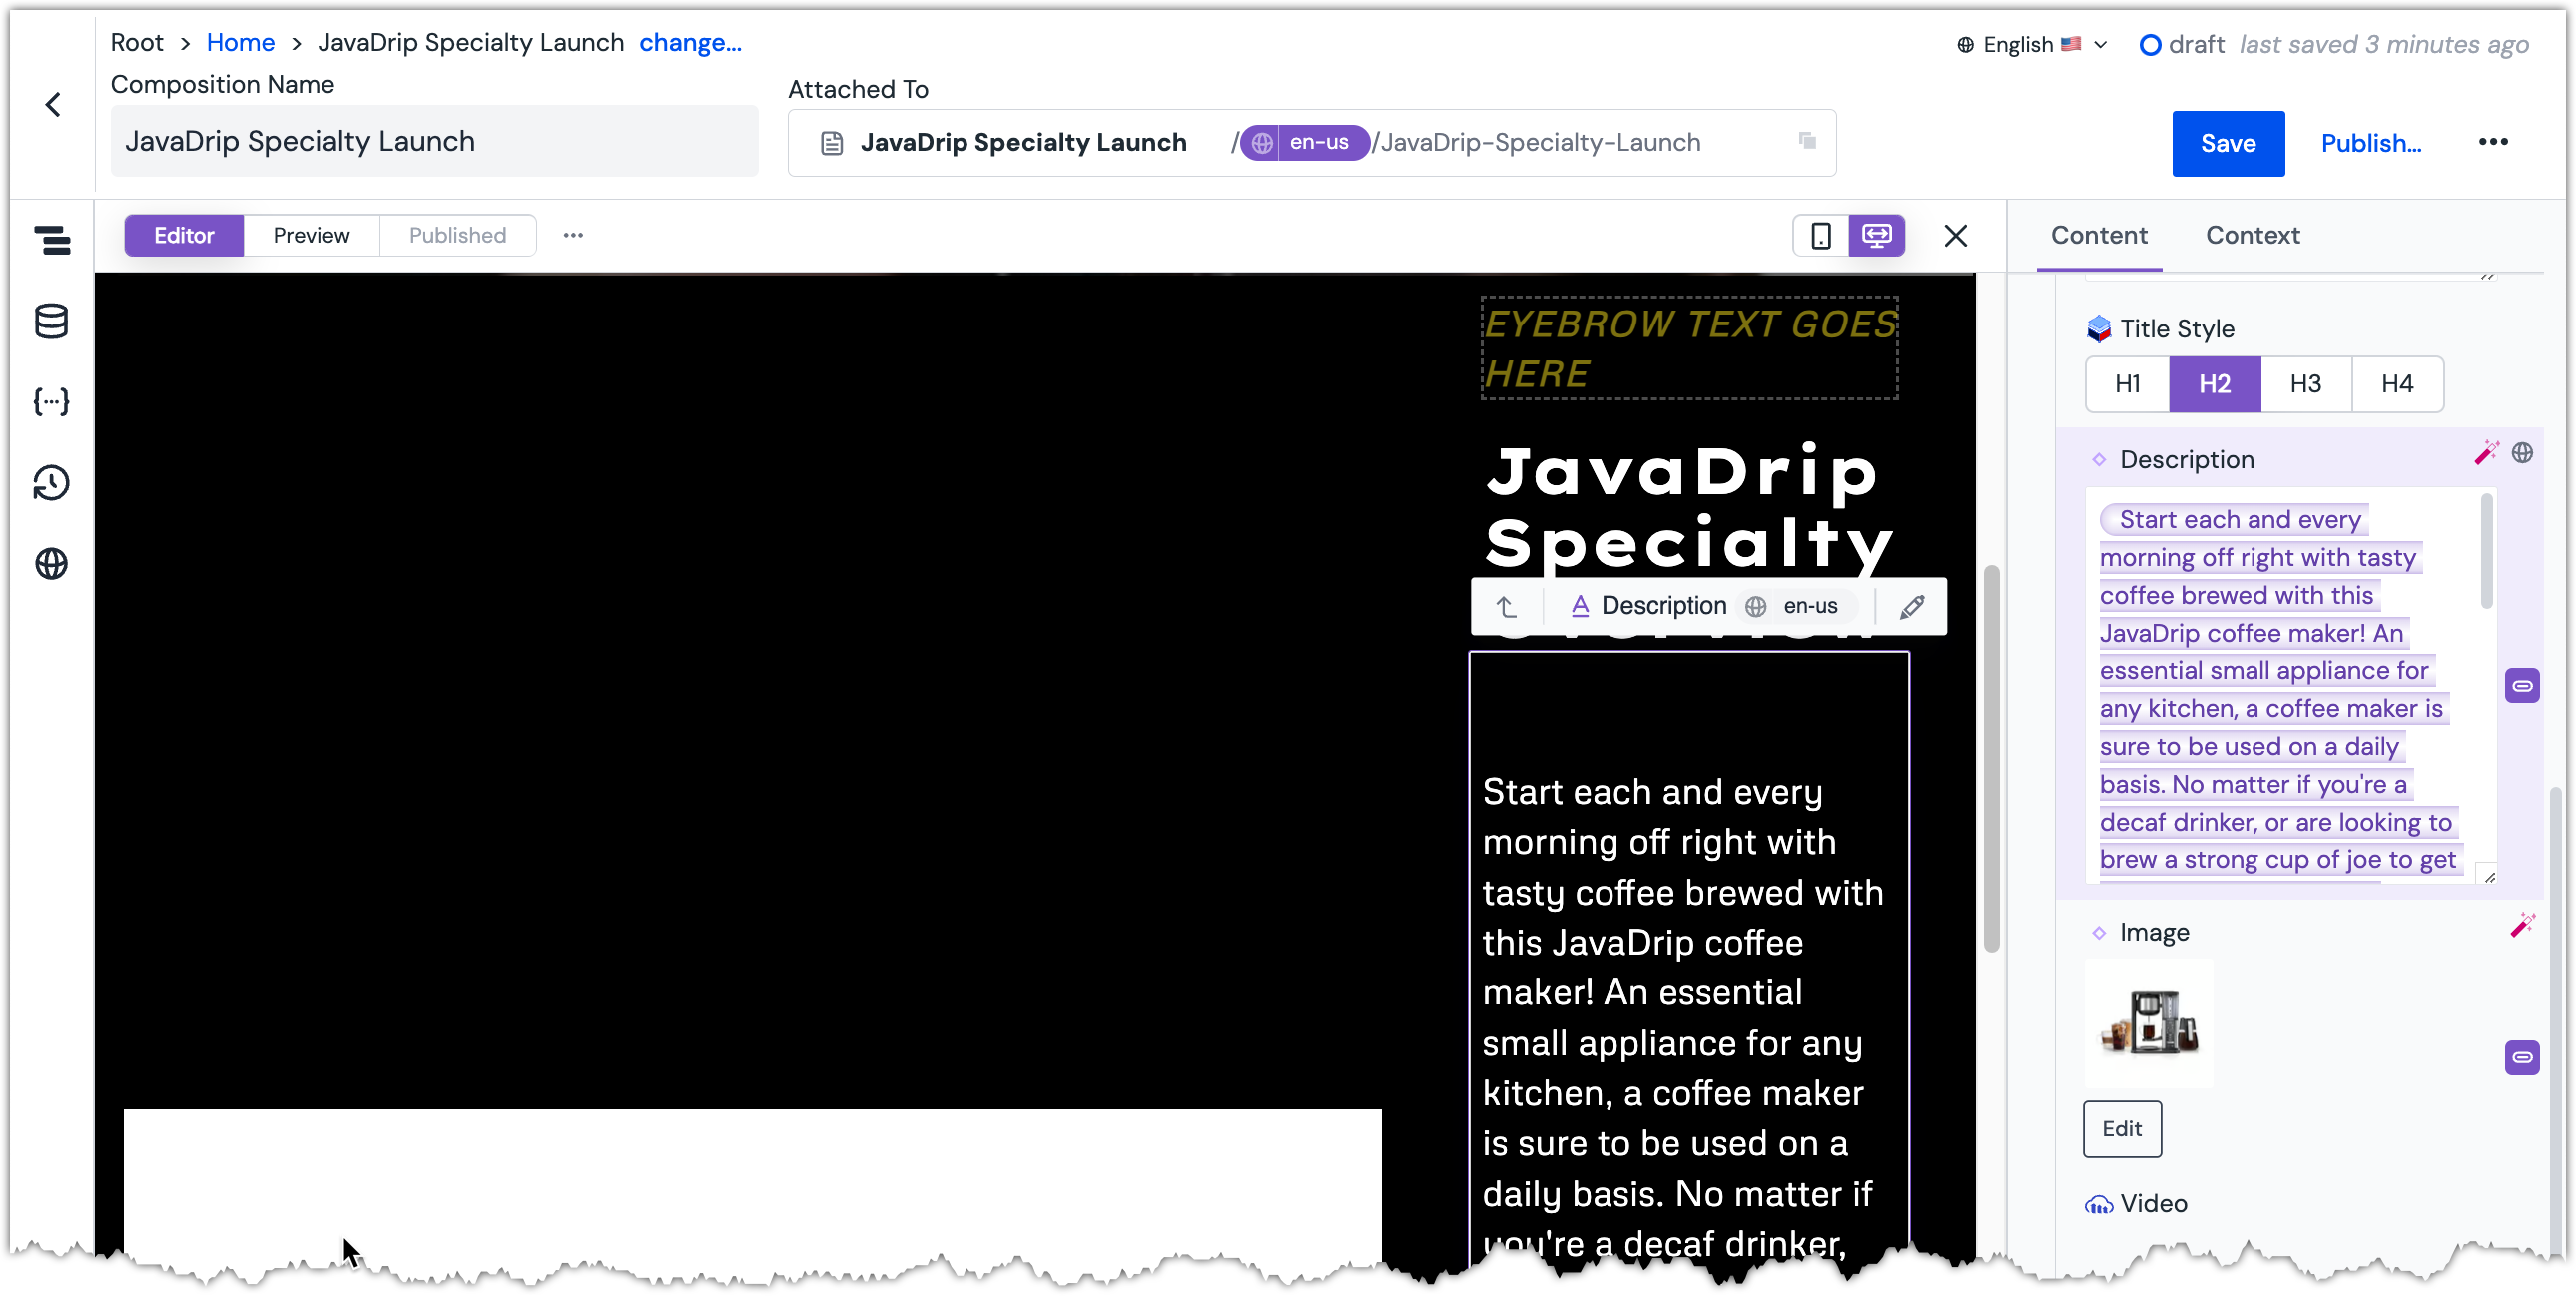 The Description parameter value is too long.
In the Content Panel, next to the parameter
Description, click the Magic Wand button.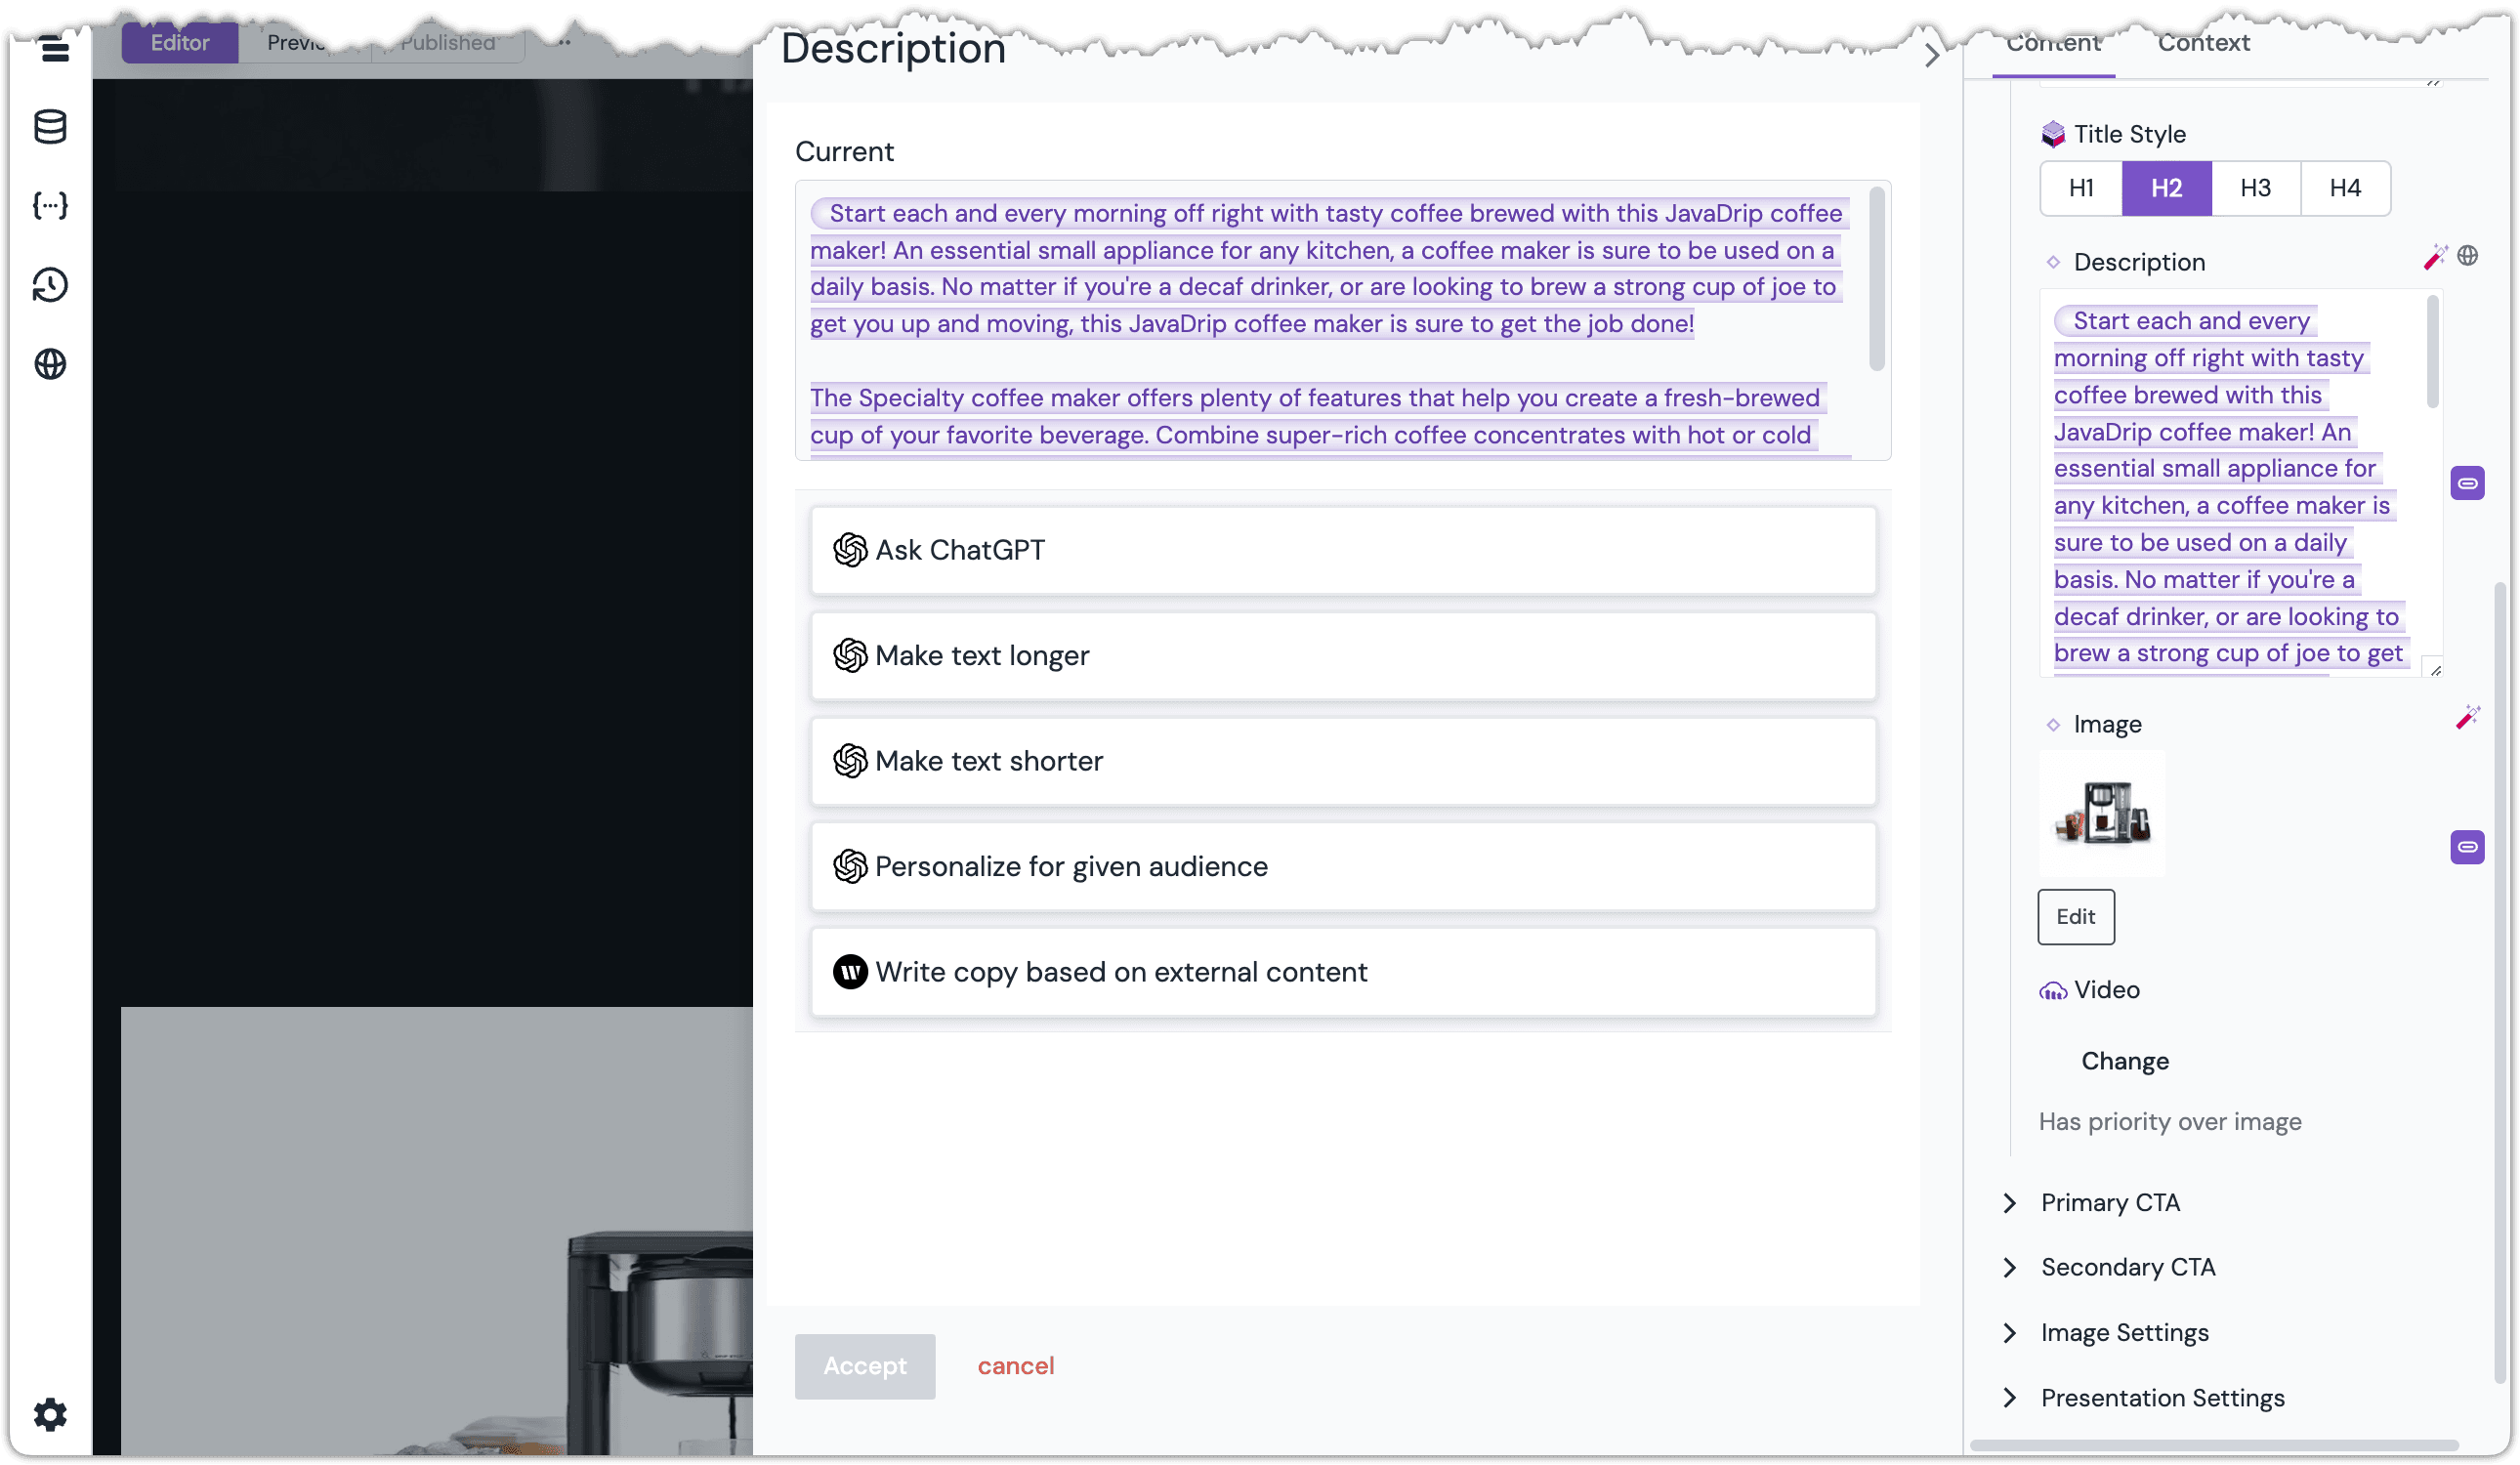 The AI prompts available for the Description parameter are displayed.
Click the button
Make text shorter.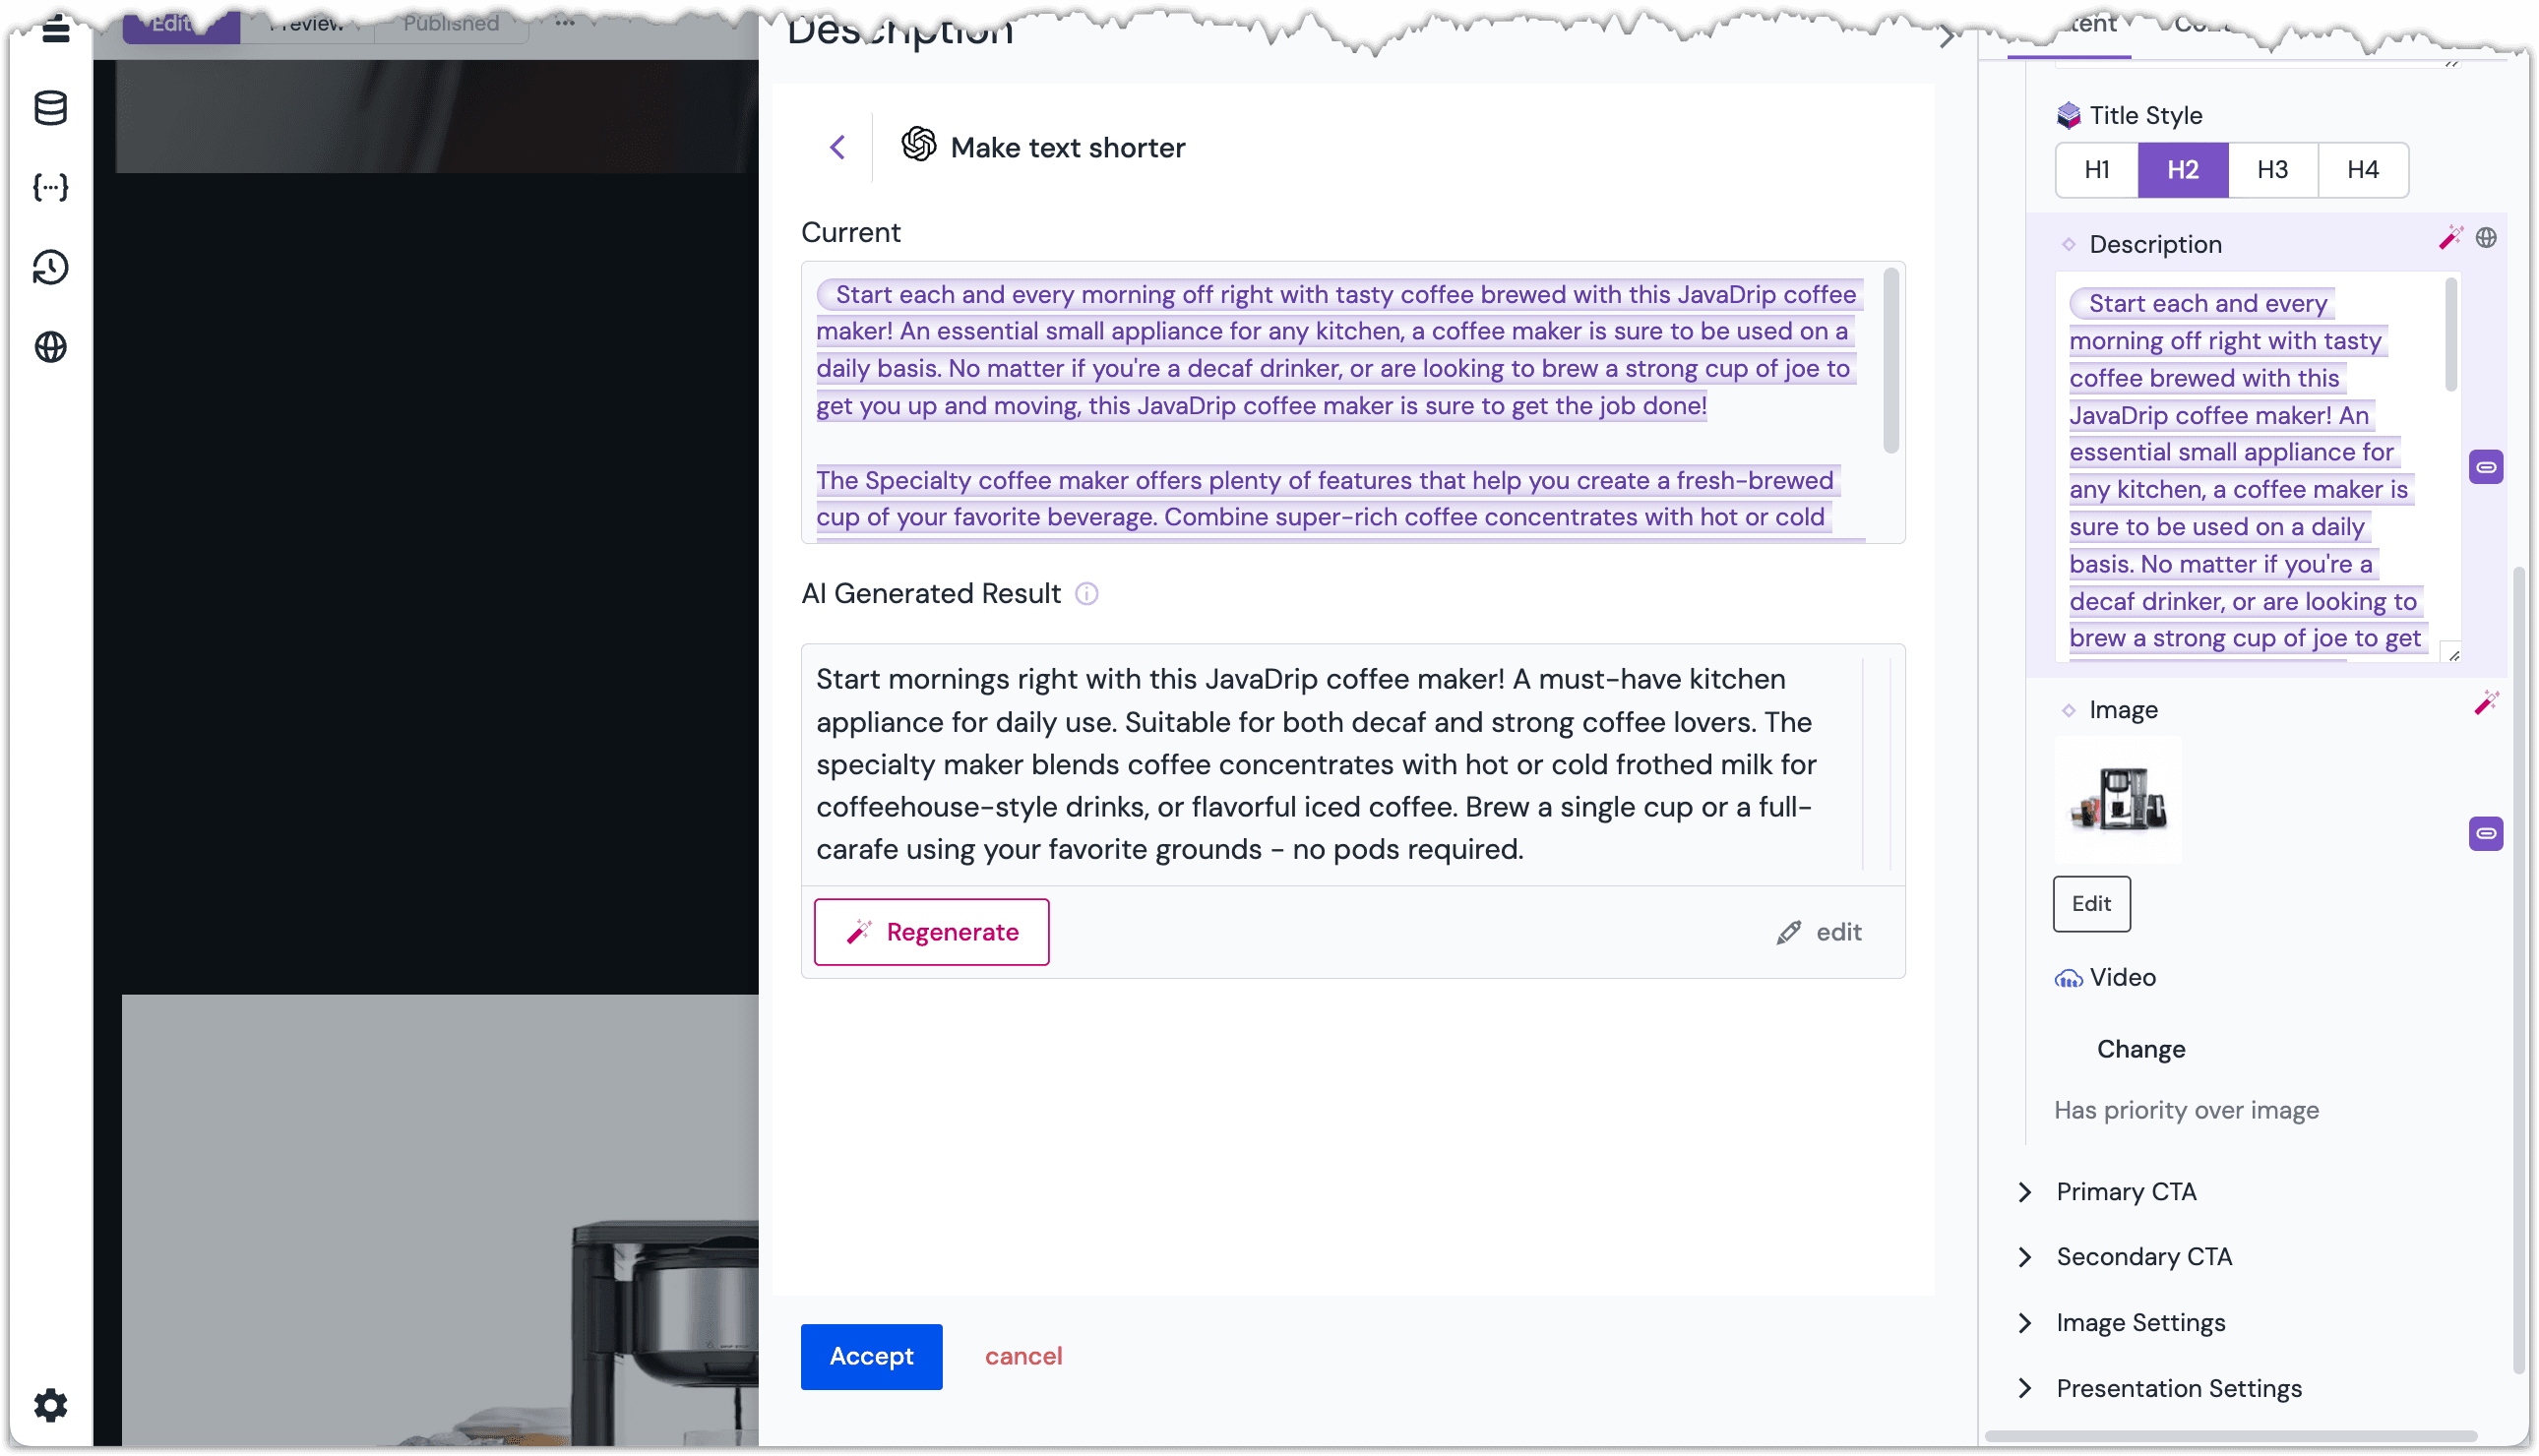 The shortened text is displayed.
Click the button Accept.
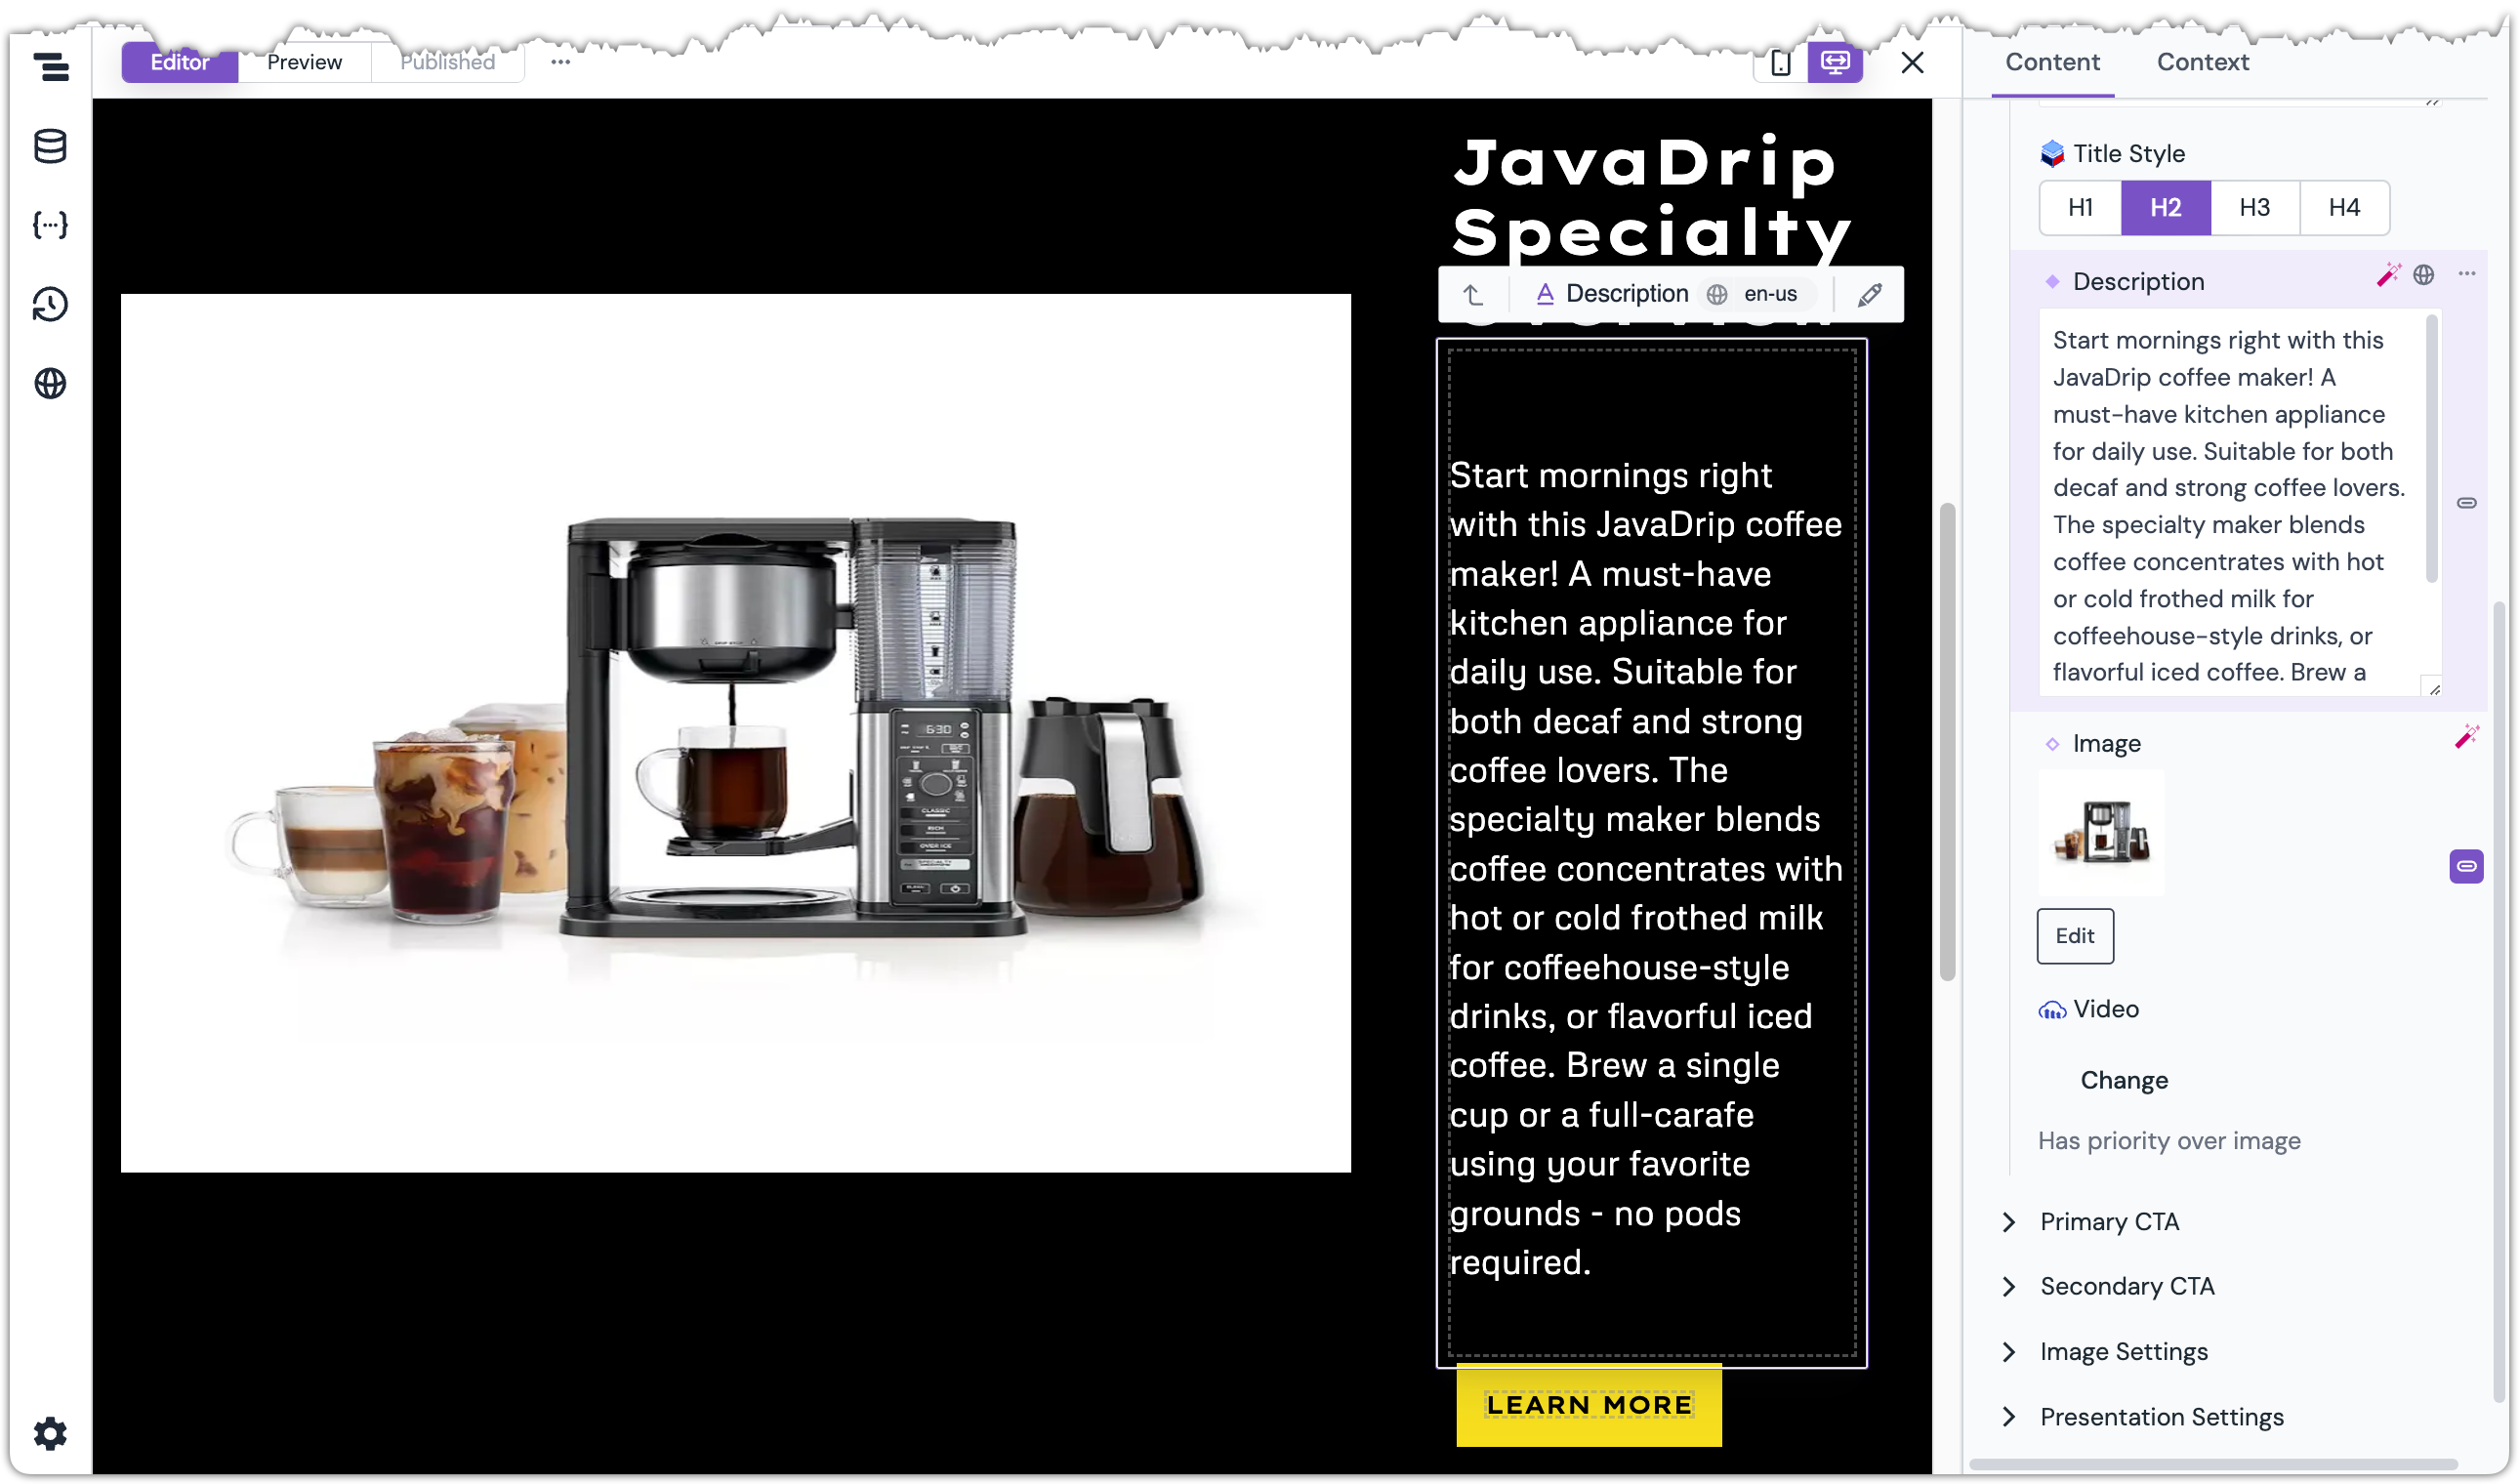 The Description parameter is updated to the shortened text.
About this step
This is how you use AI to generate content for a component parameter.
Change the content for the Email Signup Form#
Scroll down to the
Email Signup Formcomponent and select the component.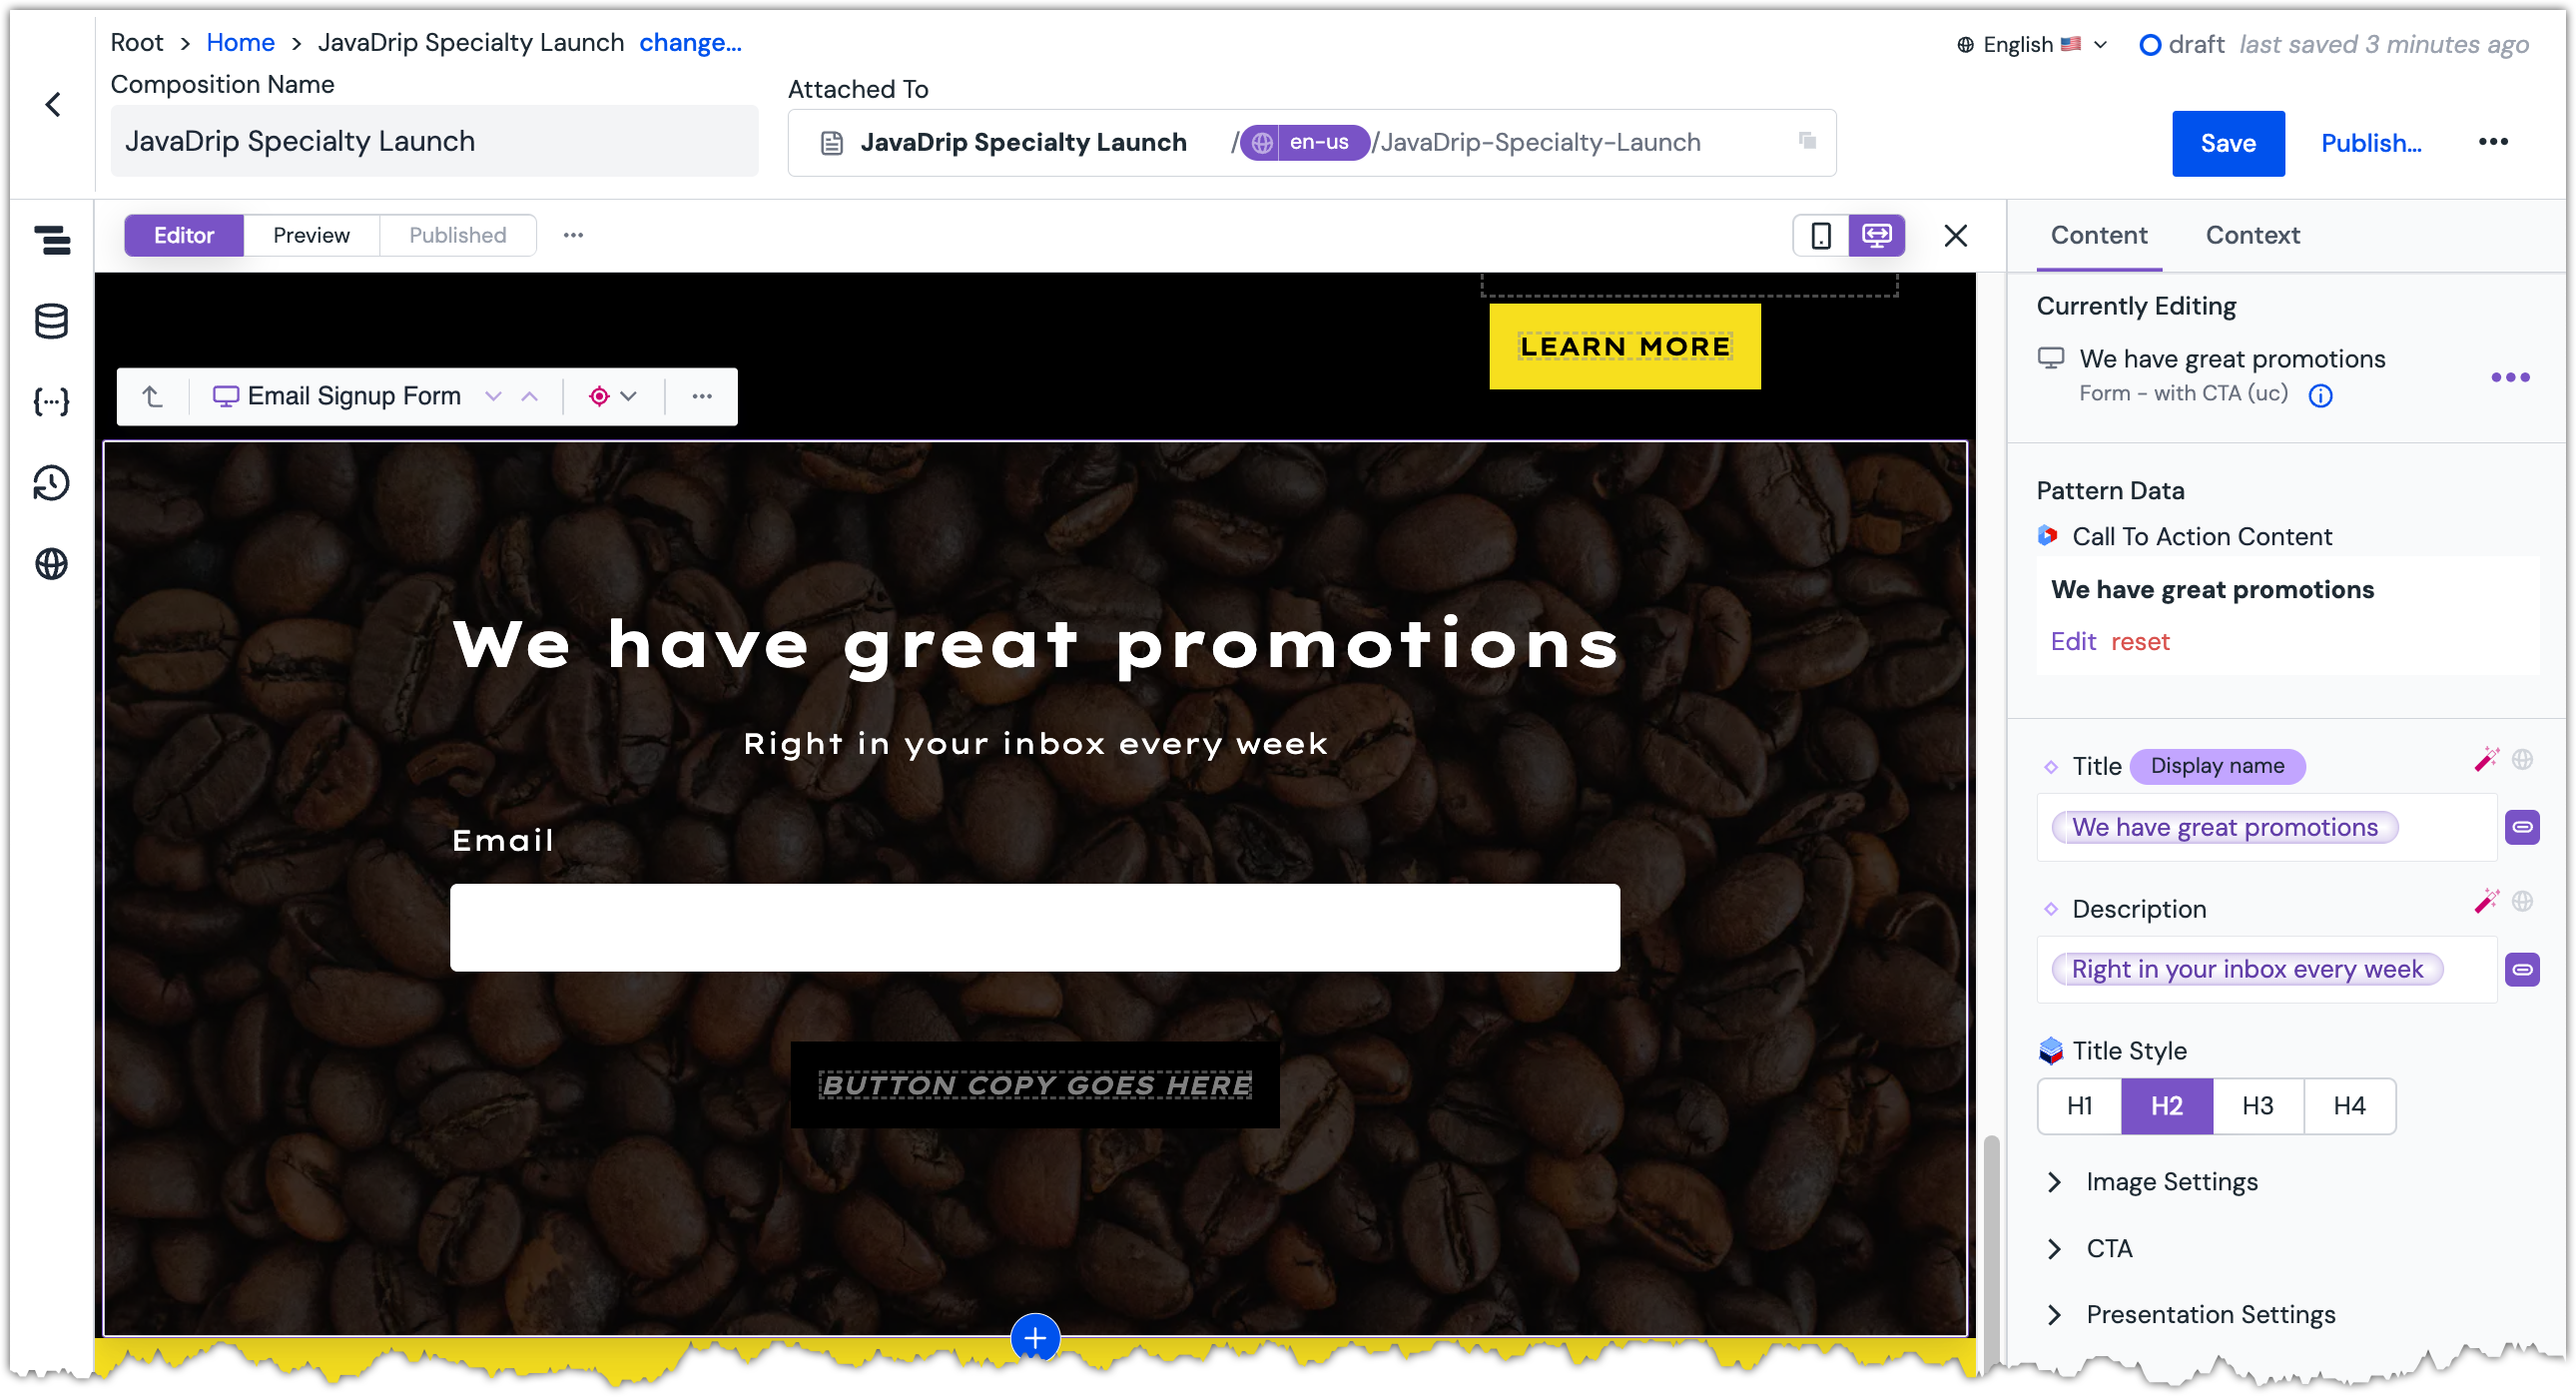 The Email Signup Form component is selected.
Change Pattern Data to the entry
Get Free Shipping on Specialty.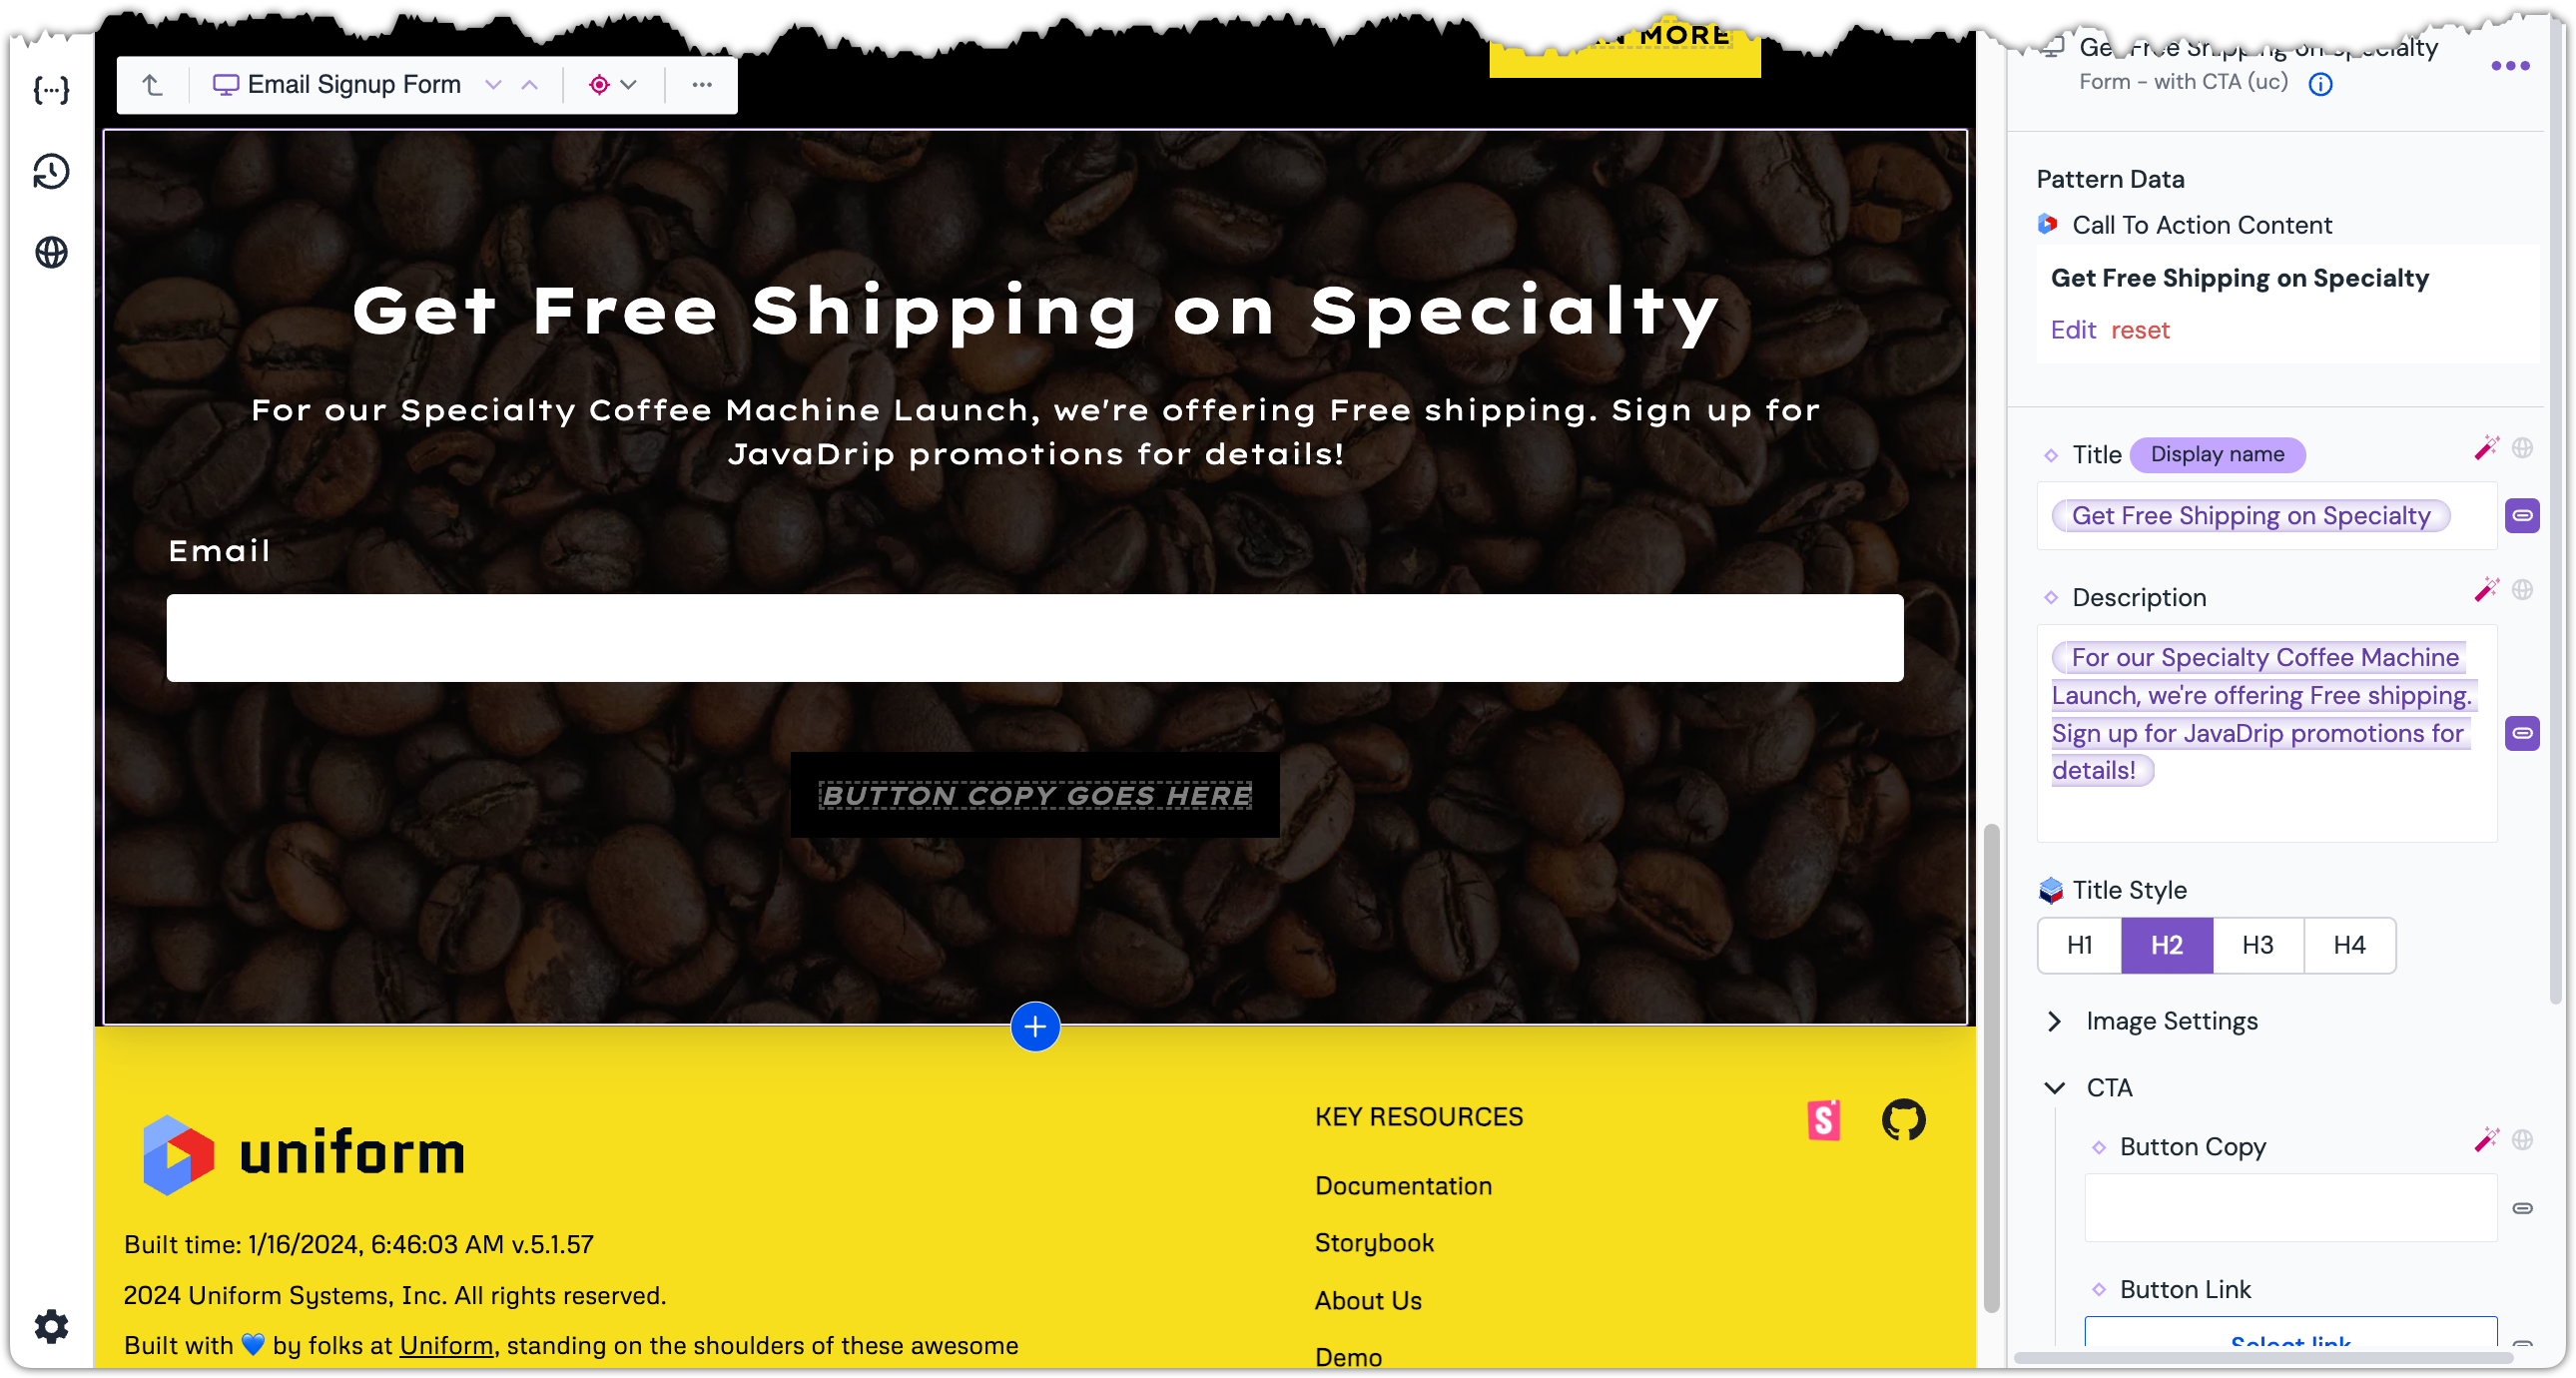 The Title and Description parameters are updated.
About this step
You should follow the steps you used to change the pattern data for the Hero component.
Set copy for the button to the following value:
Get my free shipping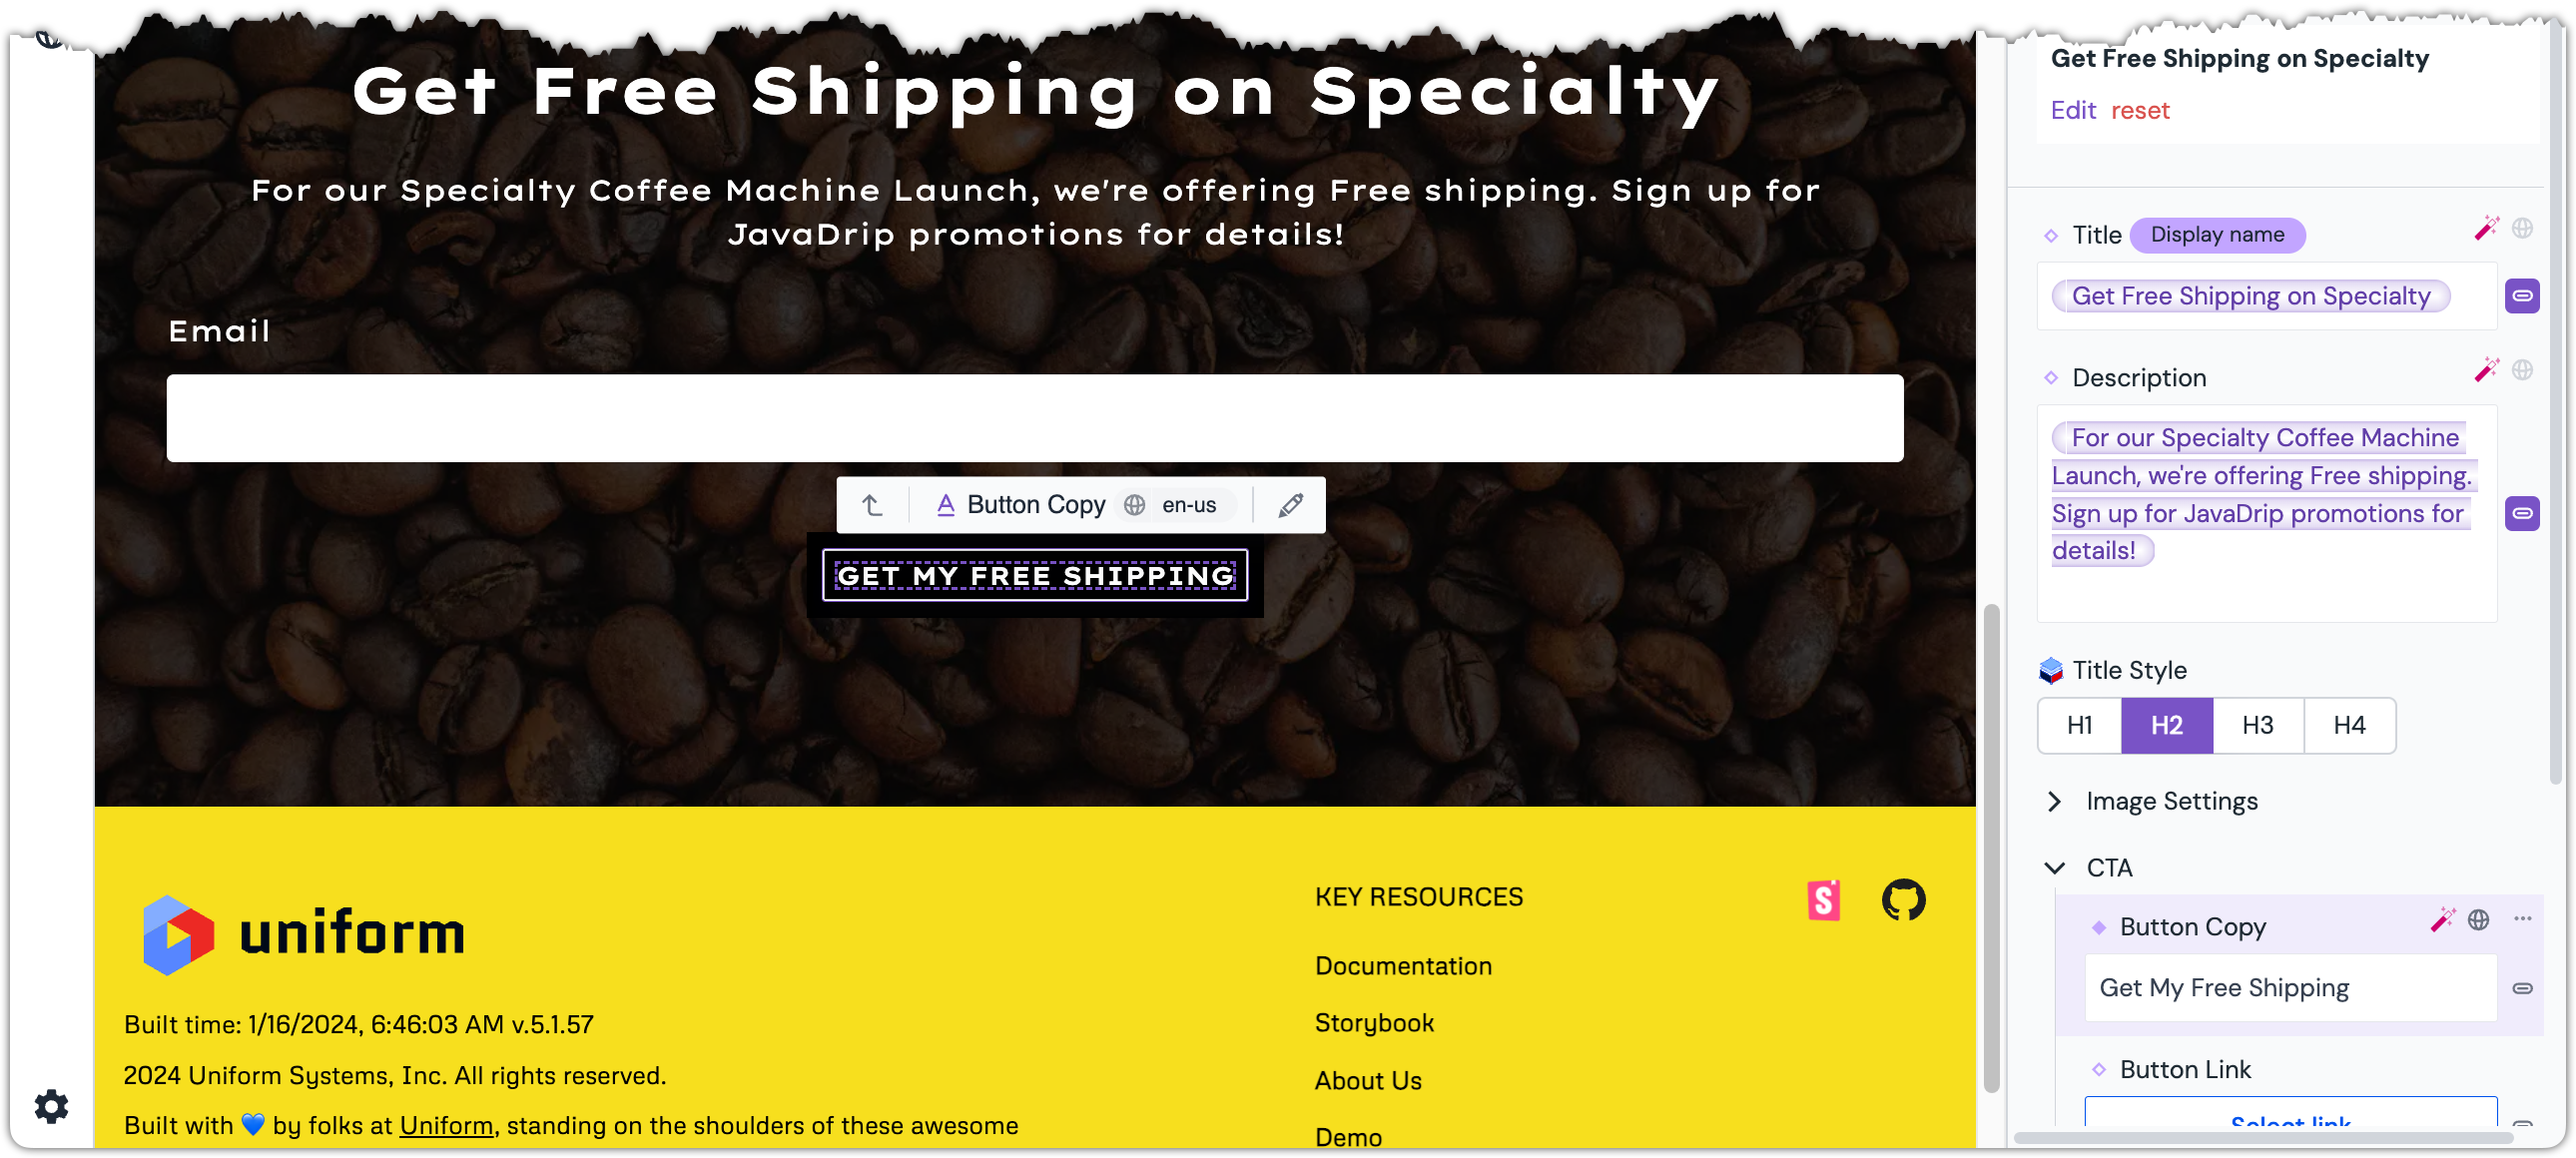 The Button Copy parameter is updated.
About this step
You should follow the steps you used to change the eyebrow text on the the Hero component.
Personalize the Email Signup Form#
If the visitor has already completed the form, you do not want to continue to show the form. Personalization can enable you to configure the composition so the form is only shown to visitors who have not yet completed the form. For visitors who have completed the form, you want to show a promotion.
Select the component
Email Signup Form.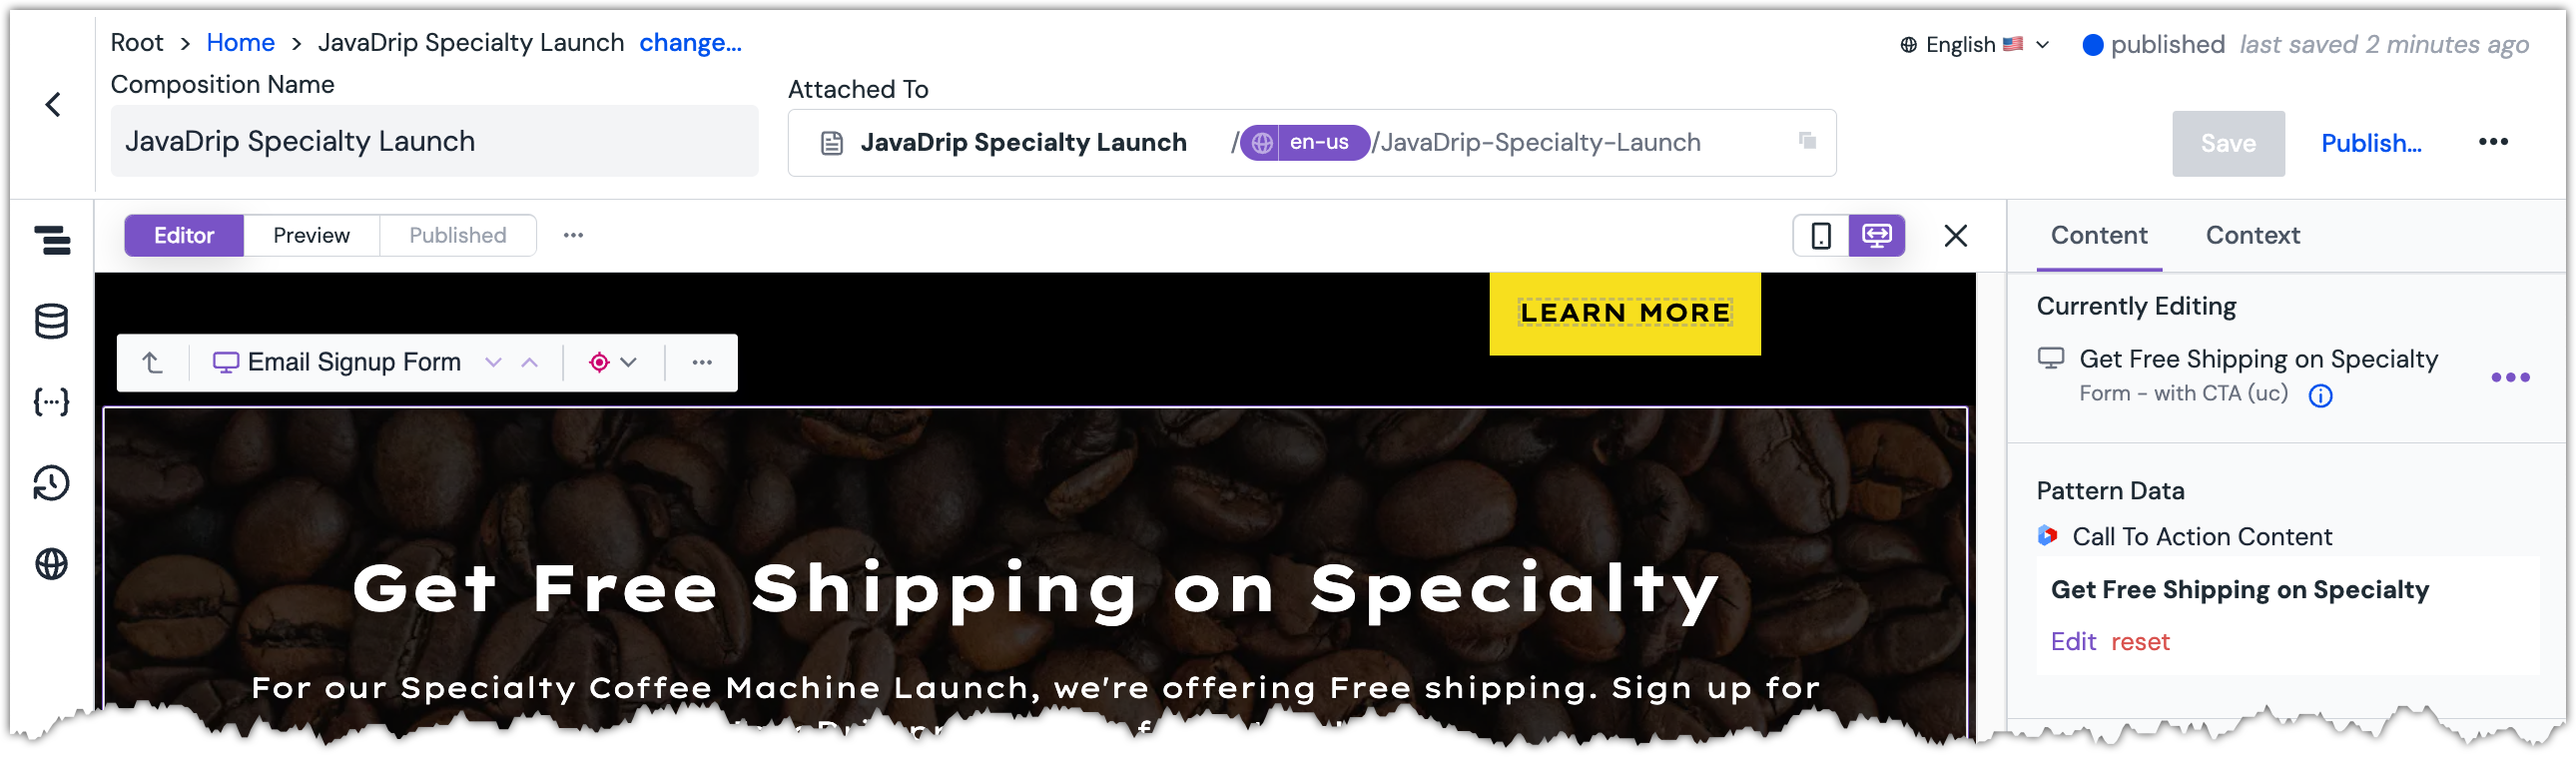 The Email Signup Form component is selected.
In the Control Bar, click and select Insert before.
 The Component Control Bar Menu is displayed.
About this step
The reason you are inserting a component before the Email Signup Form is because the form is what the visitor will see by default. You will configure the new component to be displayed only in certain cases. Uniform runs the components in order. The first component that matches the personalization instructions will be displayed. Therefore, you want the personalized components to be added before the default component.
Add the component
Hero - Promotion.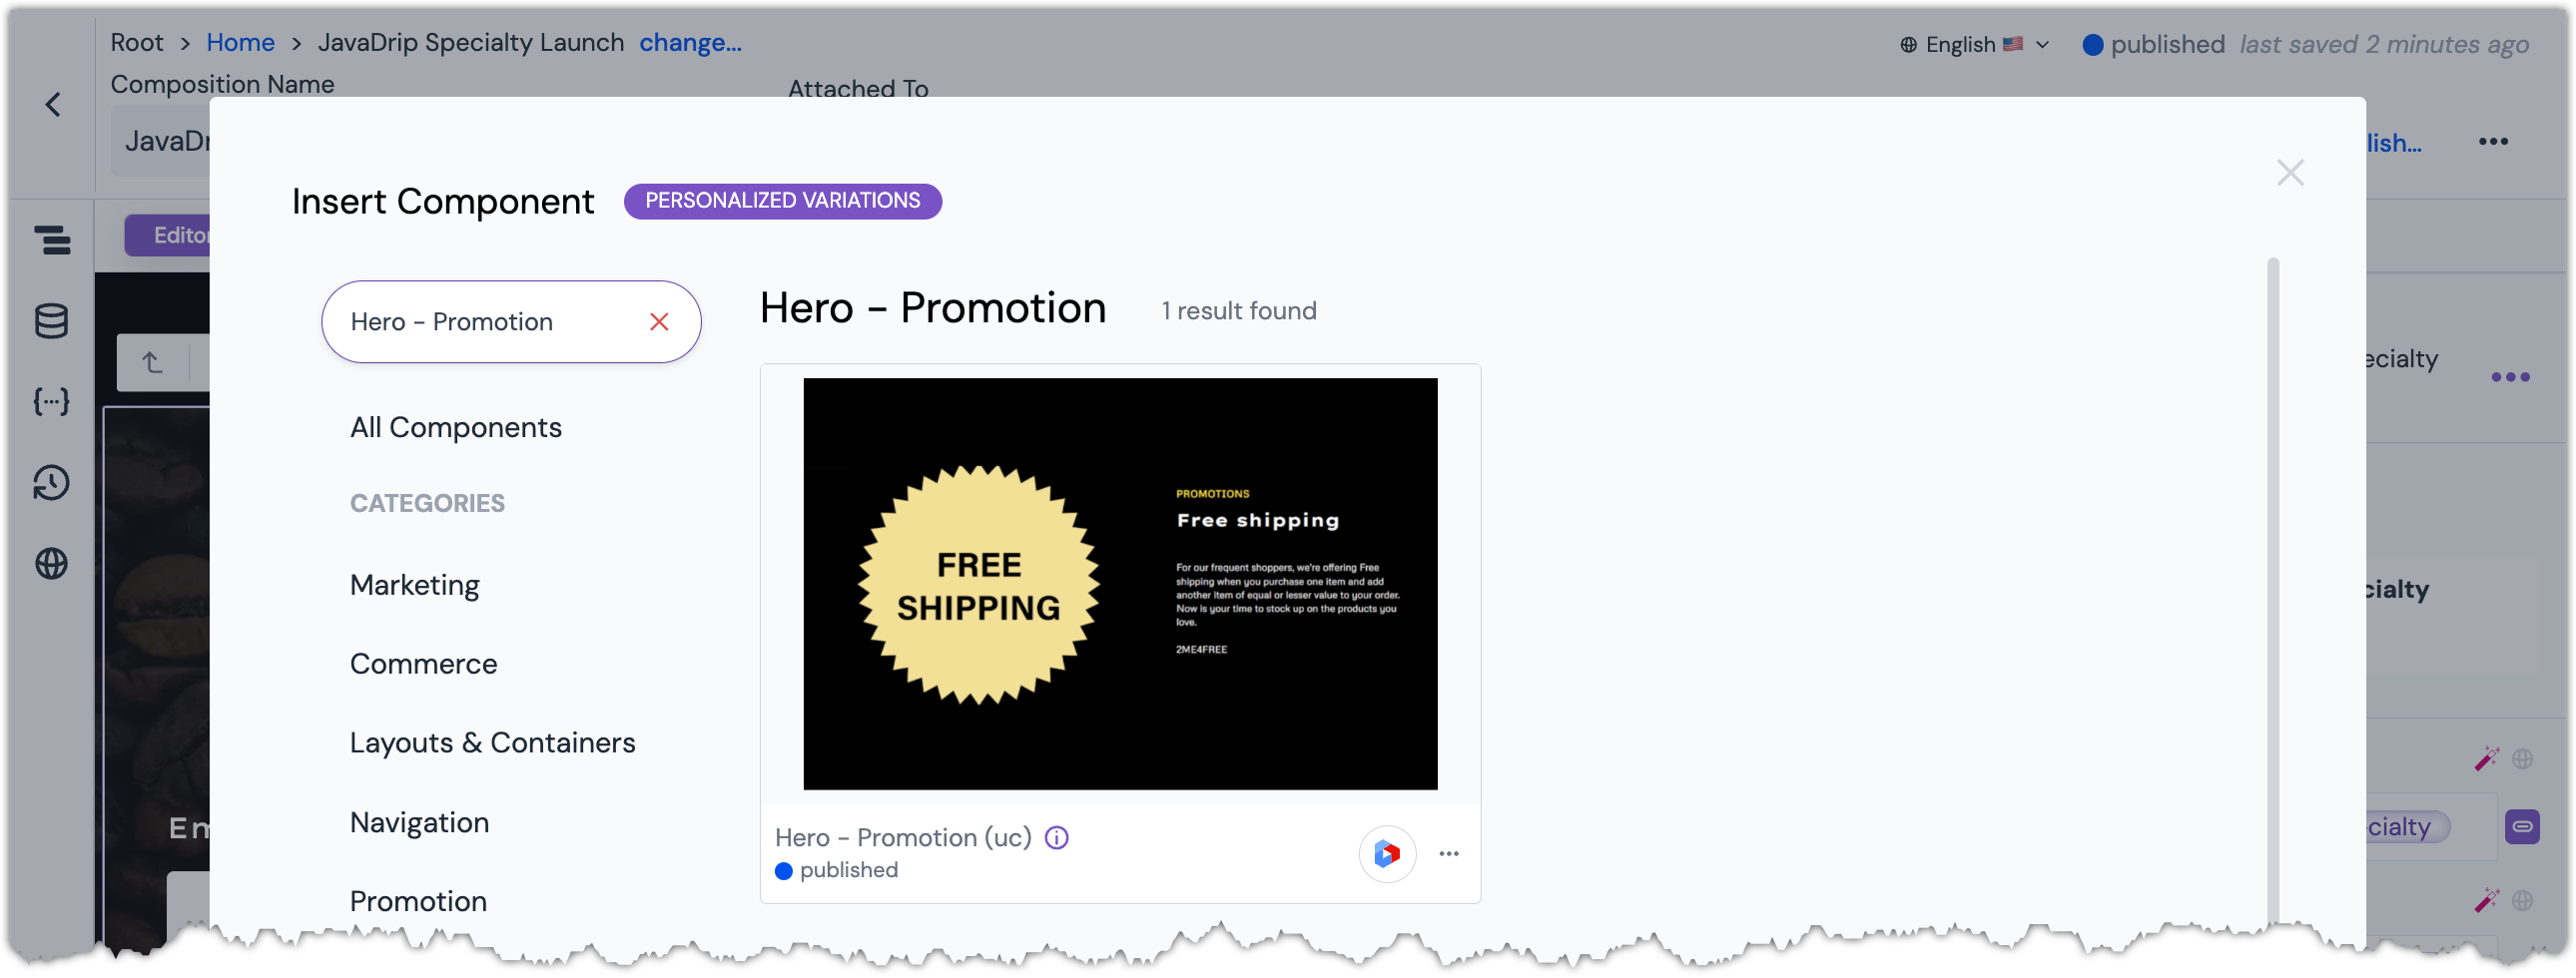 The Promotion Hero component in Insert Component dialog.
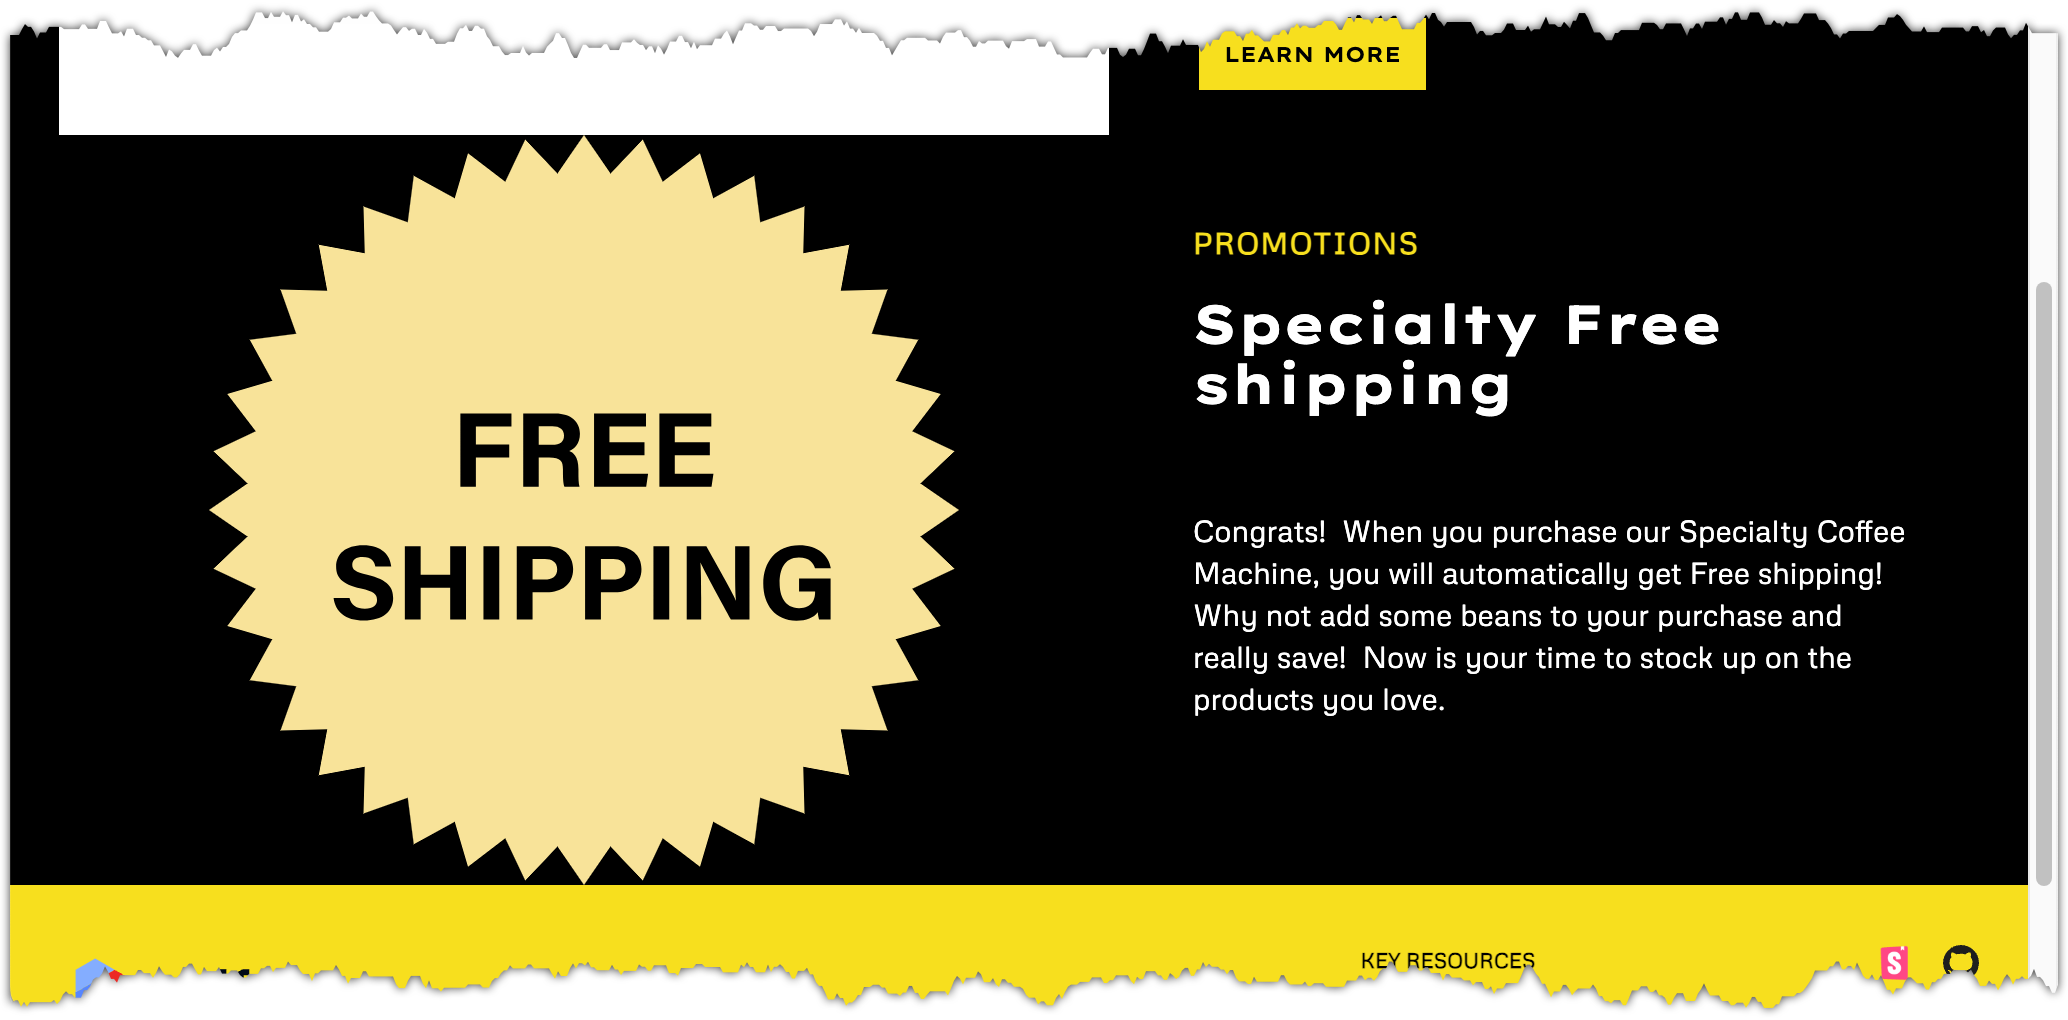
On the new component, set Pattern Data to the entry
Specialty Free shipping.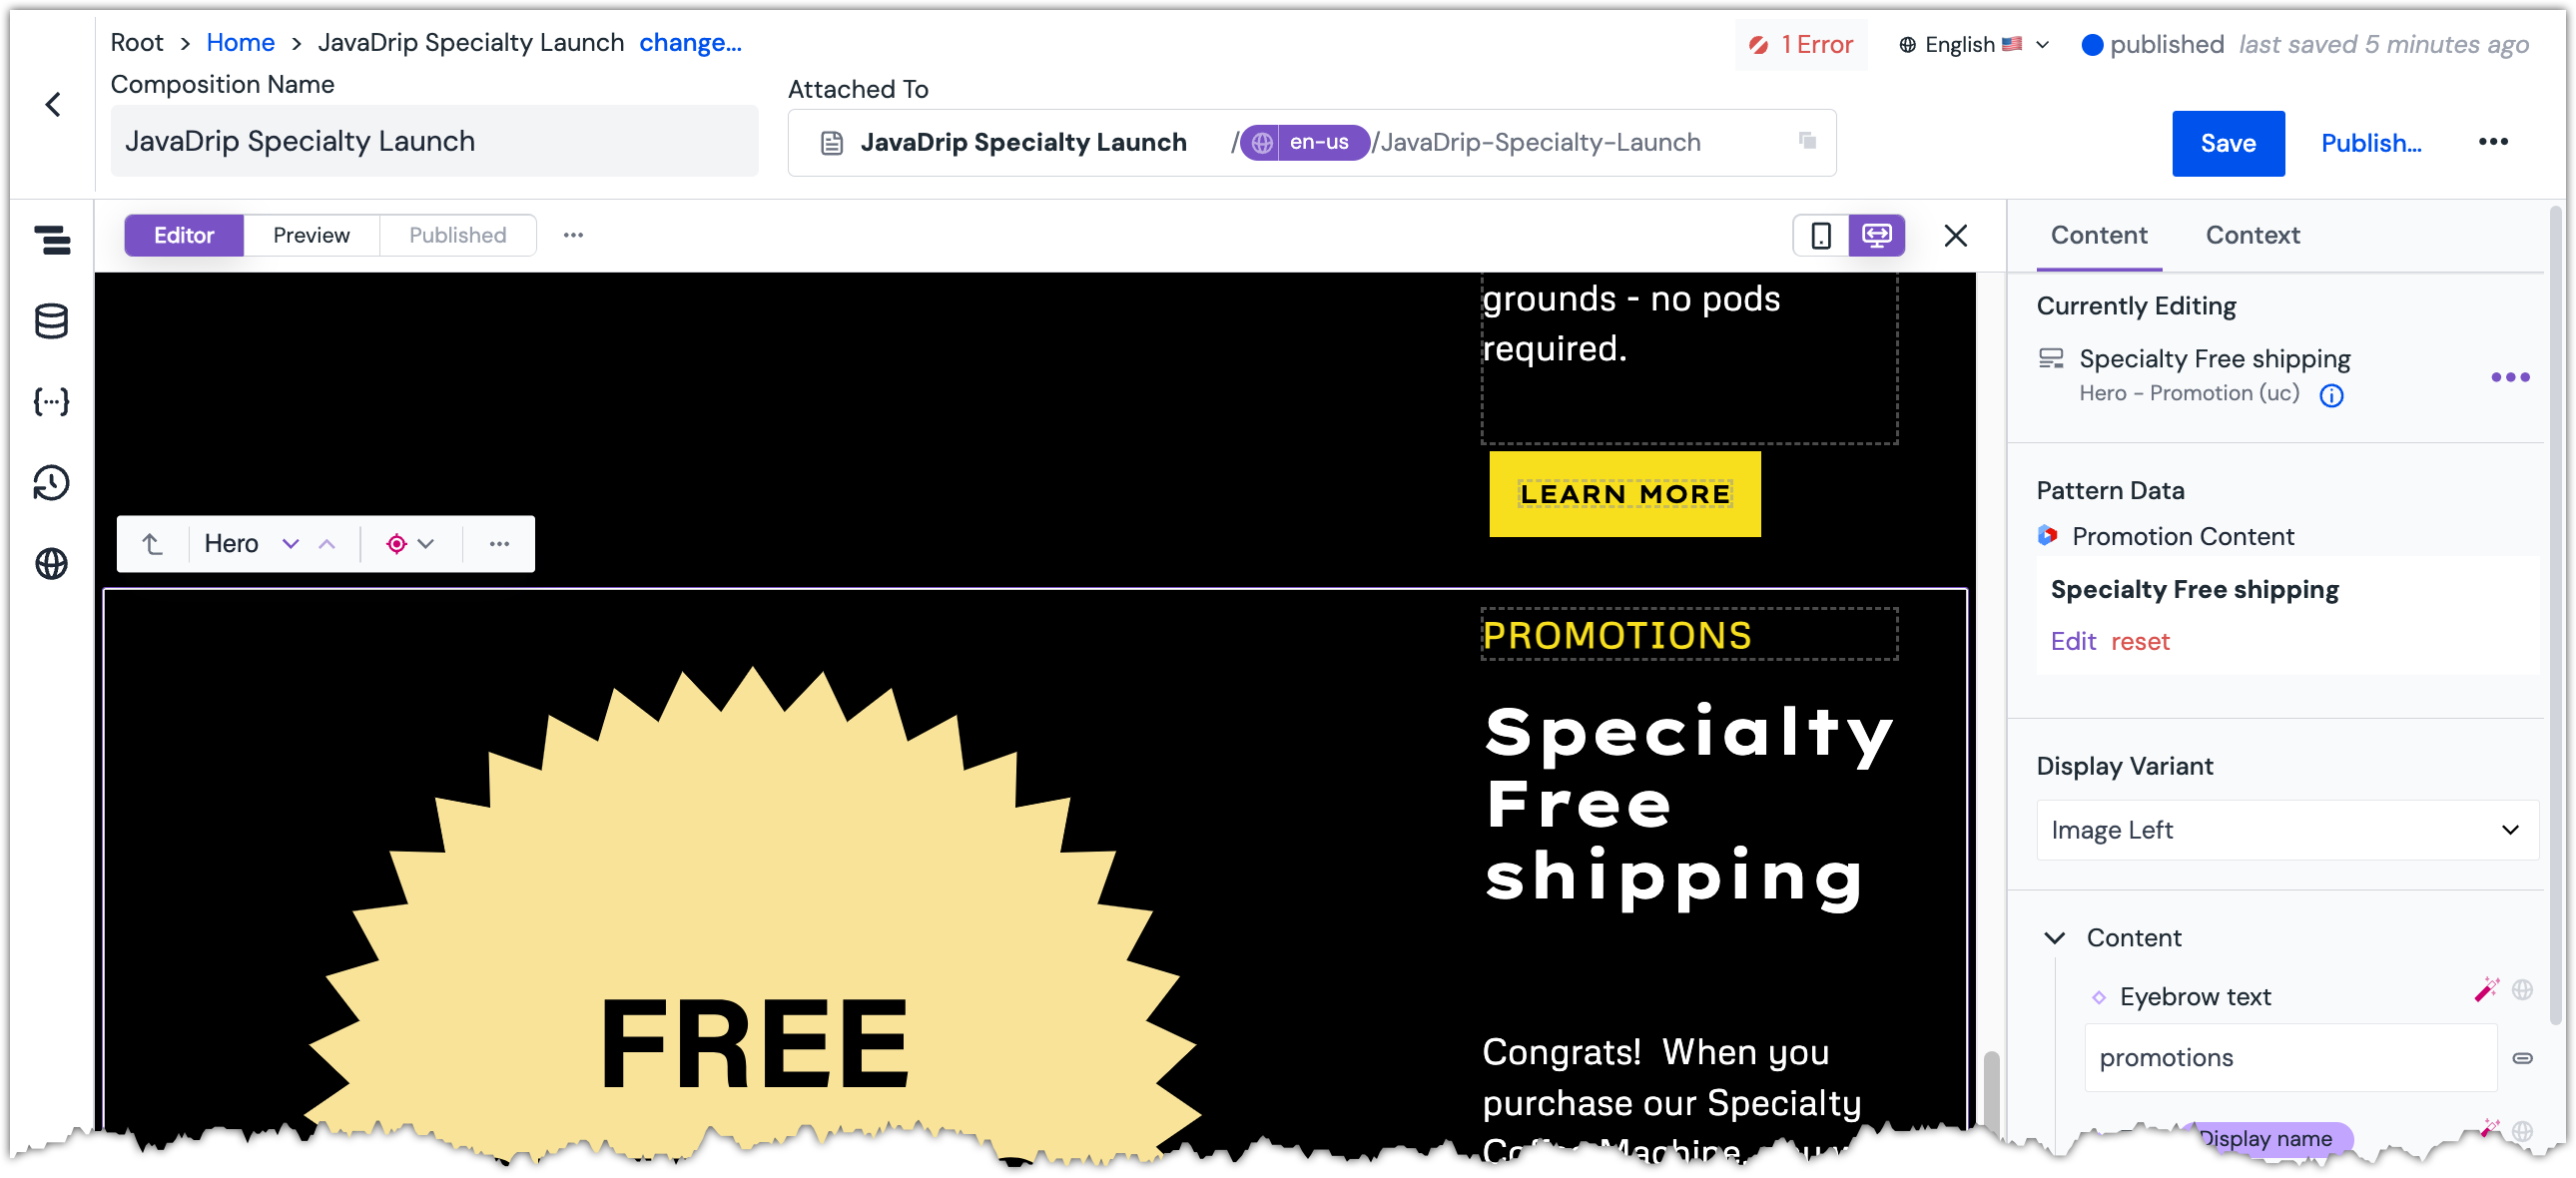 The Promotion Hero component after the Pattern Data is changed.
On the right-hand side of the screen is the Content Panel. Click Context to switch to the Context Panel.
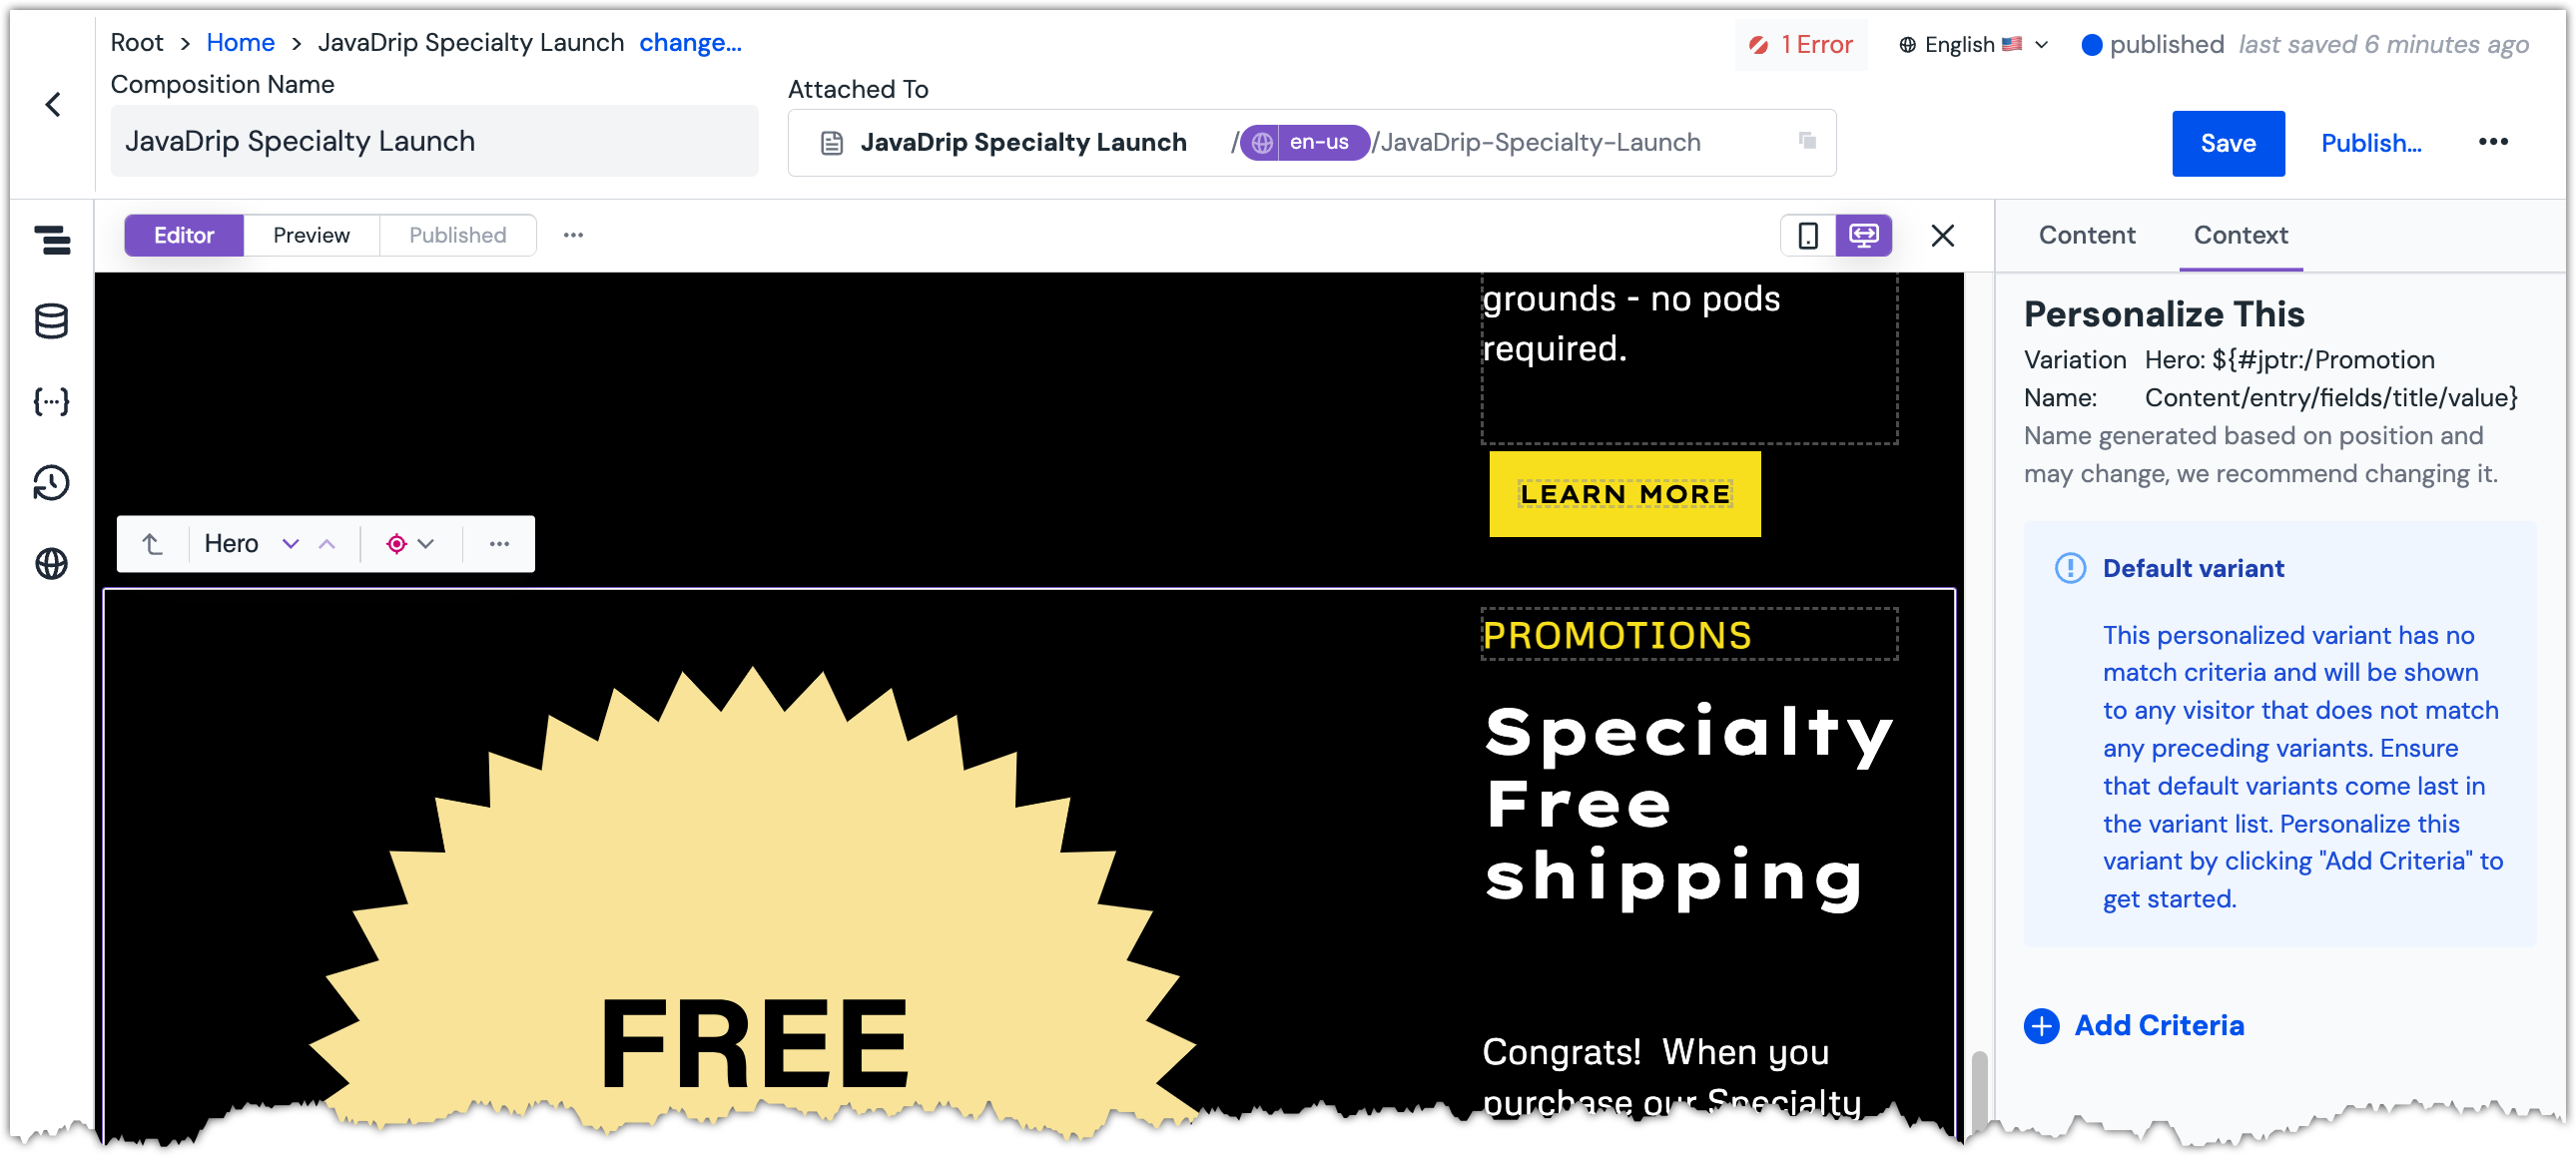 The Context Panel is activated.
Click Add Criteria.
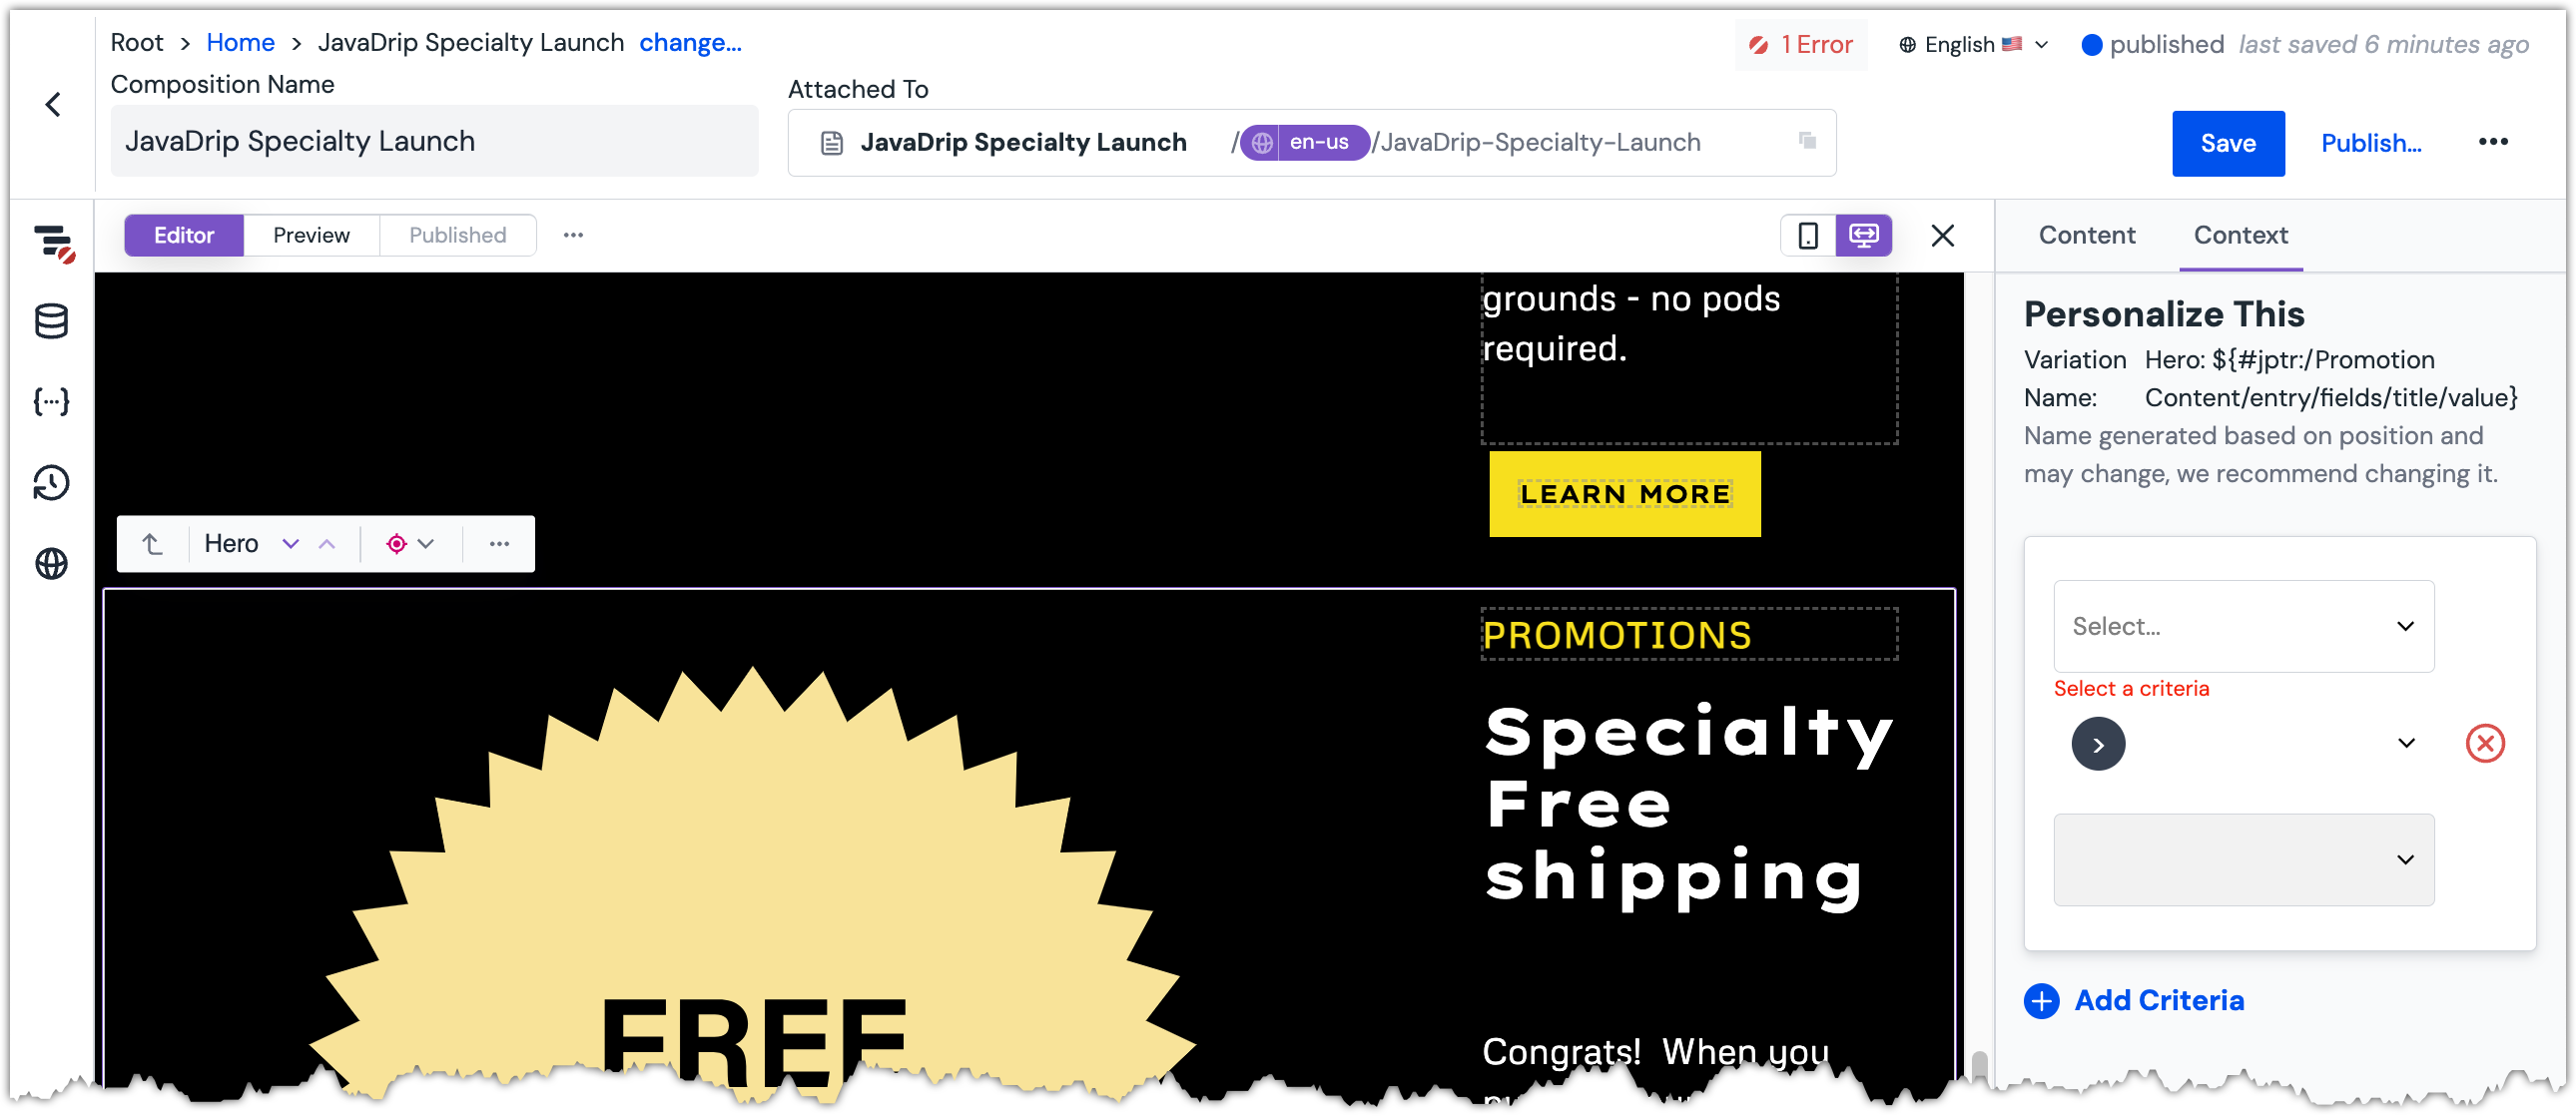 The Personalization Criteria interface is displayed.
About this step
The criteria section allows you to specify the conditions when this component should be displayed.
From the dropdown, select
Registered for Newsletter.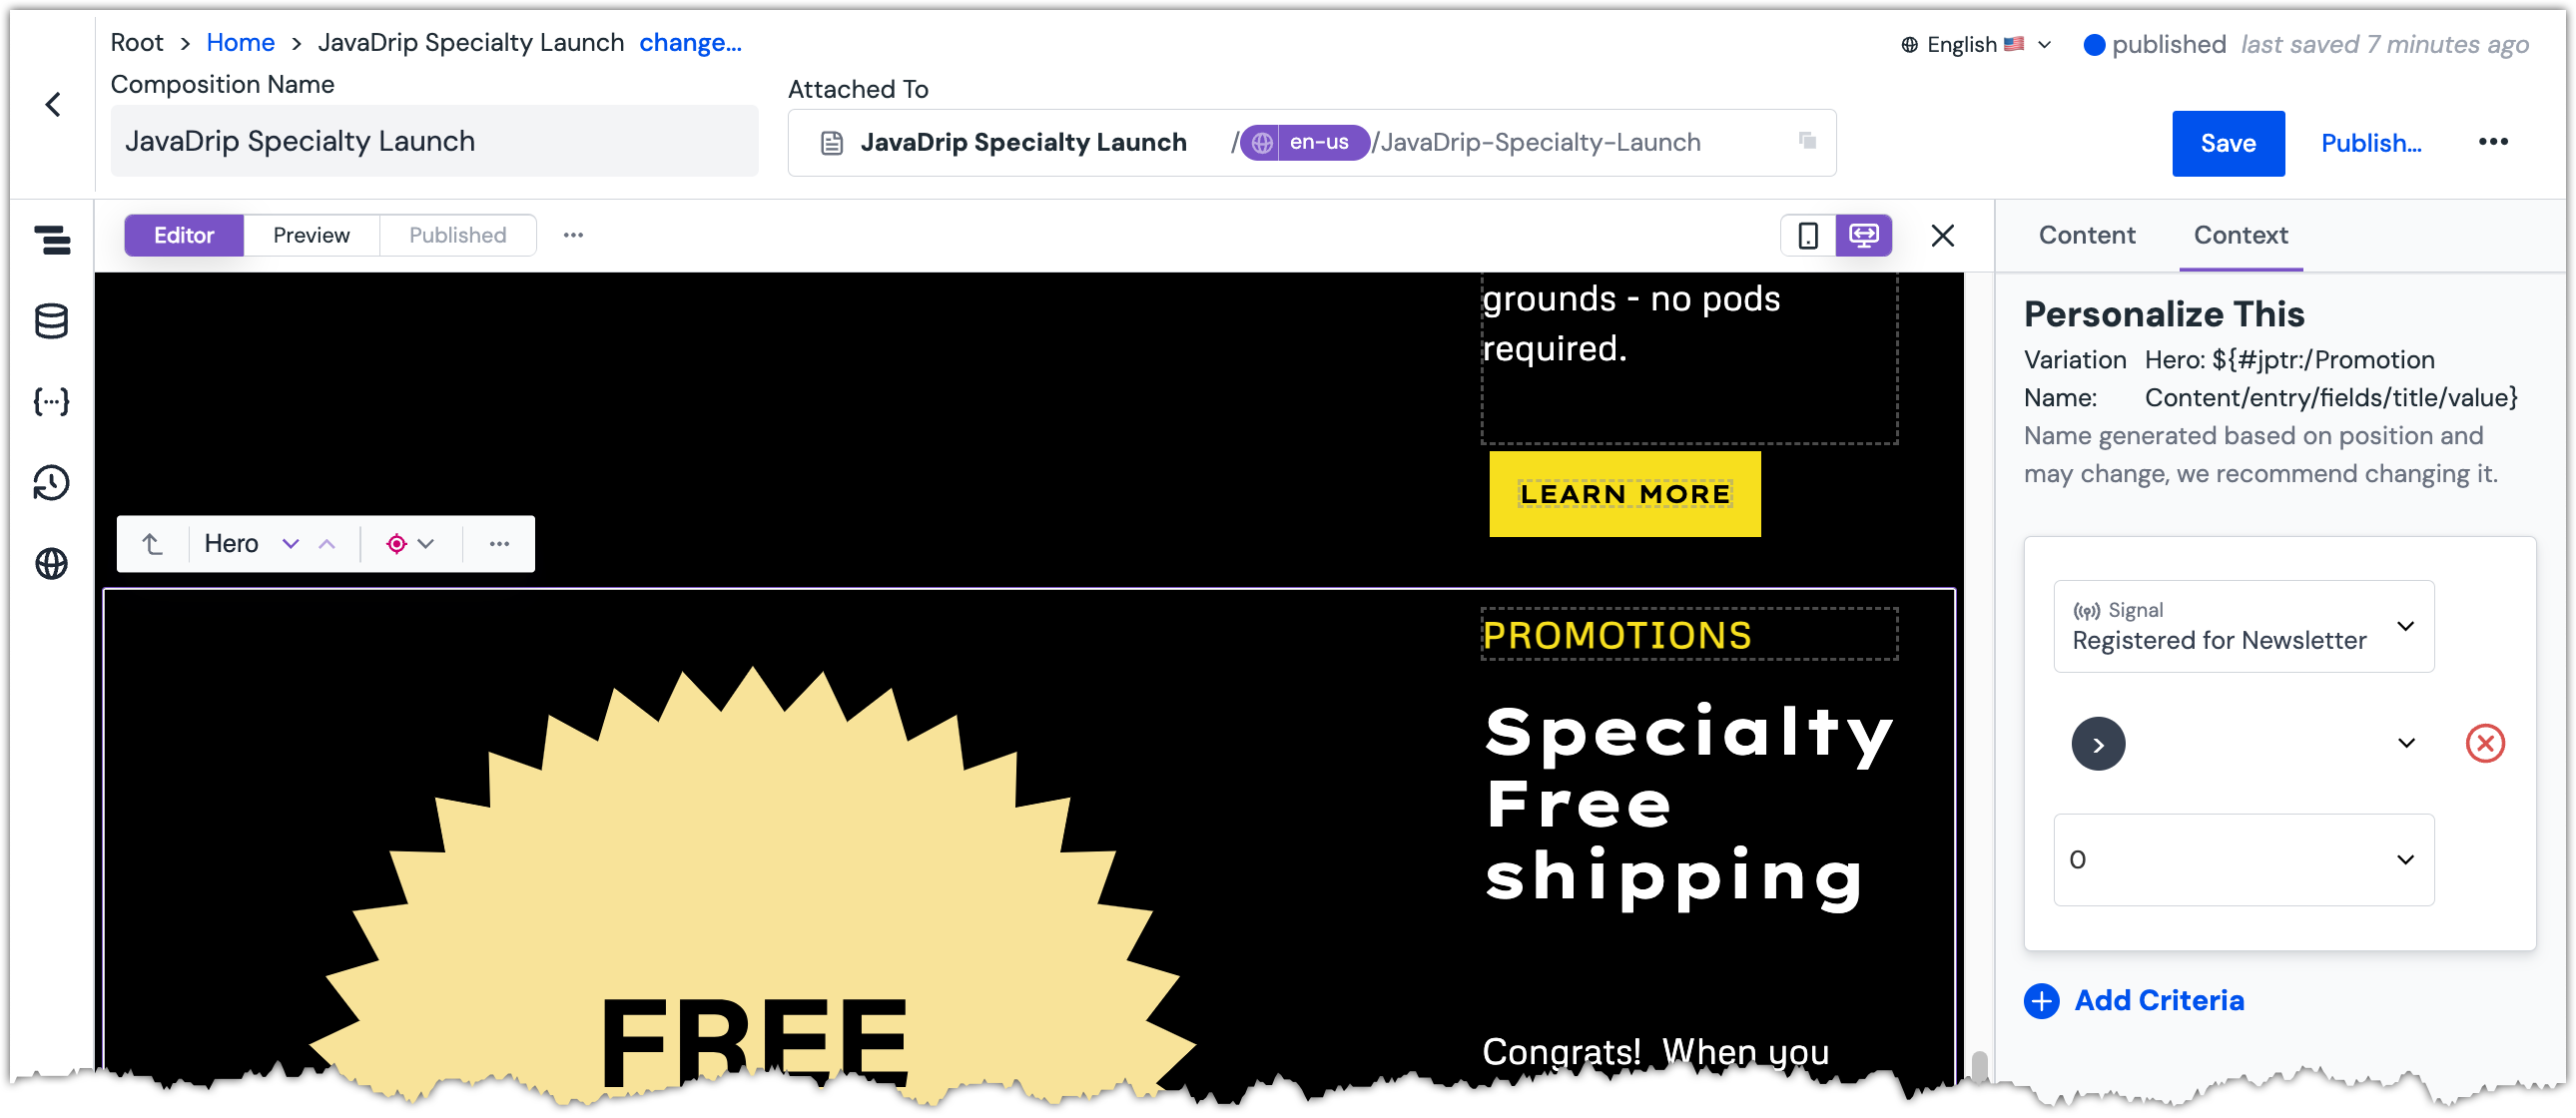 The Personalization Criteria is set.
About this step
The developers built the form in a way that, after it is submitted, the visitor will be marked as being registered for the newsletter. By selecting this value from the dropdown, you are telling Uniform to only display this component to visitors who are registered.
Click the button Publish.
About this step
Publishing causes the JavaDrip web site to be updated with the changes you made to this composition.
Try it out#
Visit your published landing page at
https://[!!!YOUR HOST!!!]/JavaDrip-Specialty-Launch.About this step
You must replace
[!!! YOUR HOST !!!]with the host name of the training site you are using. This is a value that Uniform provided you when you were given access to the Uniform project. If you need help, contact us.If you have not yet submitted the form, you will see the landing page with the form.
 The Hero component displays the updated content.
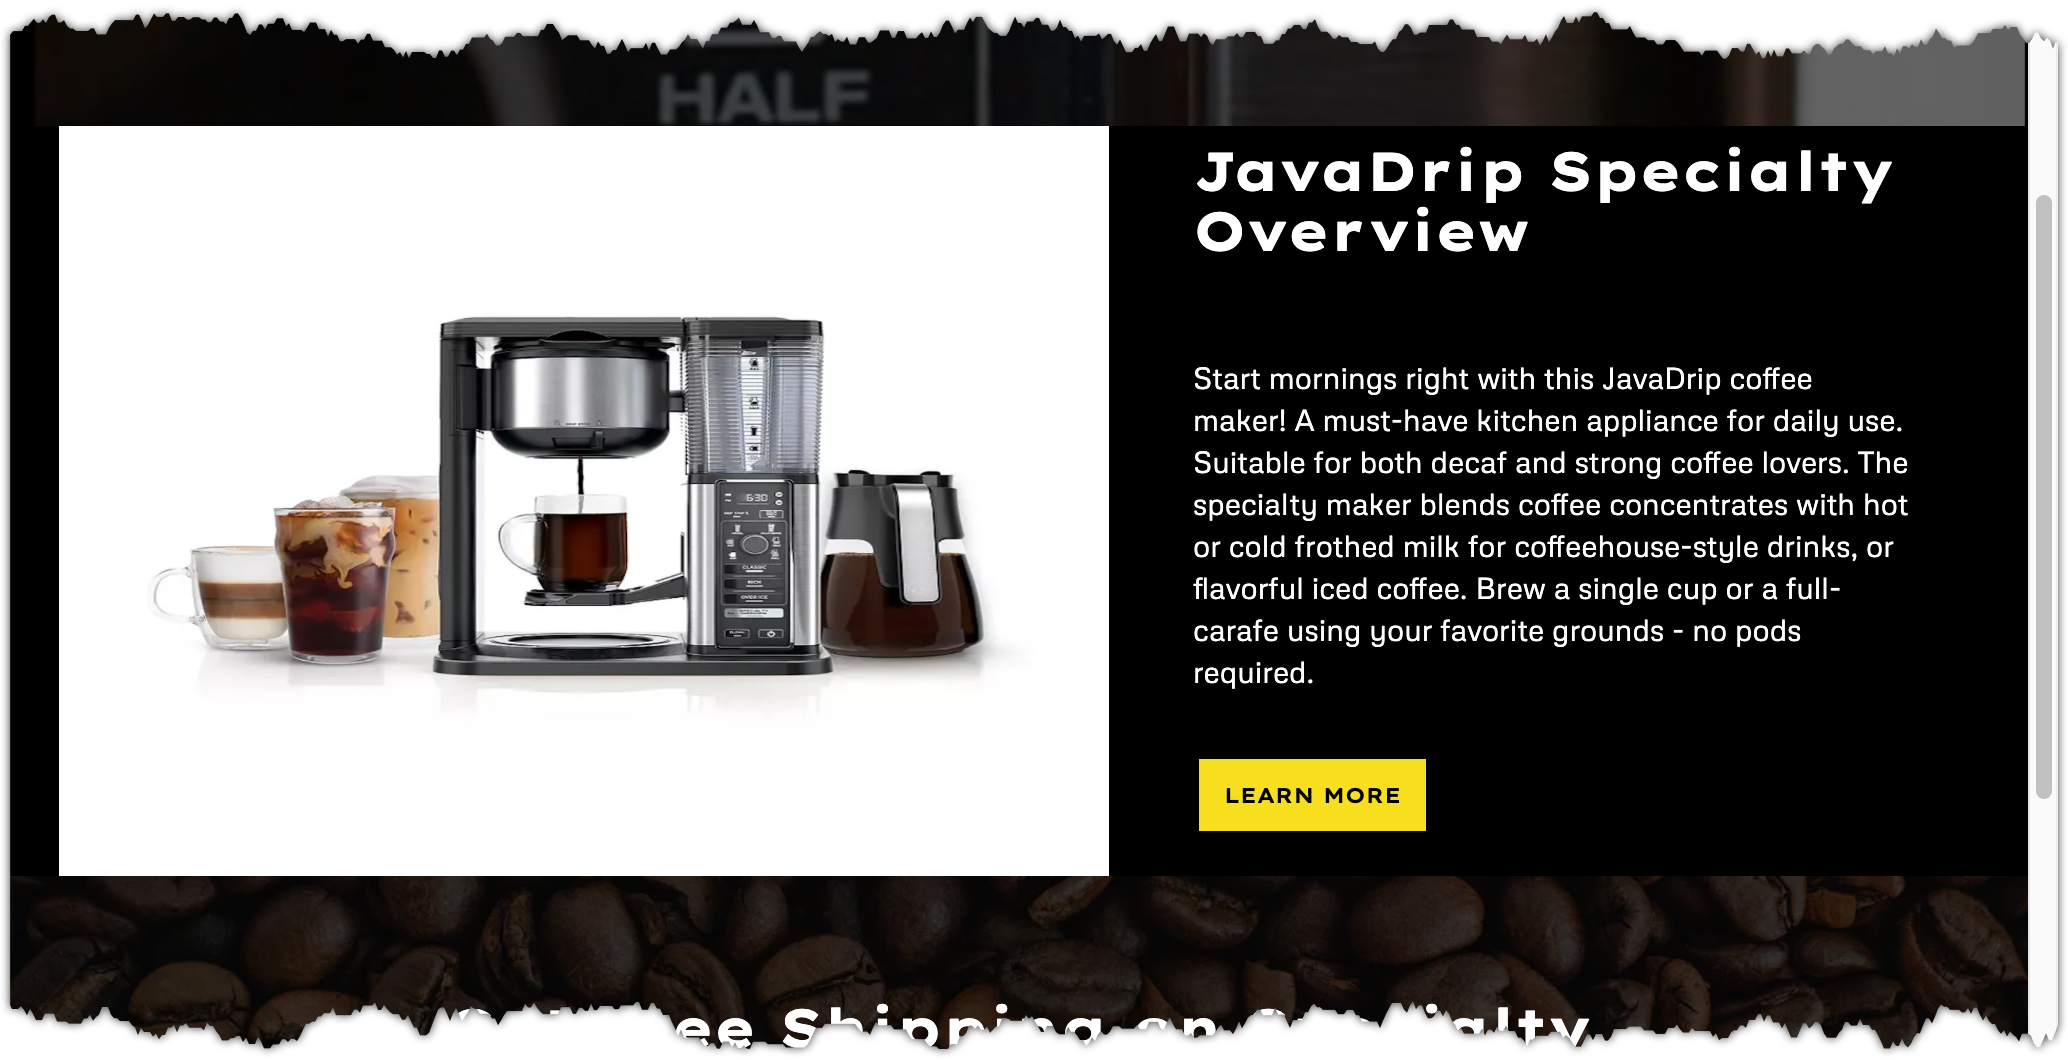 The Product Hero component displays the updated content.
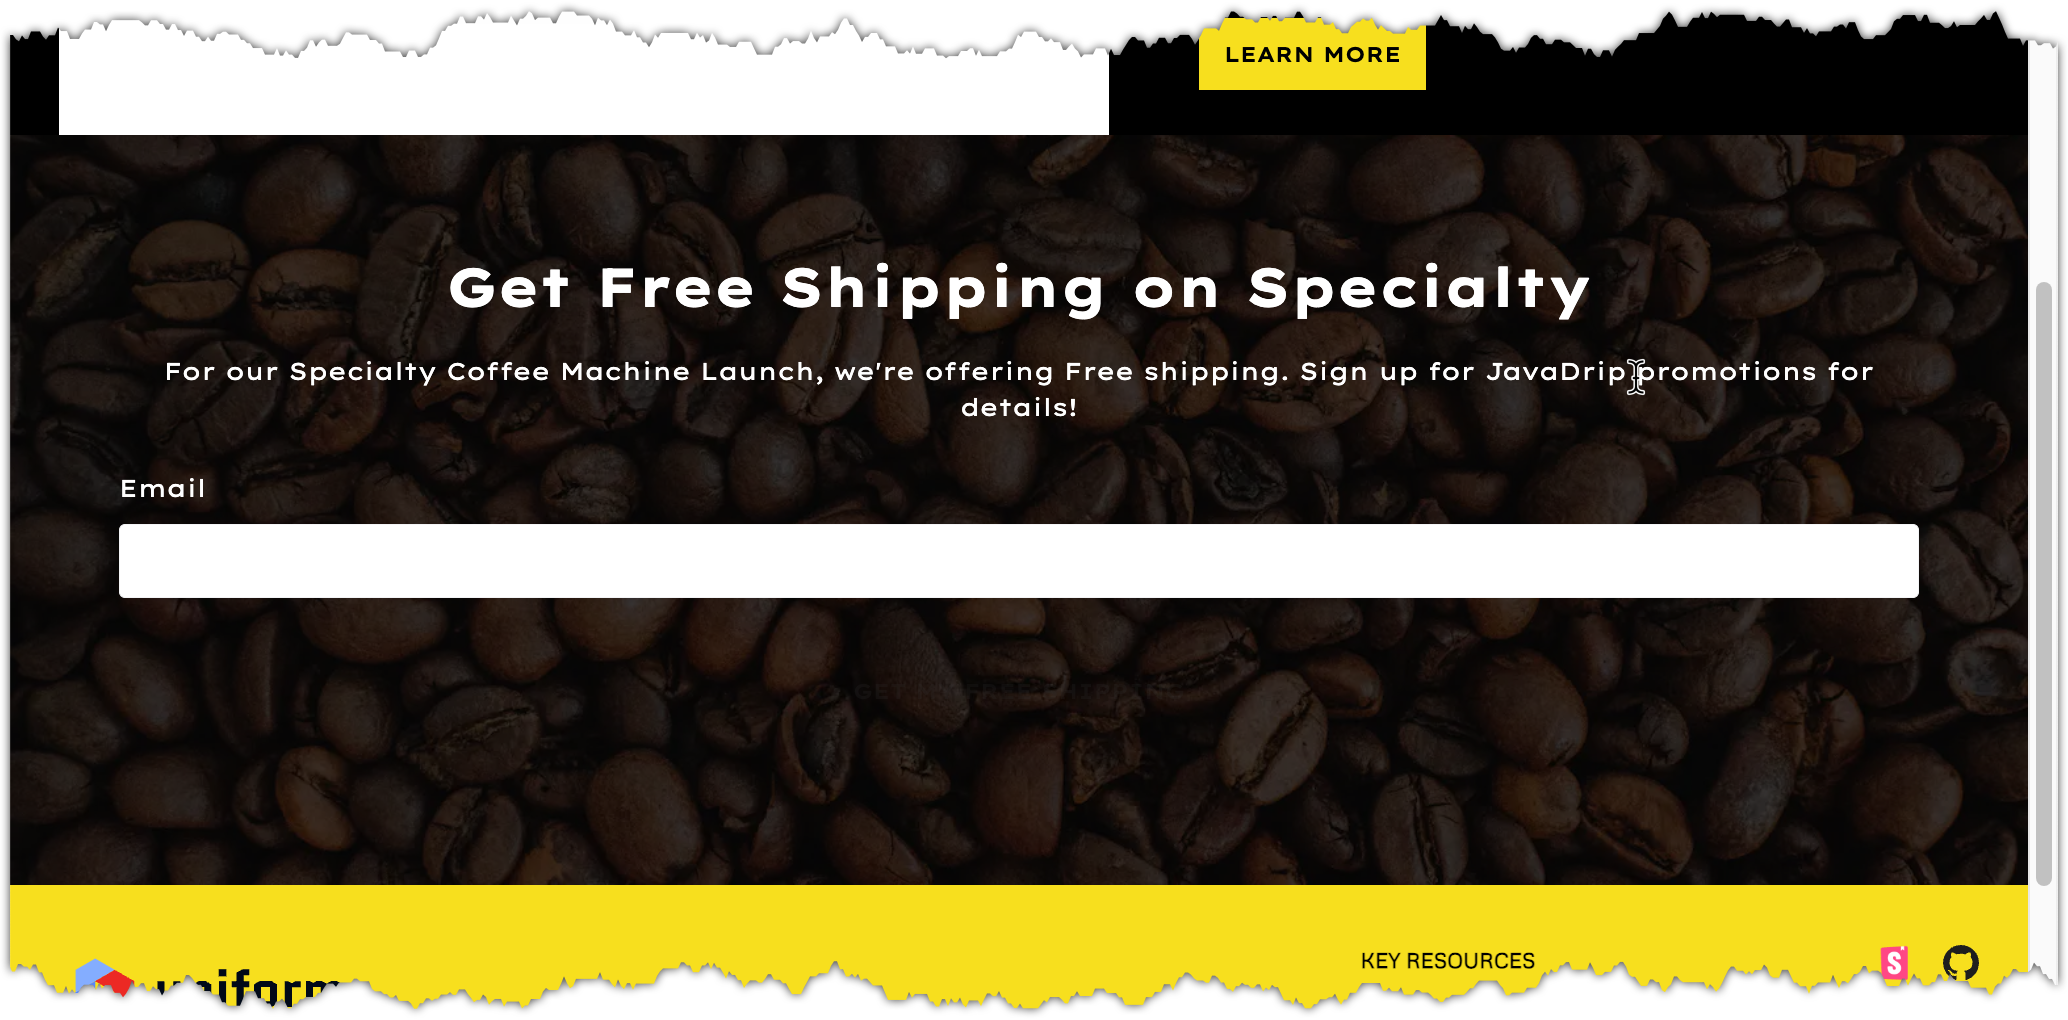 The Email Signup Form component is displayed.
Submit the form.
 The Promotion Hero is displayed.
About this step
You will see the Promotion Hero component.
Next steps#
In the next lesson, you will customize the product detail page for the JavaDrip Specialty Coffee Machine.