Reuse component
Technical tutorial alert!
This tutorial is fairly technical. In your organization, these steps may be done by developers. It is completely possible for marketers to handle this task, but if it feels overwhelming, just remember this is not expected to be a normal part of your everyday work with Uniform, and feel free to skip it.
This tutorial requires a Uniform sandbox with the JavaDrip project. If you need access to one, contact us.
In addition, a video tutorial is available on our Connect portal.
Lets imagine we’re just about ready to go live with this new campaign with our landing page and with our custom product detail page. Someone on your marketing team has been working on early customer reviews and we added several of them to our custom product detail page. But maybe one of these is really compelling and you would like to call out that customer review or customer quote as a testimonial.
Now what do you do? Well the reality is we need a new hero that can display testimonials. If you remember when we were talking about challenges on many projects that limit speed to market the idea of having a marketing hero that is repurposed across different types of content is something that's often difficult. Uniform’s visual workspace makes that really easy.
Let’s go through the process of taking our existing hero component and revise it to display a new type of content. In this case we’ll do a customer testimony.
Update the Product Detail composition#
Add Hero component#
If it is not already open, open the composition you created in the previous tutorial.
After the Image Gallery component, add a
Herocomponent.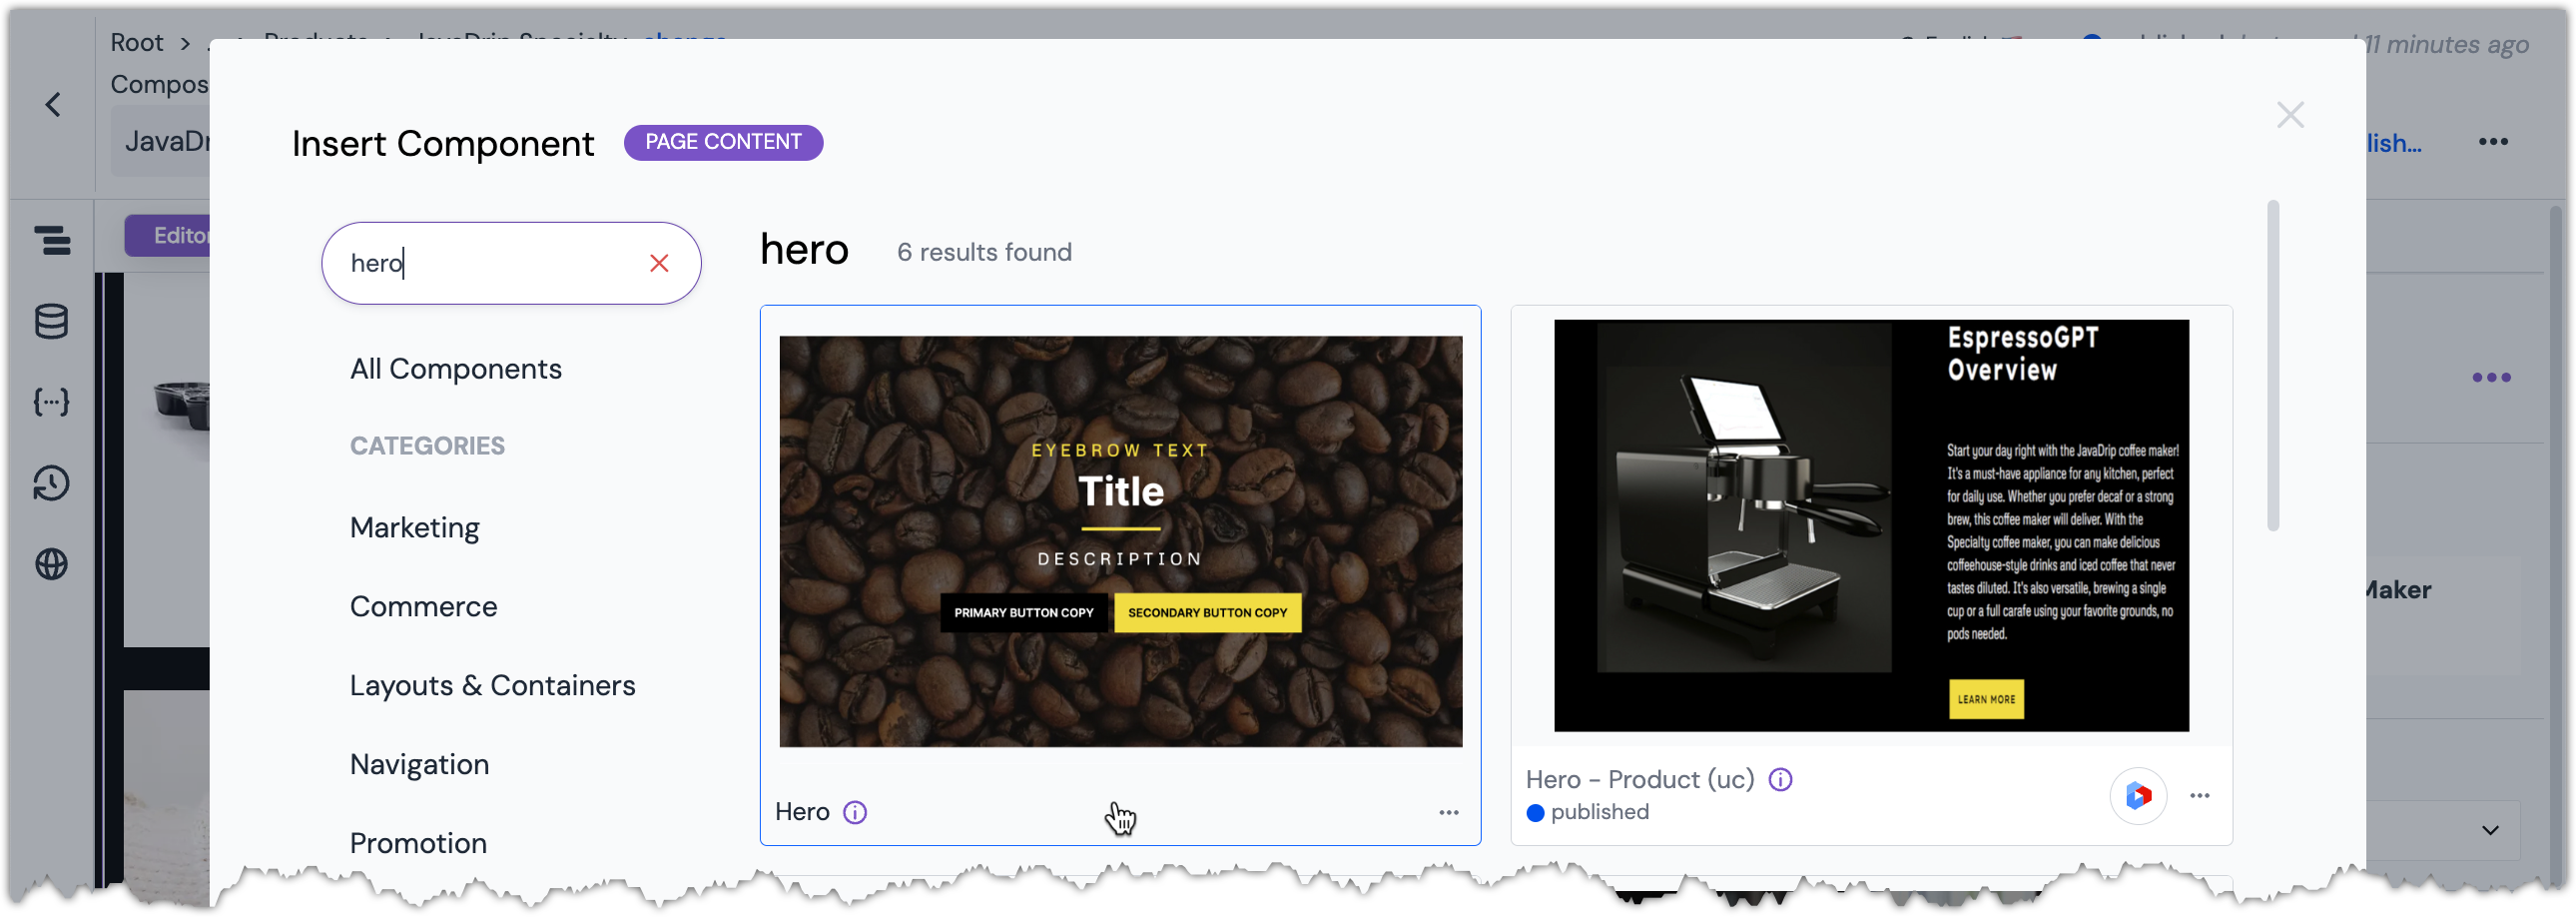 The Hero component to select.
 Hero component is added to the composition.
About this step
In the previous tutorial you used the Hero (uc) component. That component lets you automatically populate the component with content from a CMS entry. The Hero component lets you set the content to whatever values you want. They are both use the same code written by the developer. The difference between them is how the content is set.
Set the parameter
Background TypetoDark. This parameter is located under the section "Presentation Settings" in the Content Panel.
About this step
Changing the background type to dark makes the text invisible. Next you need to change the text color.
Set the parameter
Text Color VarianttoLight.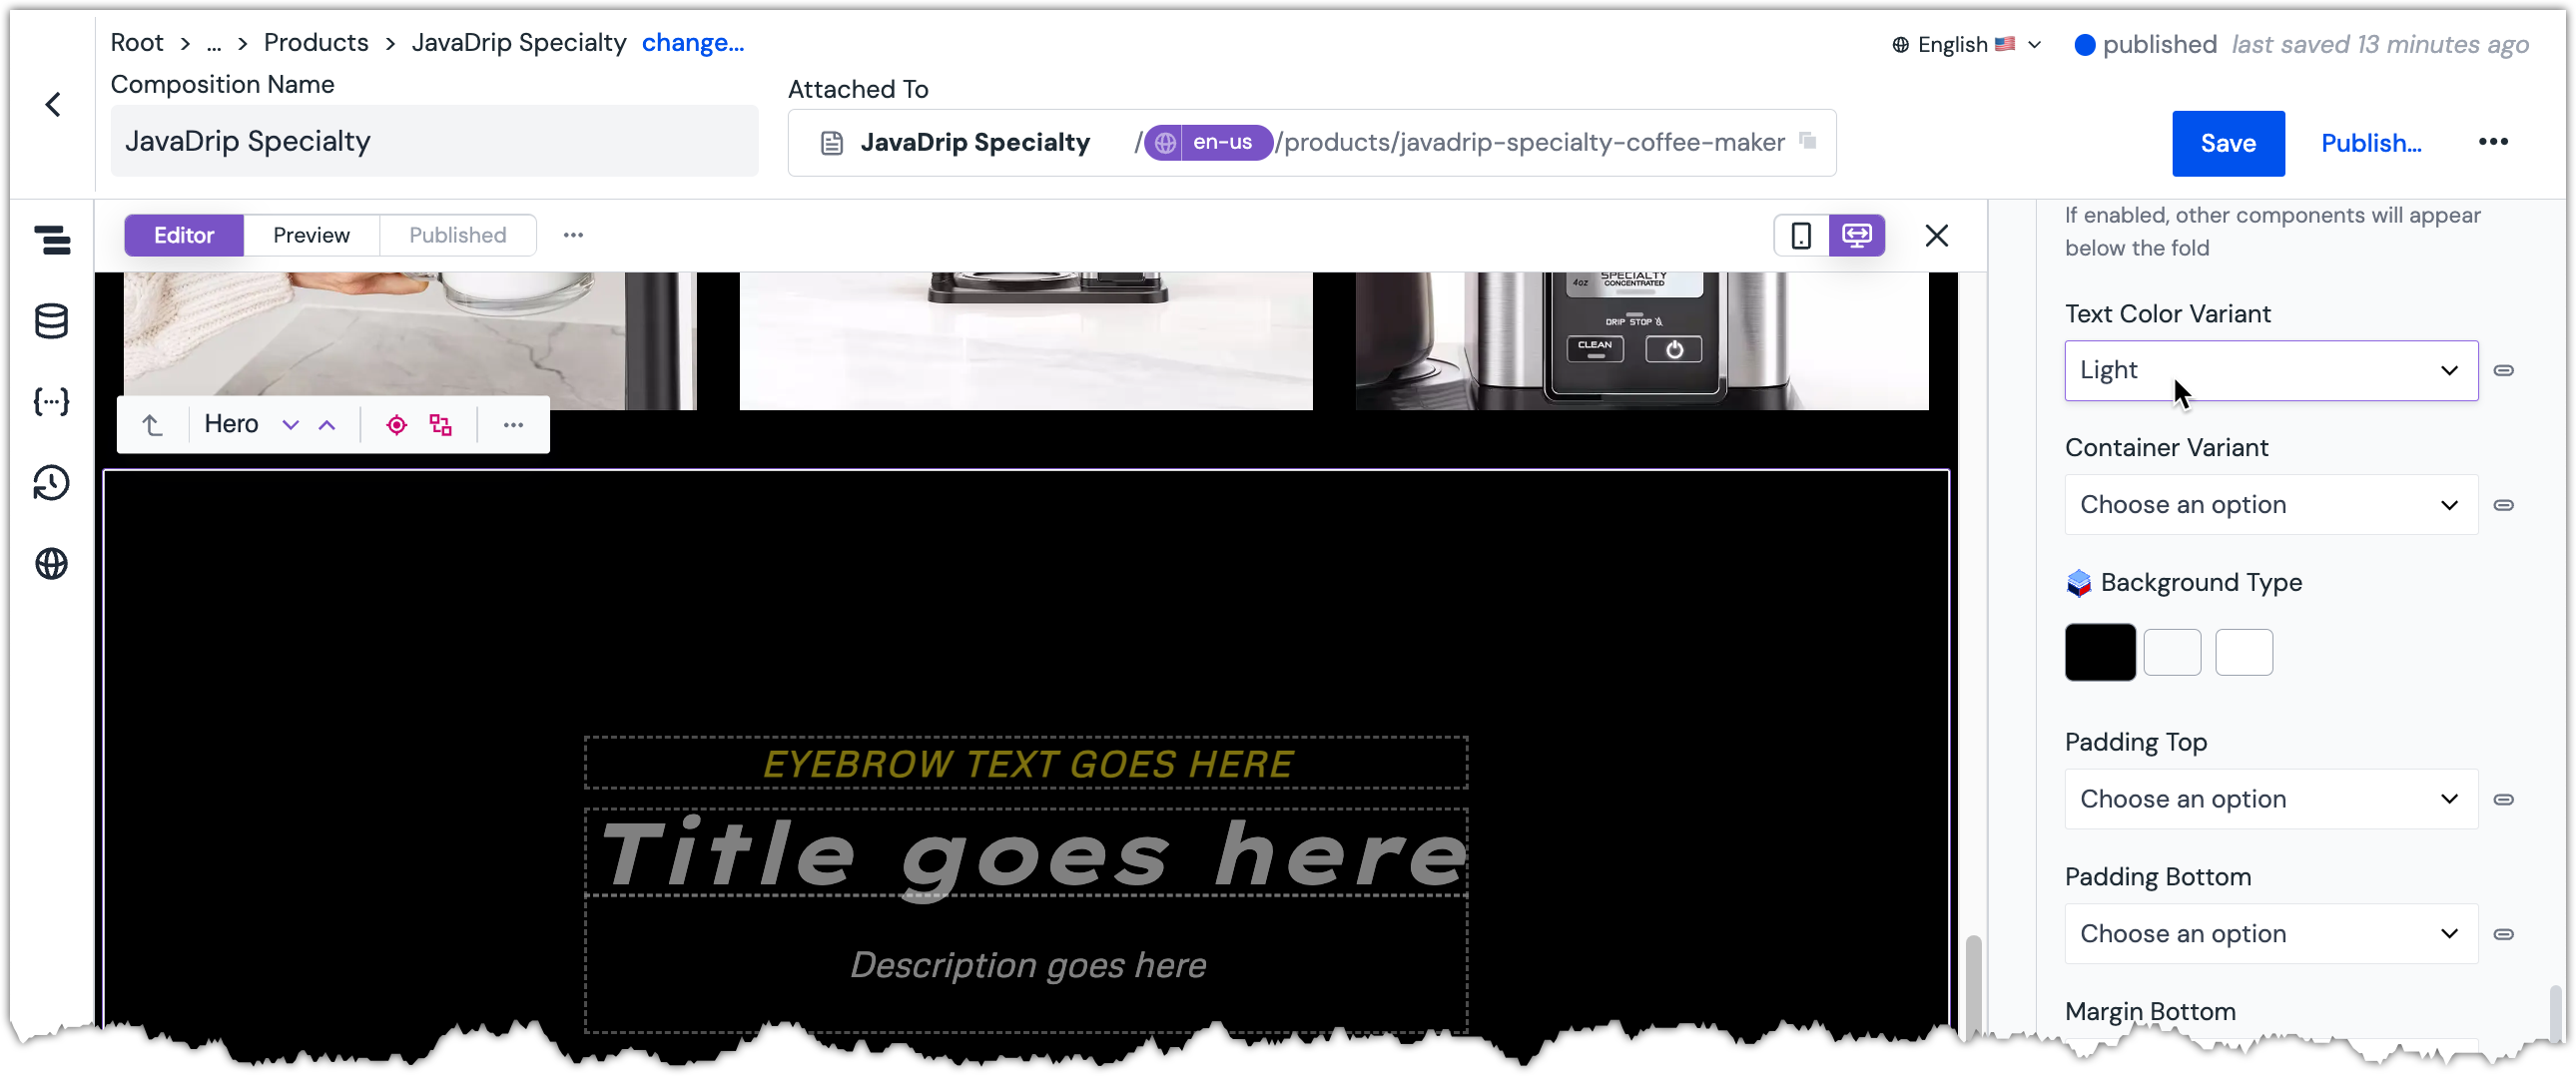 Light text on a dark background.
About this step
Now the text is visible again.
Add Data Resource#
On the left, in the Side Rail Menu, click the Data Resources button.
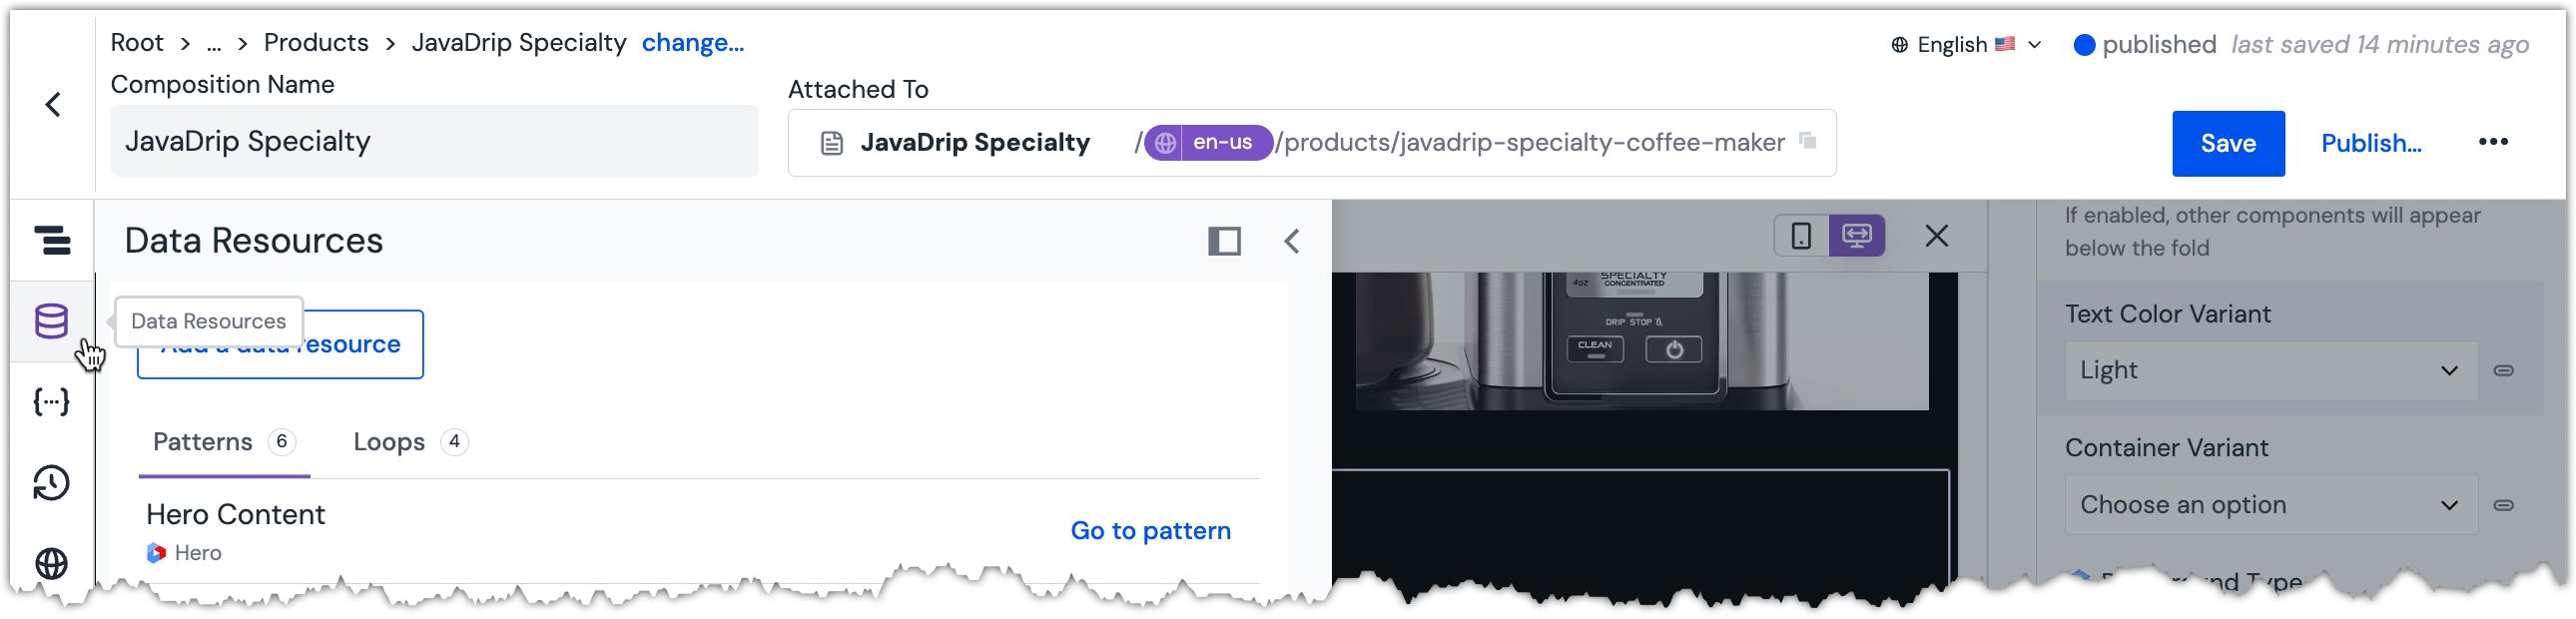 Data Resources Panel is open.
About this step
This is how you open the Data Resources Tab.
Click Add a data resource.
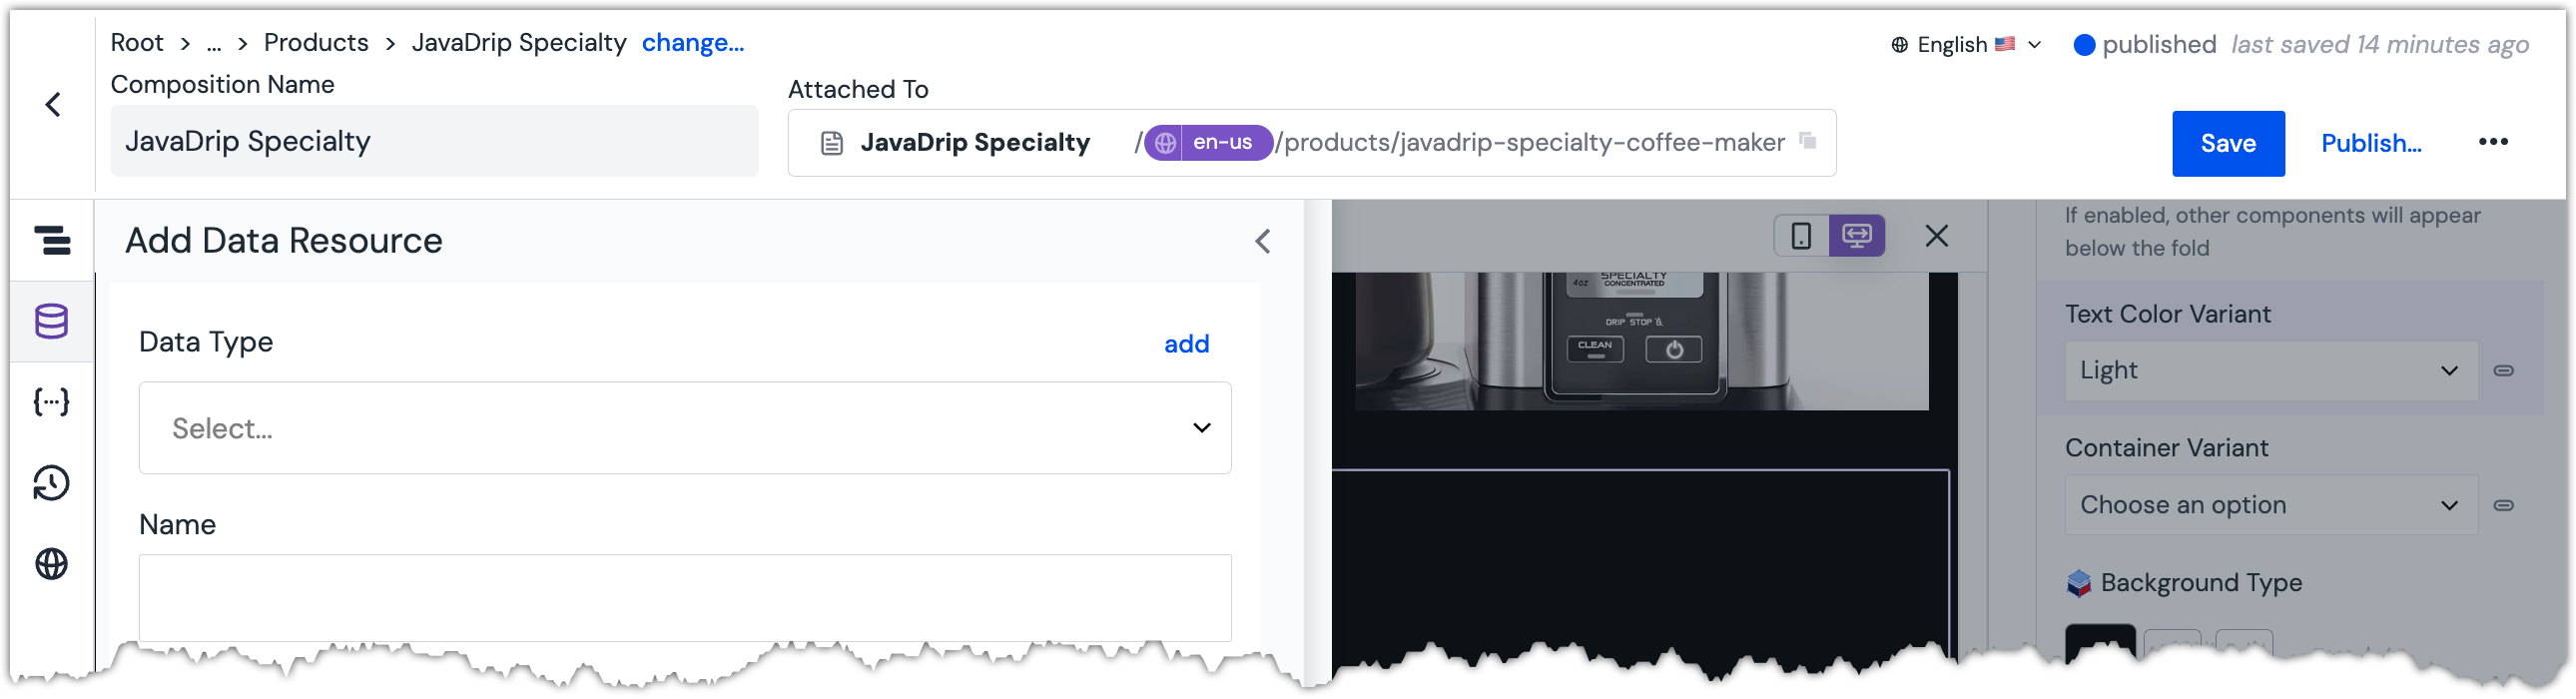 Add Data Resource dialog is displayed.
Under the section
Uniform Content, selectTestimonial.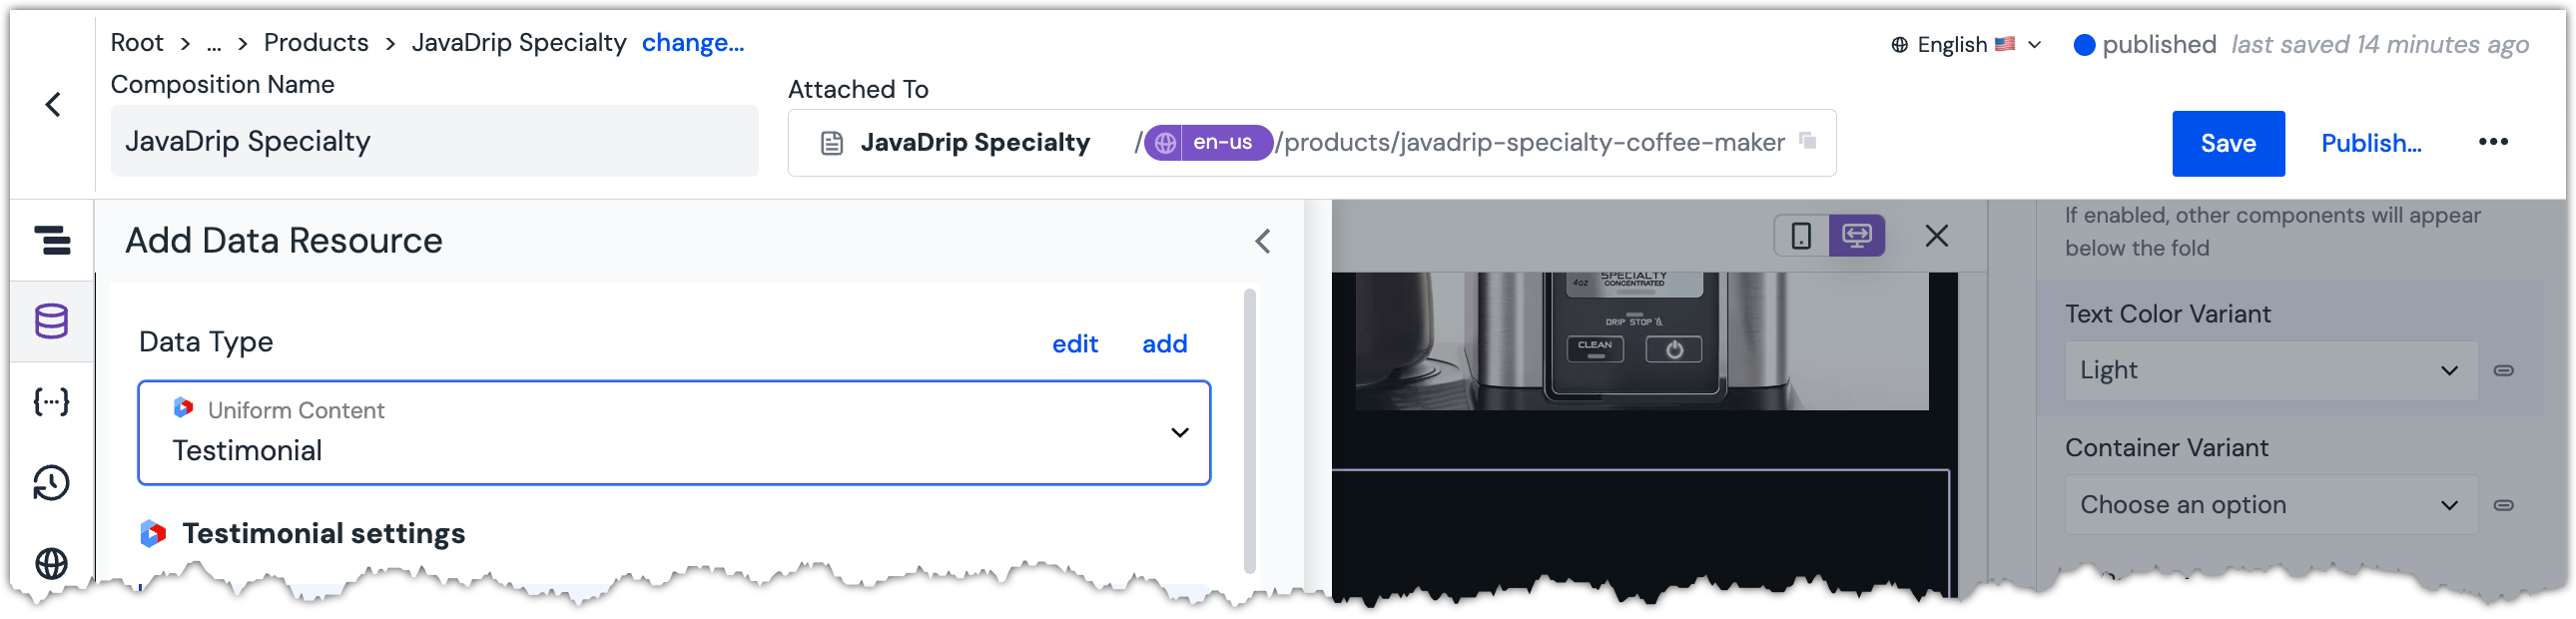 Testimonial Data Type is selected.
Select the entry that matches the following search text:
Love It!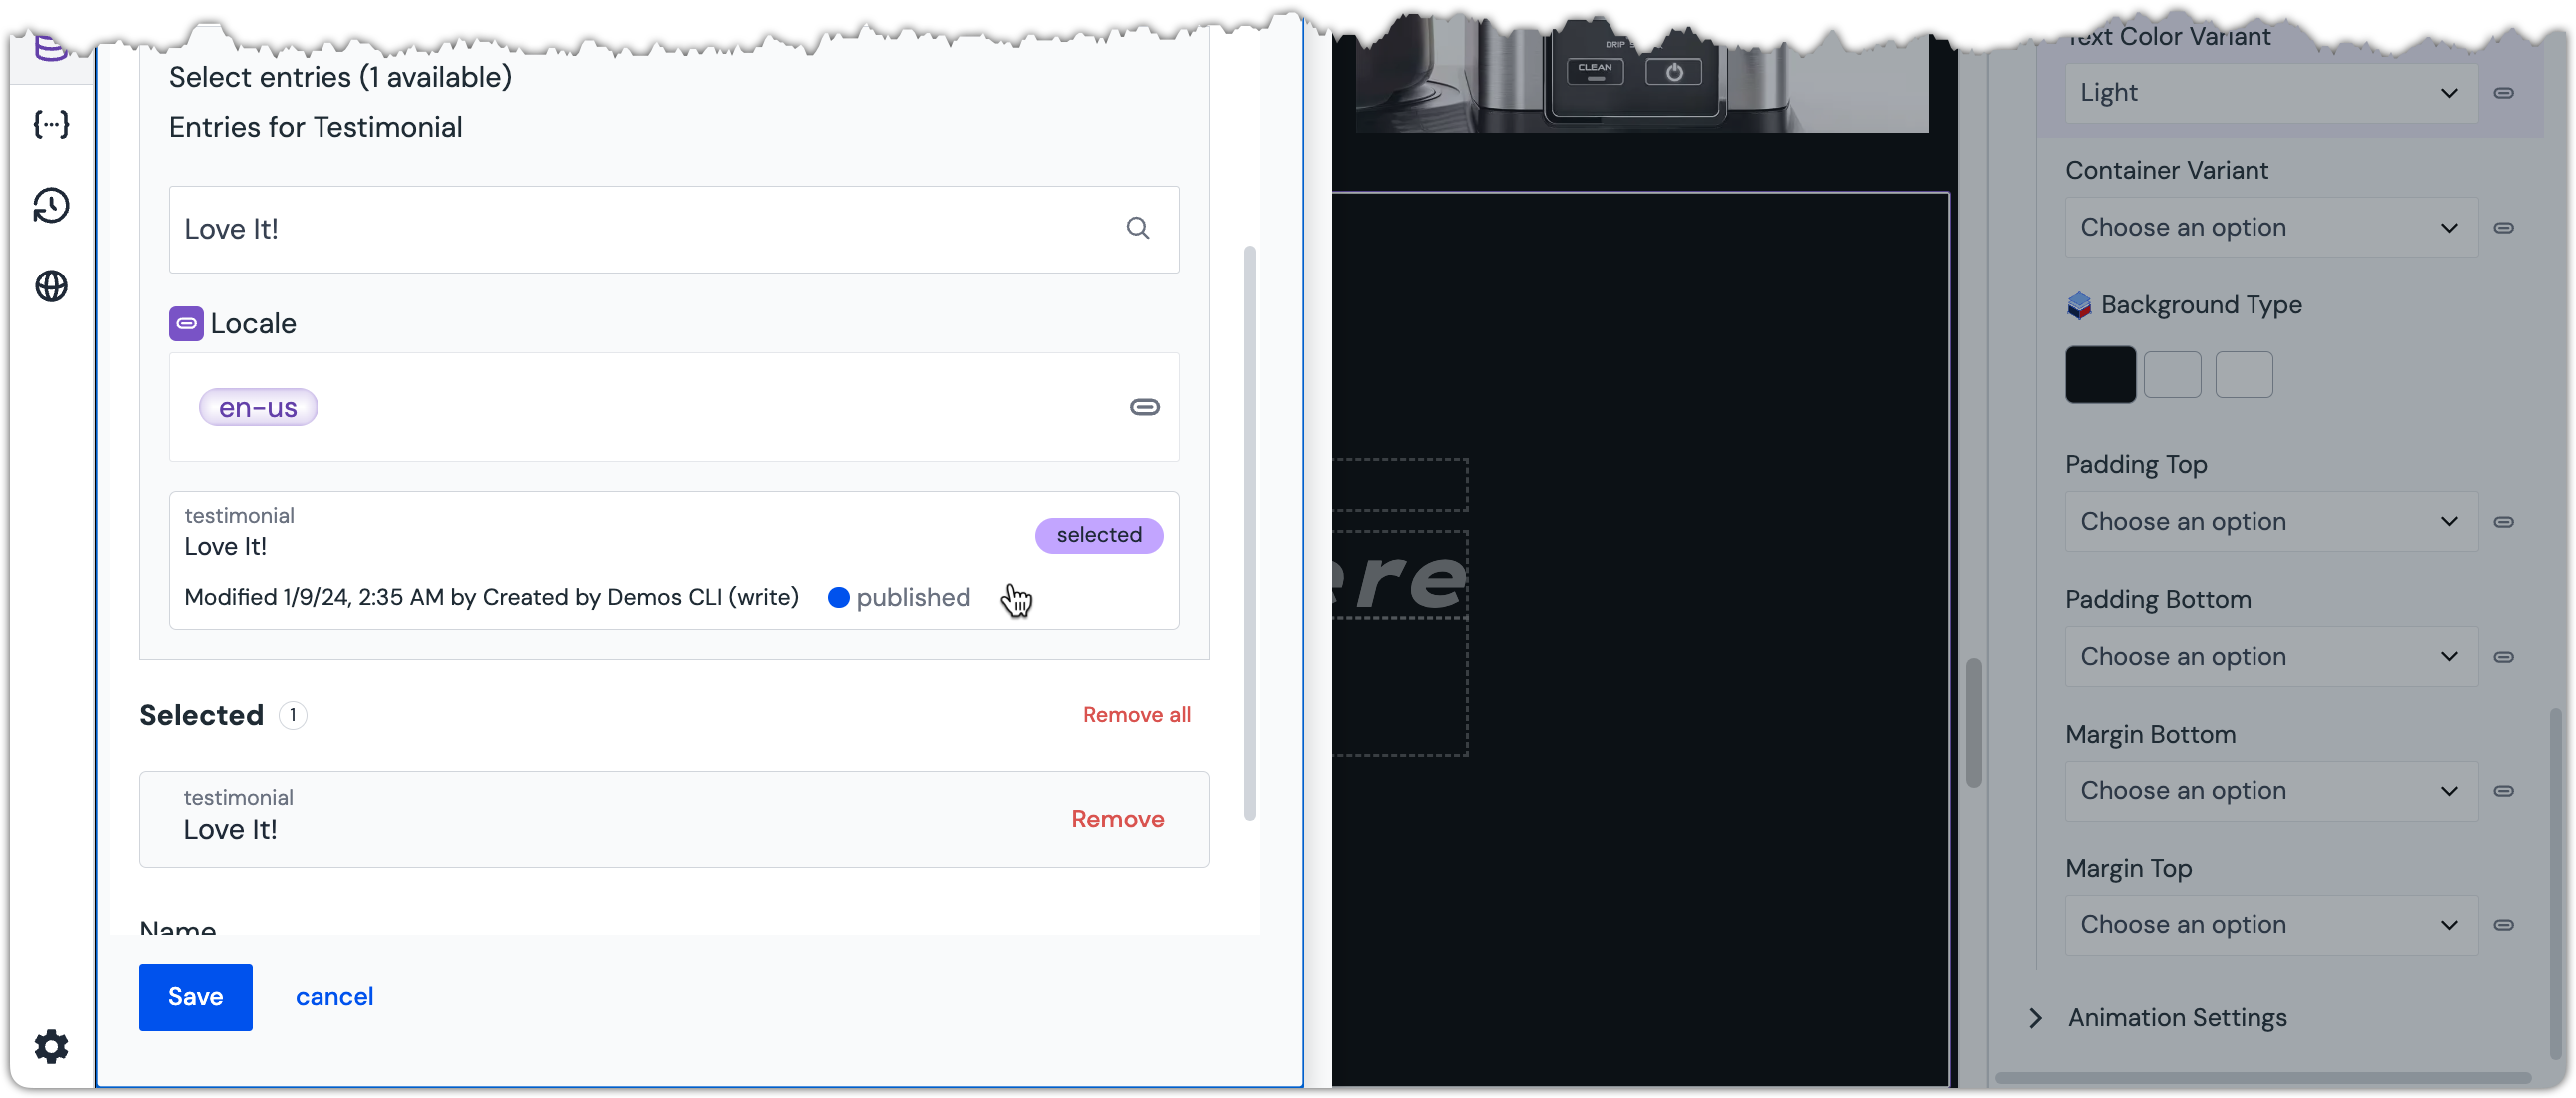 Testimonial is selected.
Set the parameter Name to the following value:
Love It Testimonial Content Data Resource name is set.
Click the button Save.
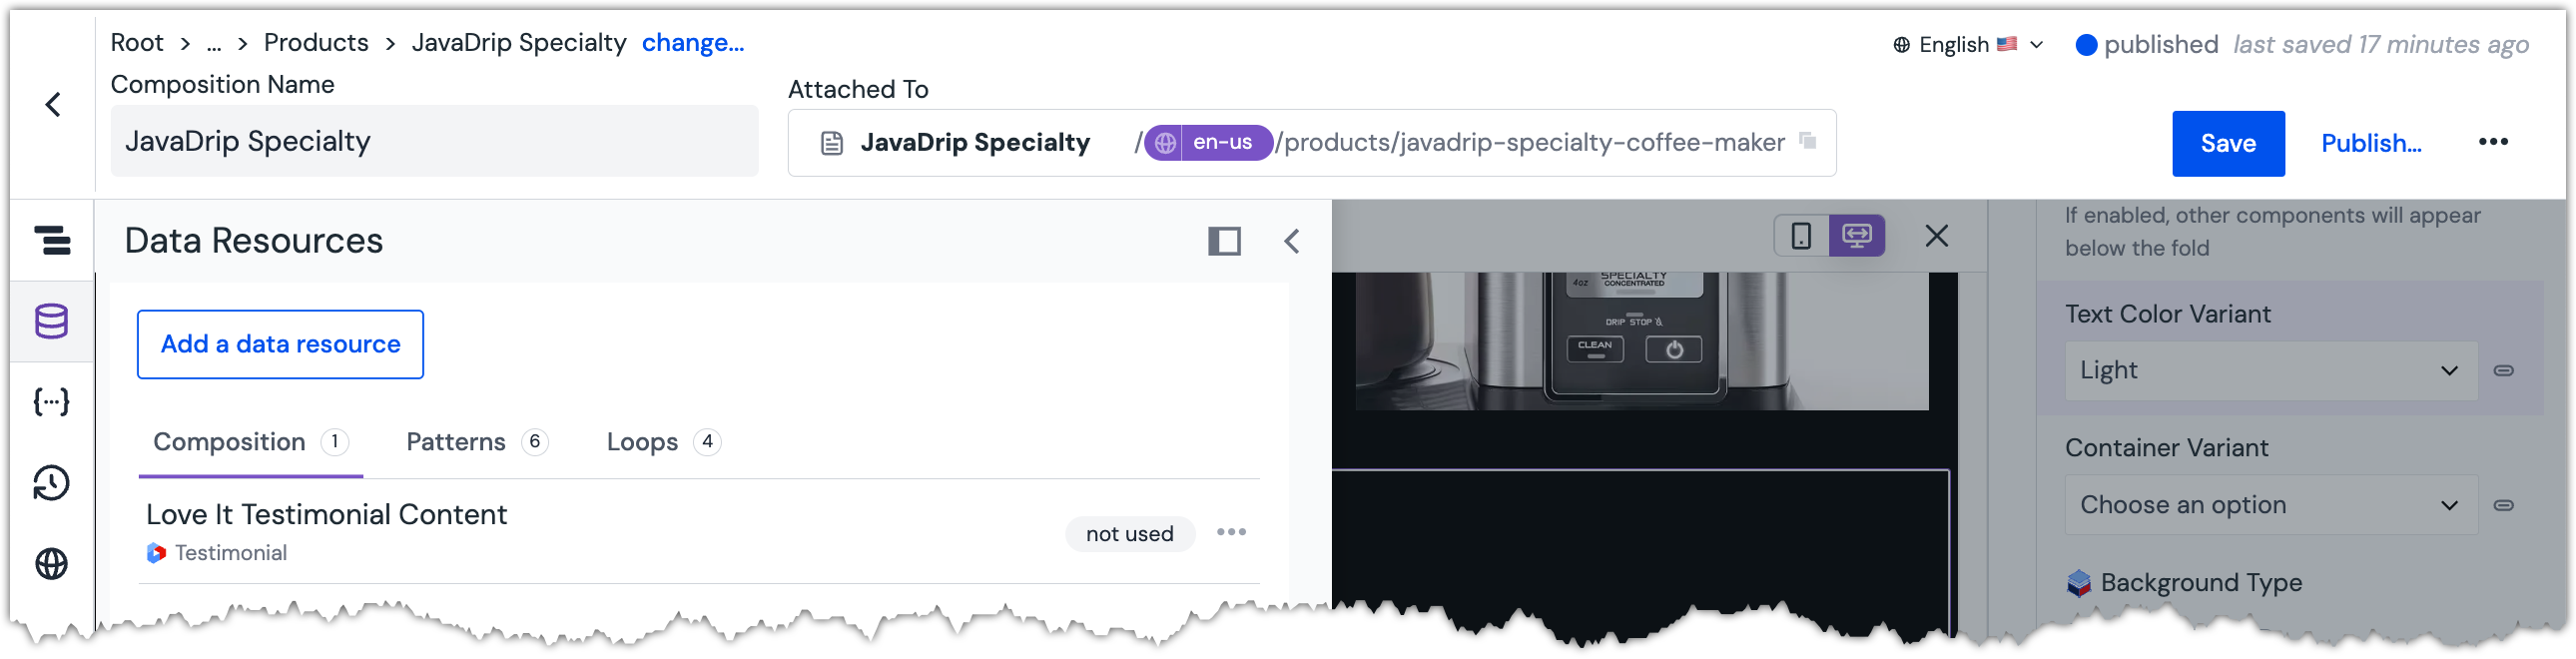 Data Resource is saved.
Click the button to close the Data Resources Tab.
Map text fields#
In the Content Tab, find the parameter
Title.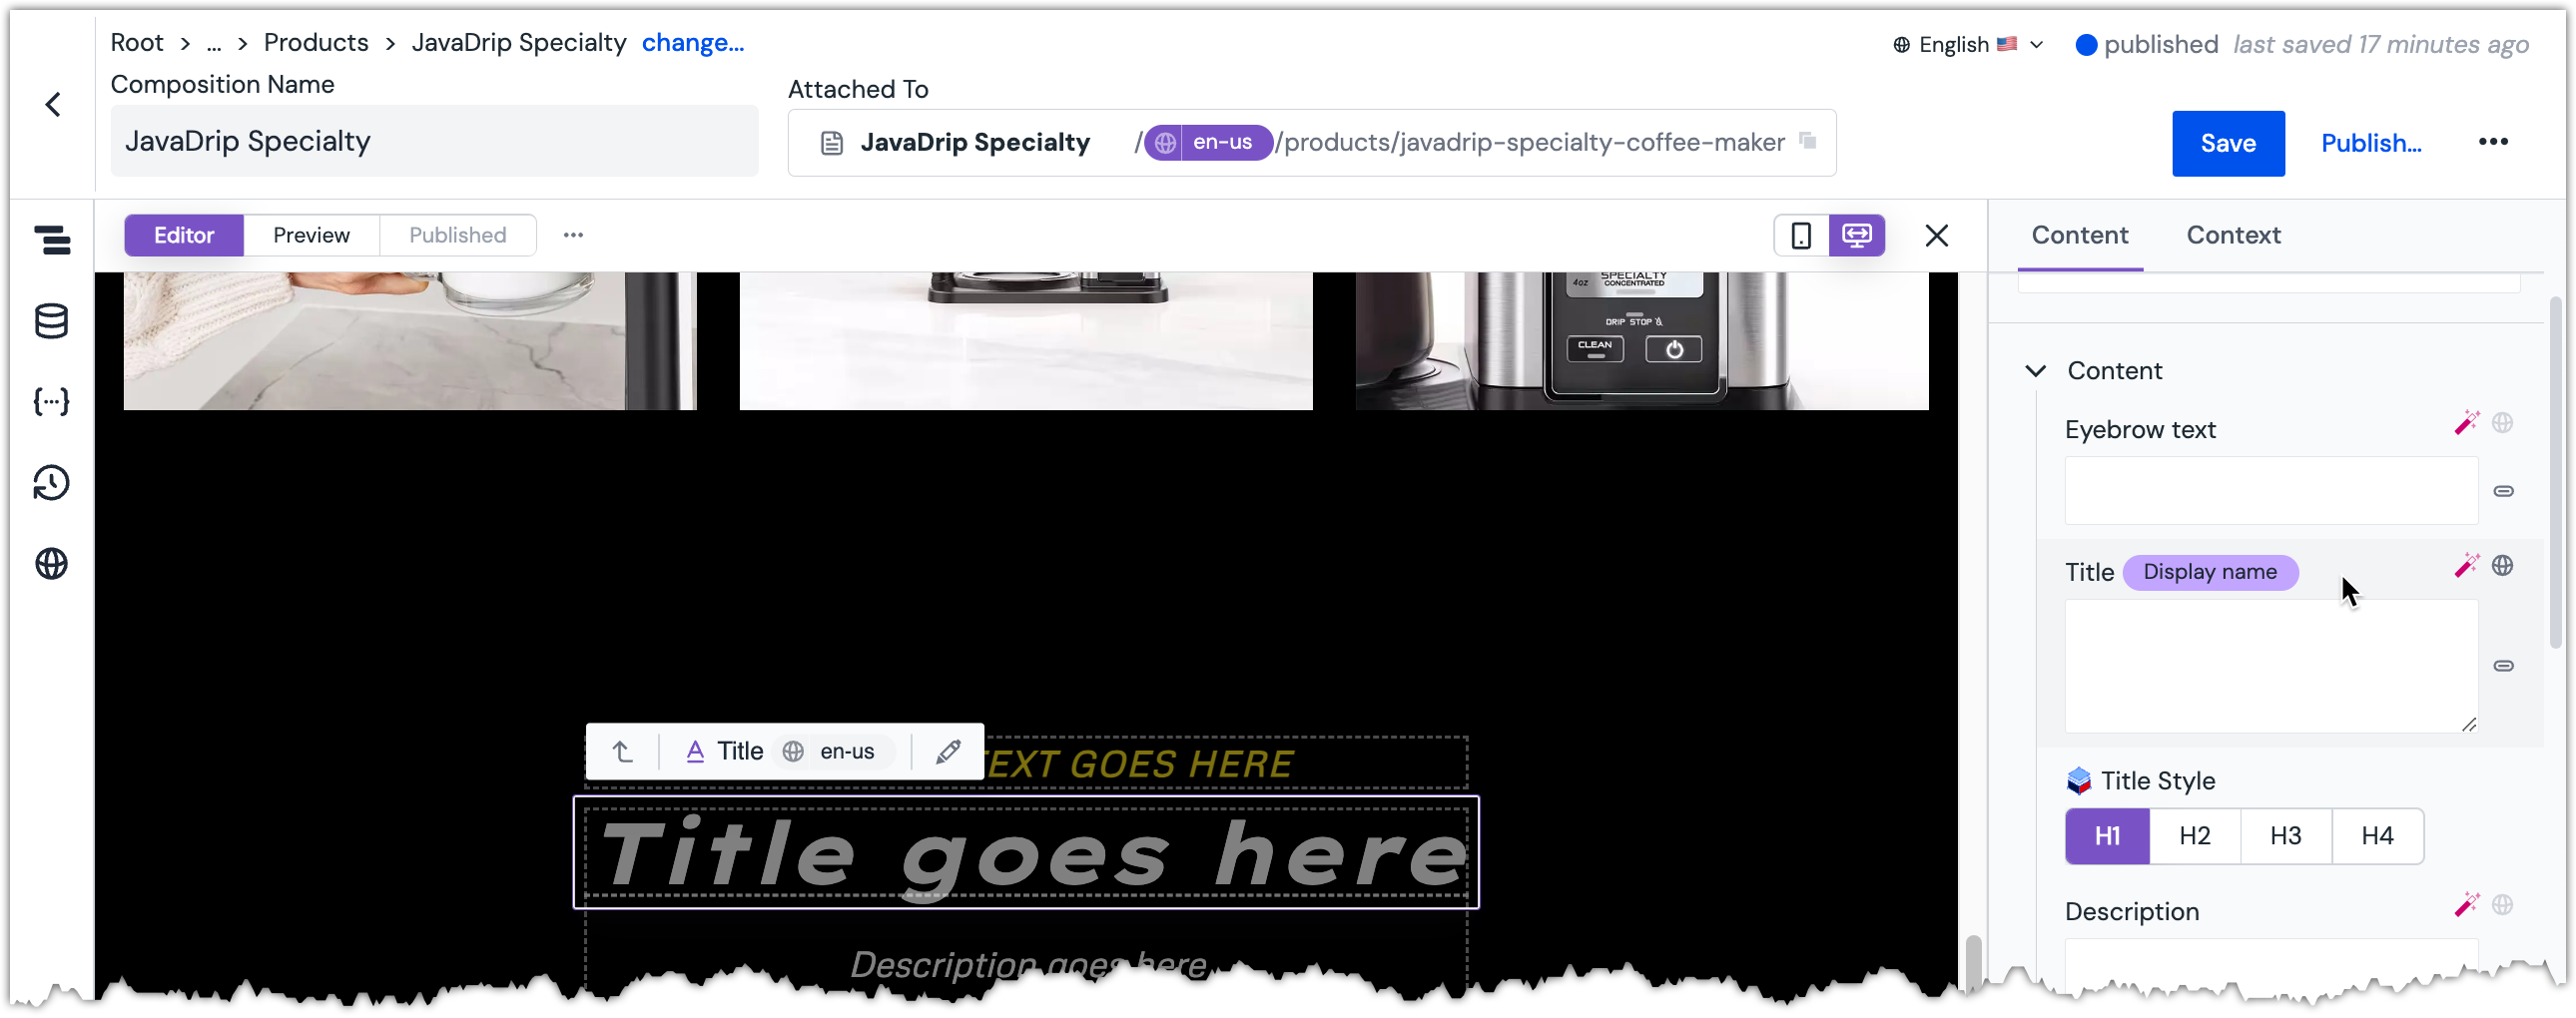 Title parameter selected.
Click the chip icon .
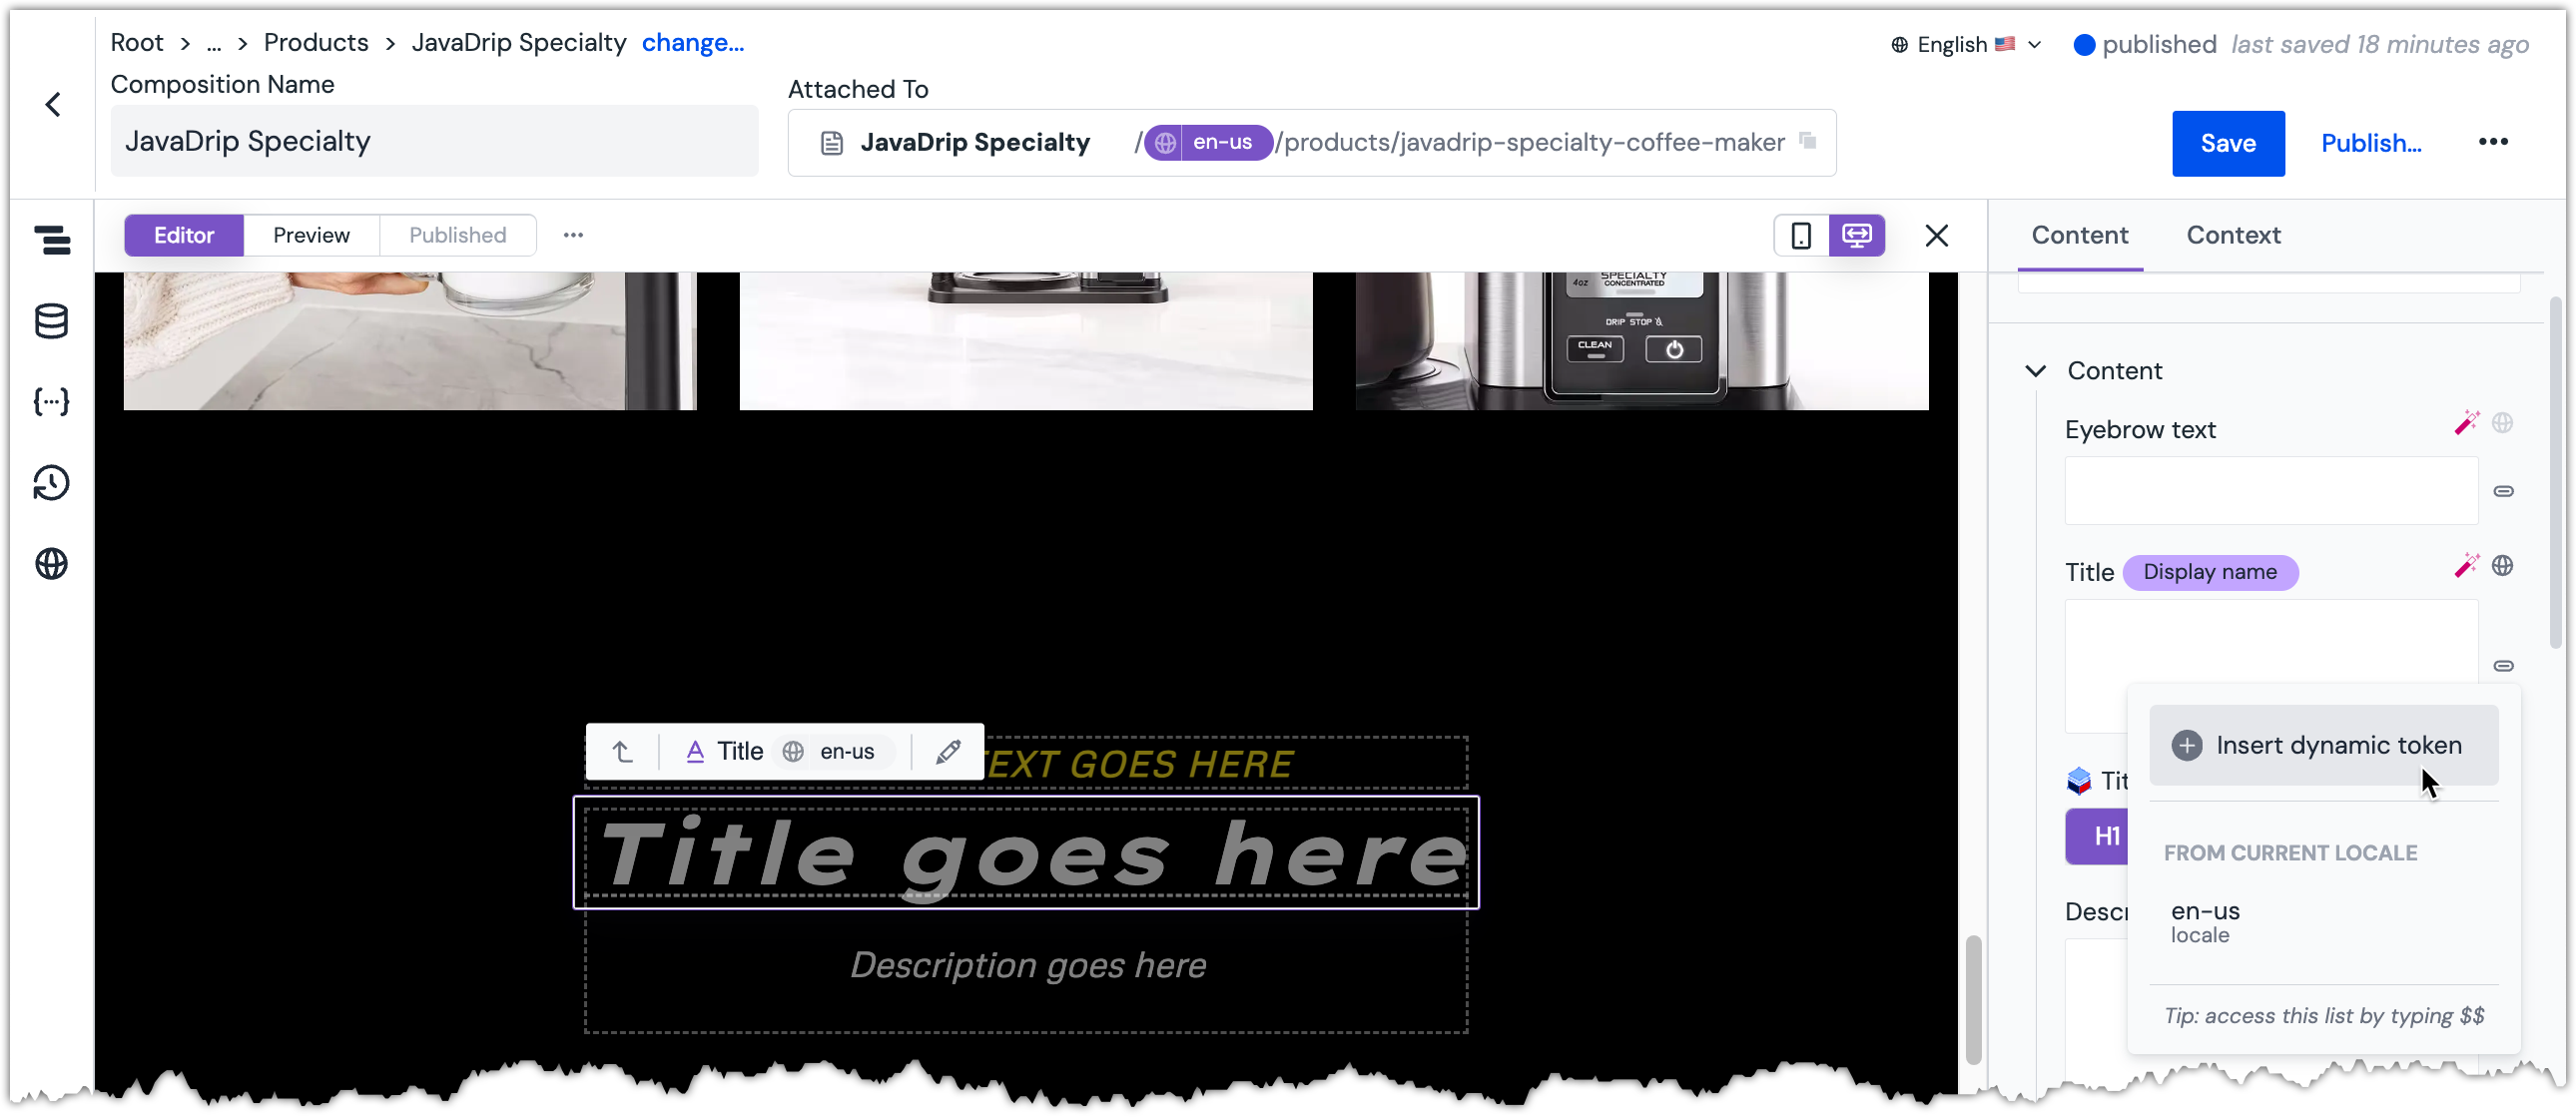 Menu displayed when chip icon is clicked.
Click Insert dynamic token.
Select the following node:
Love It Testimonial Content > entries > 1 > entry > fields > title > value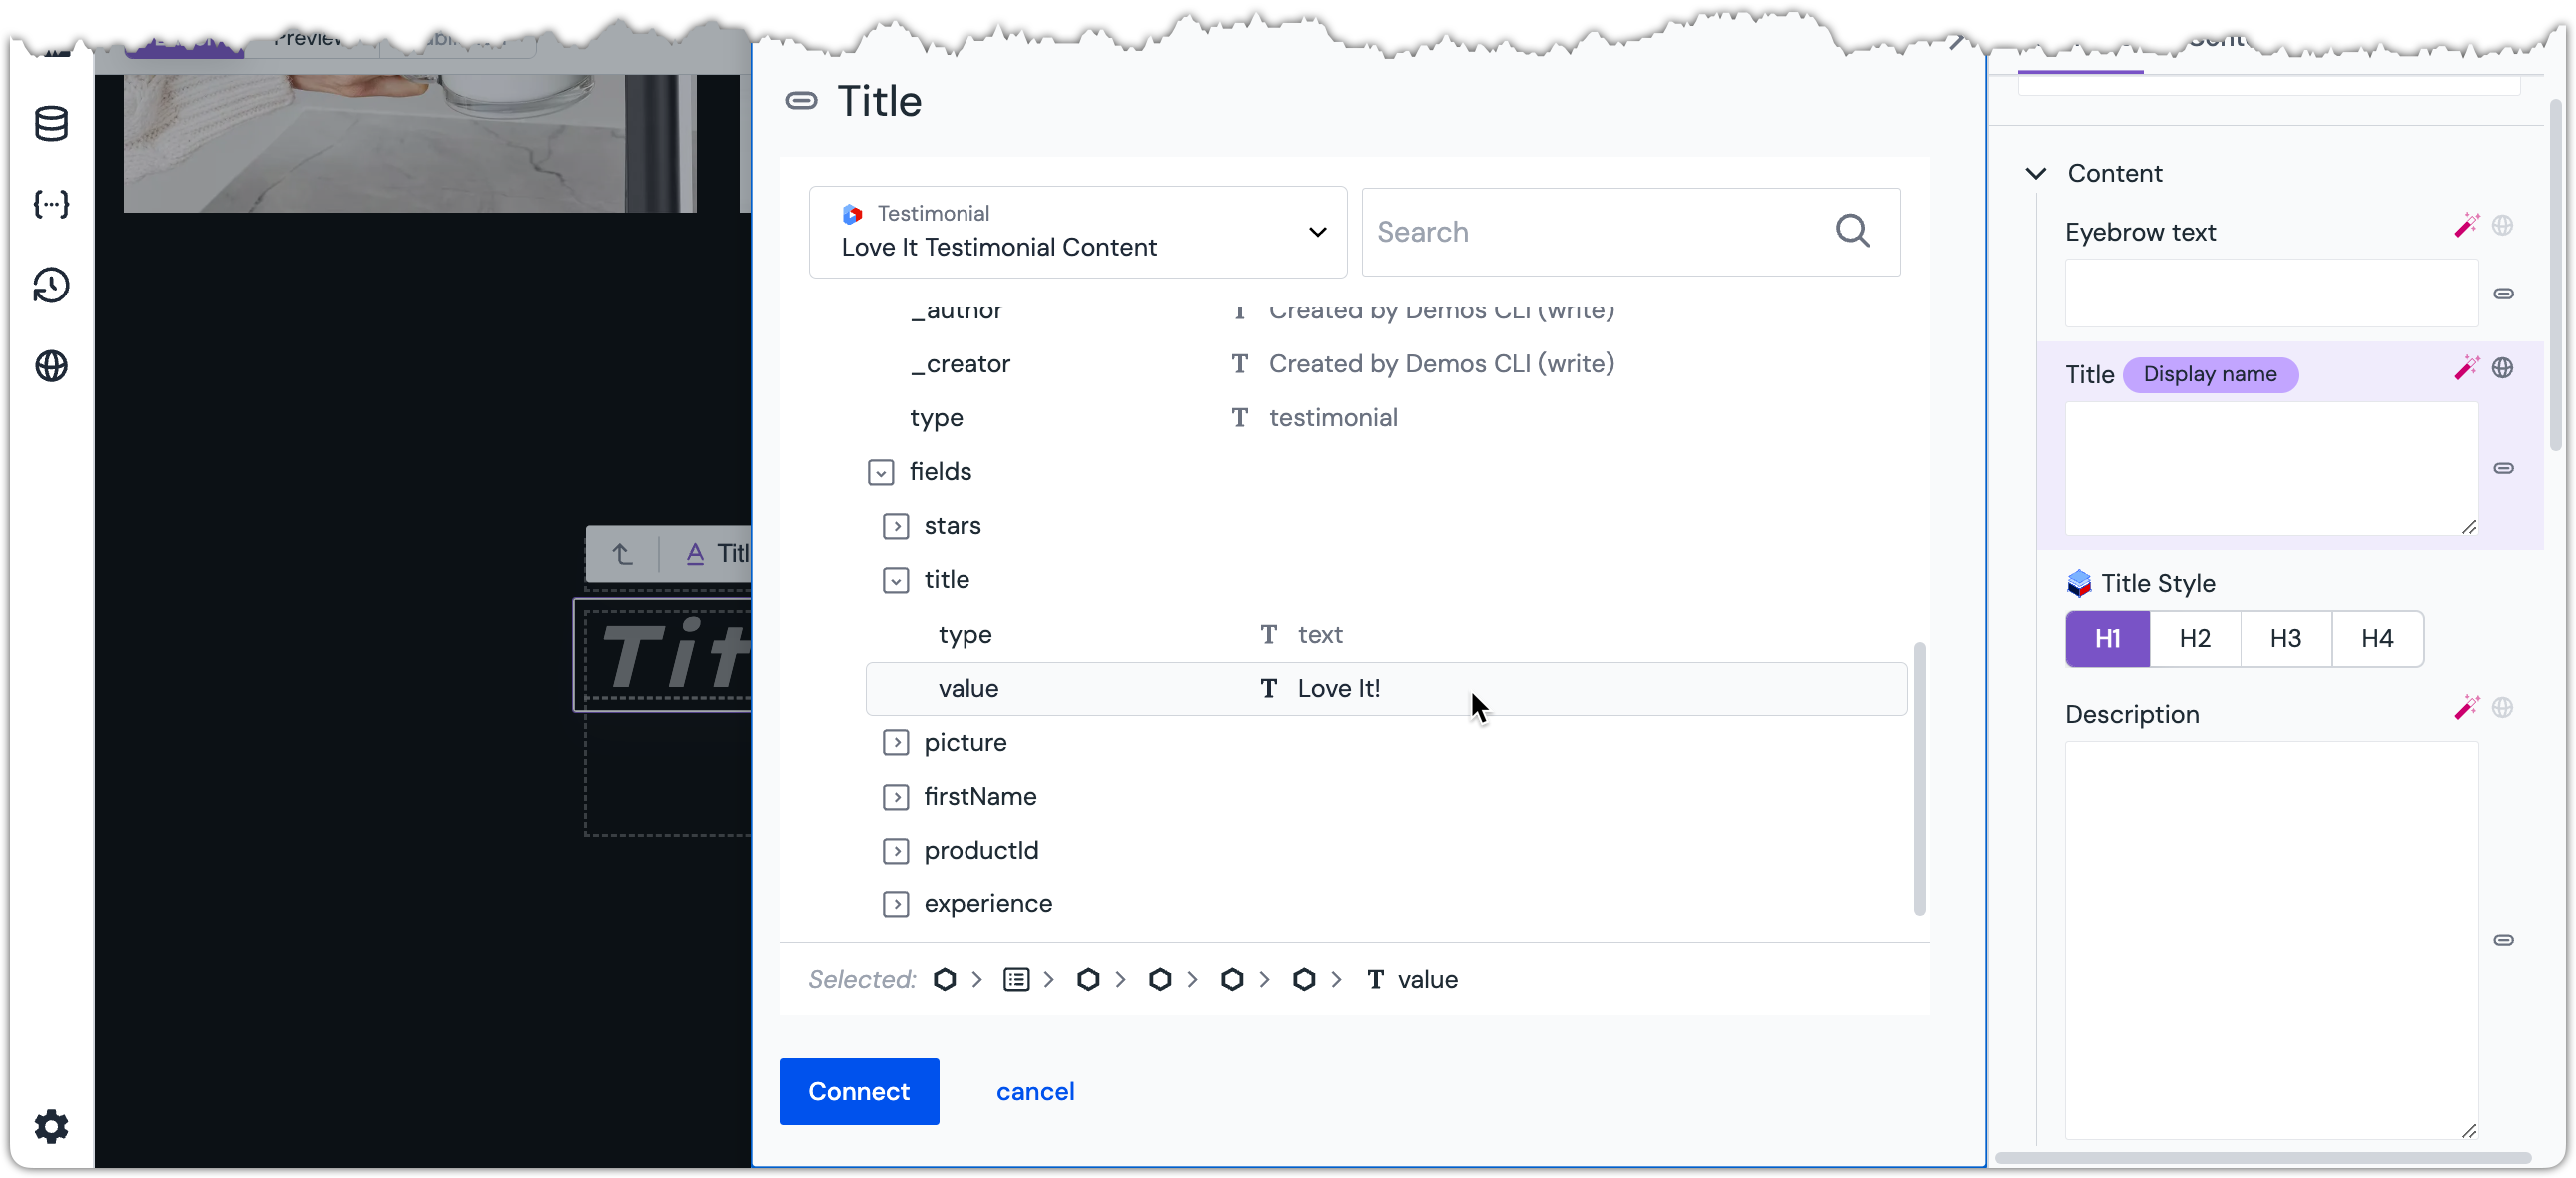 Title field value selected.
Click the button Connect.
About this step
This is how you map a parameter to a Data Resource field.
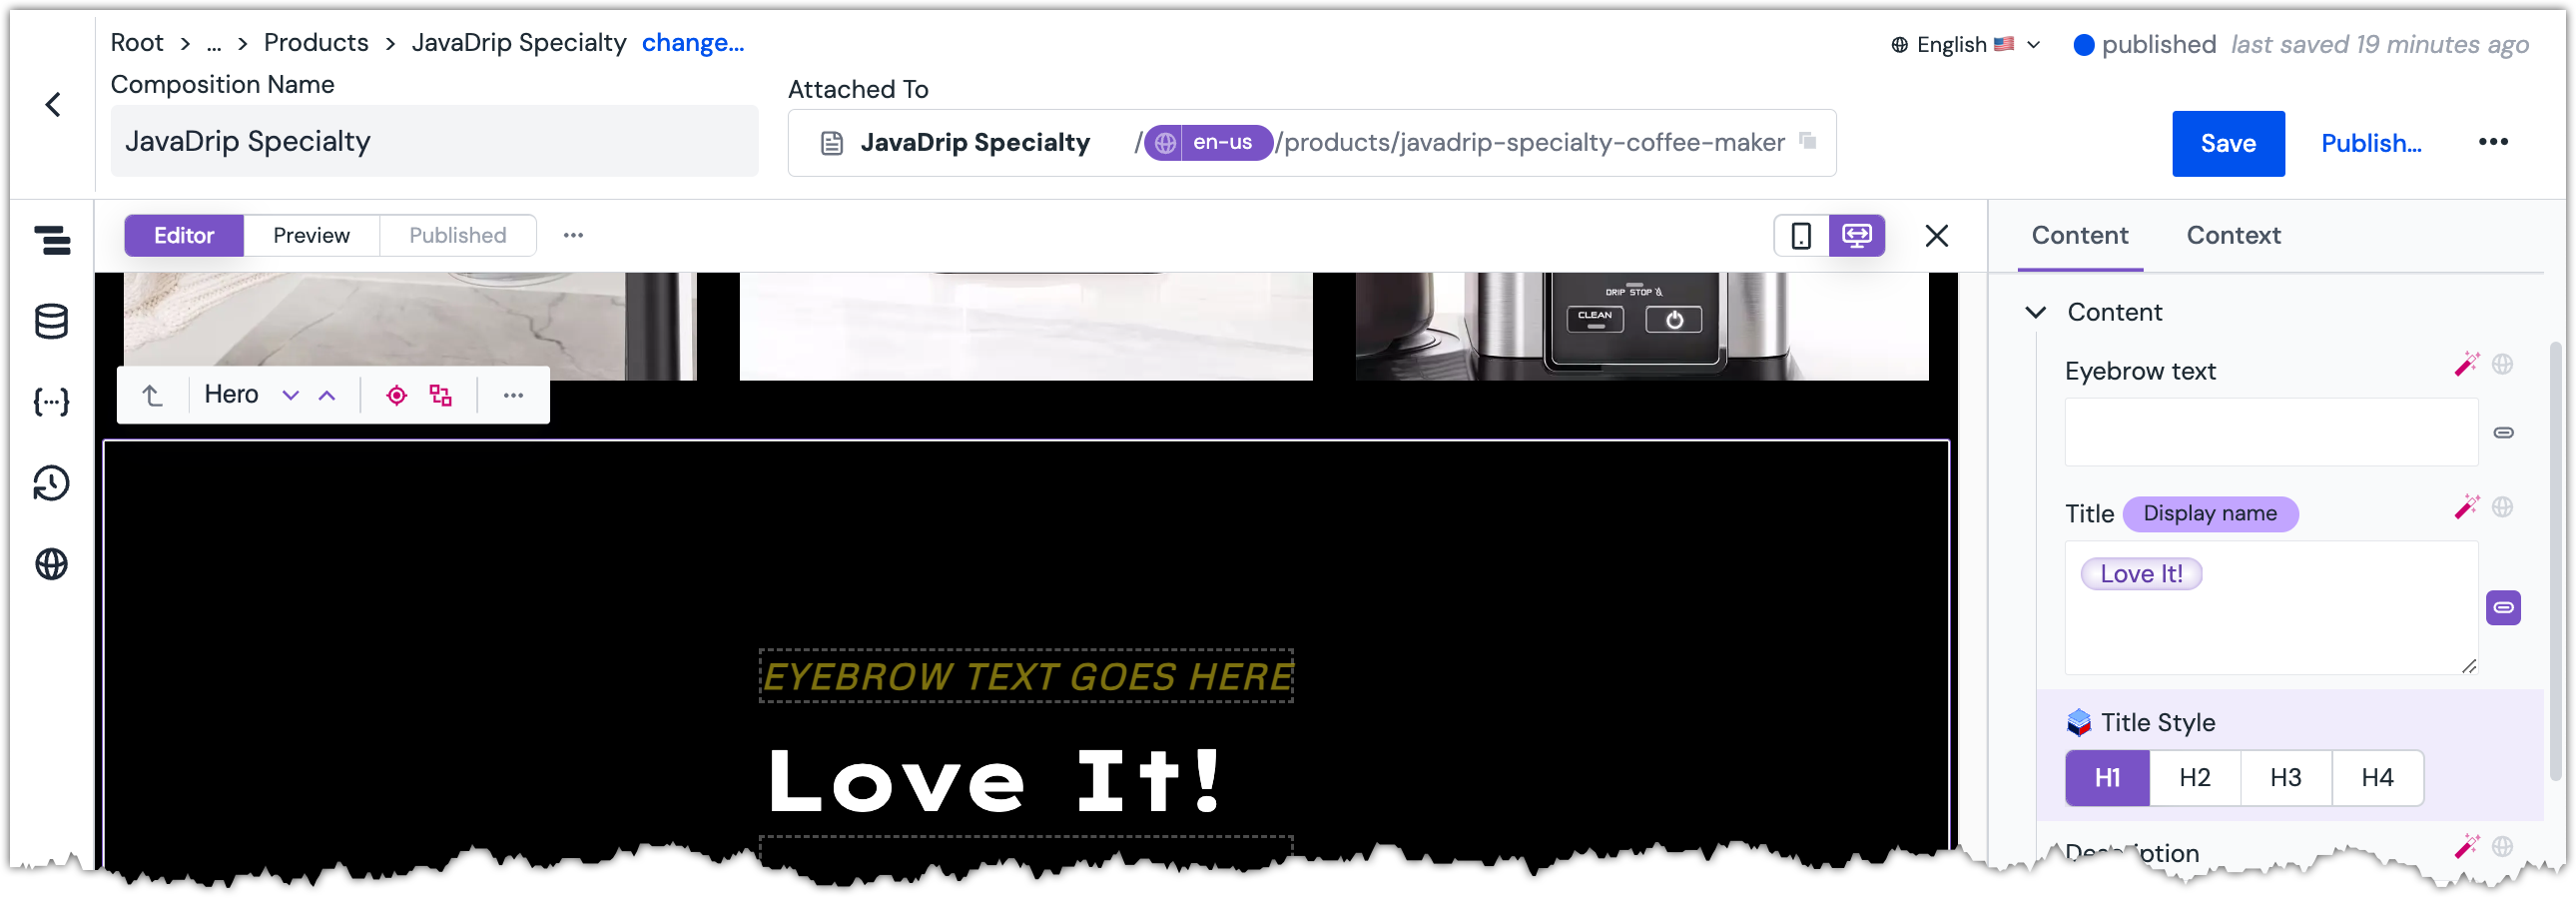 Title parameter is populated.
Set the parameter
Title StyletoH2.Map the parameter
Descriptionto the following Data Resource node:Love It Testimonial Content > entries > 1 > entry > fields > experience > value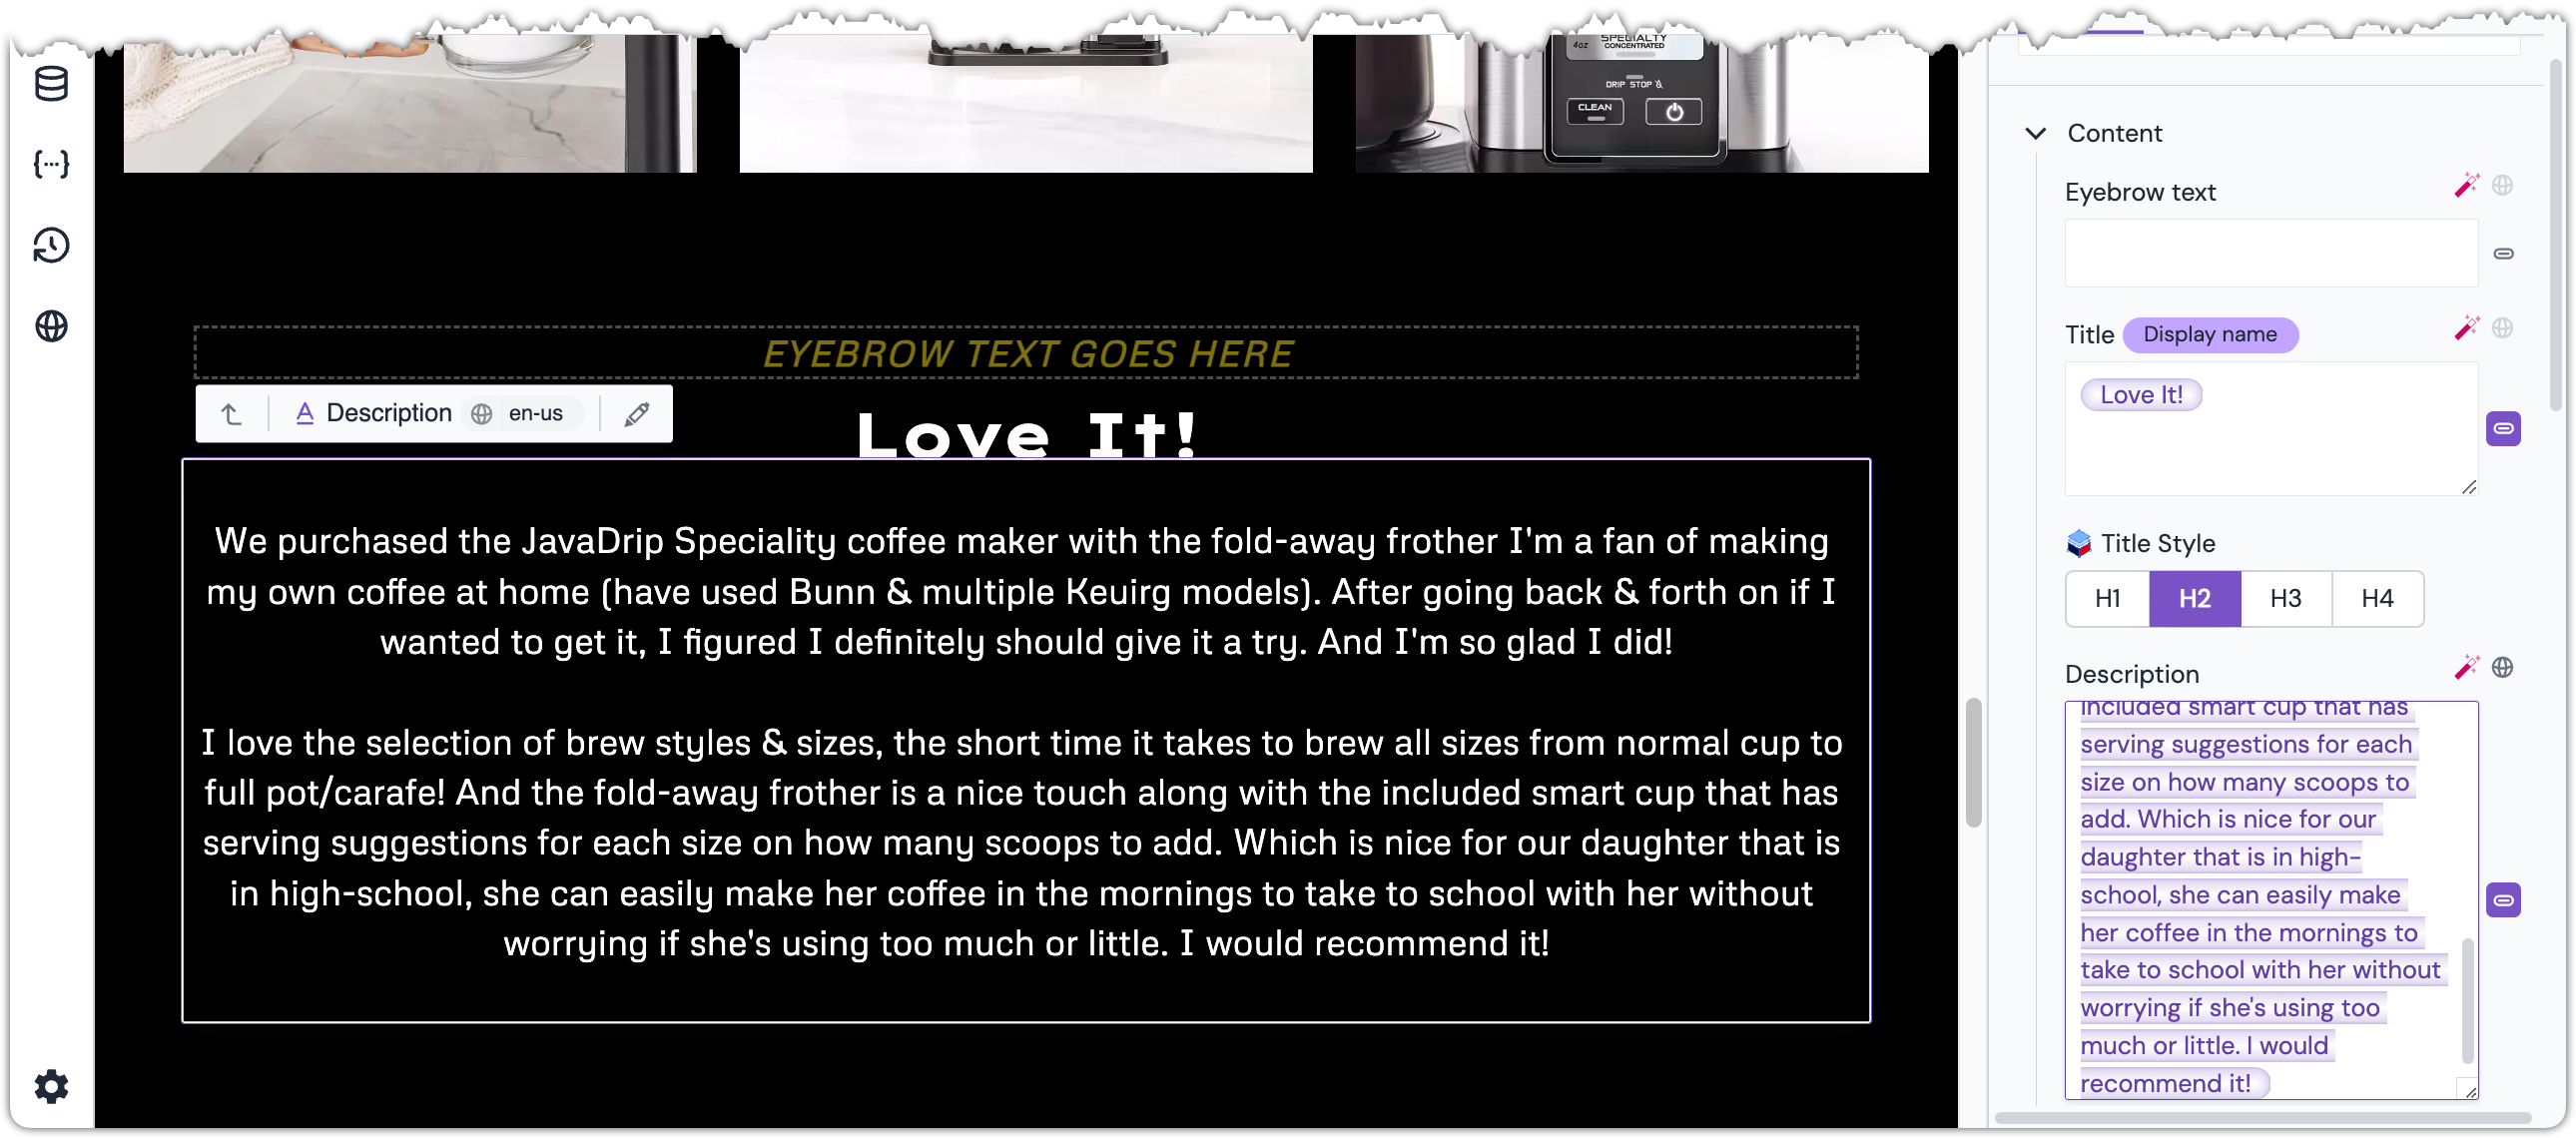 Description parameter is populated.
In the Content Panel, from the dropdown
Display Variant, selectImage Left.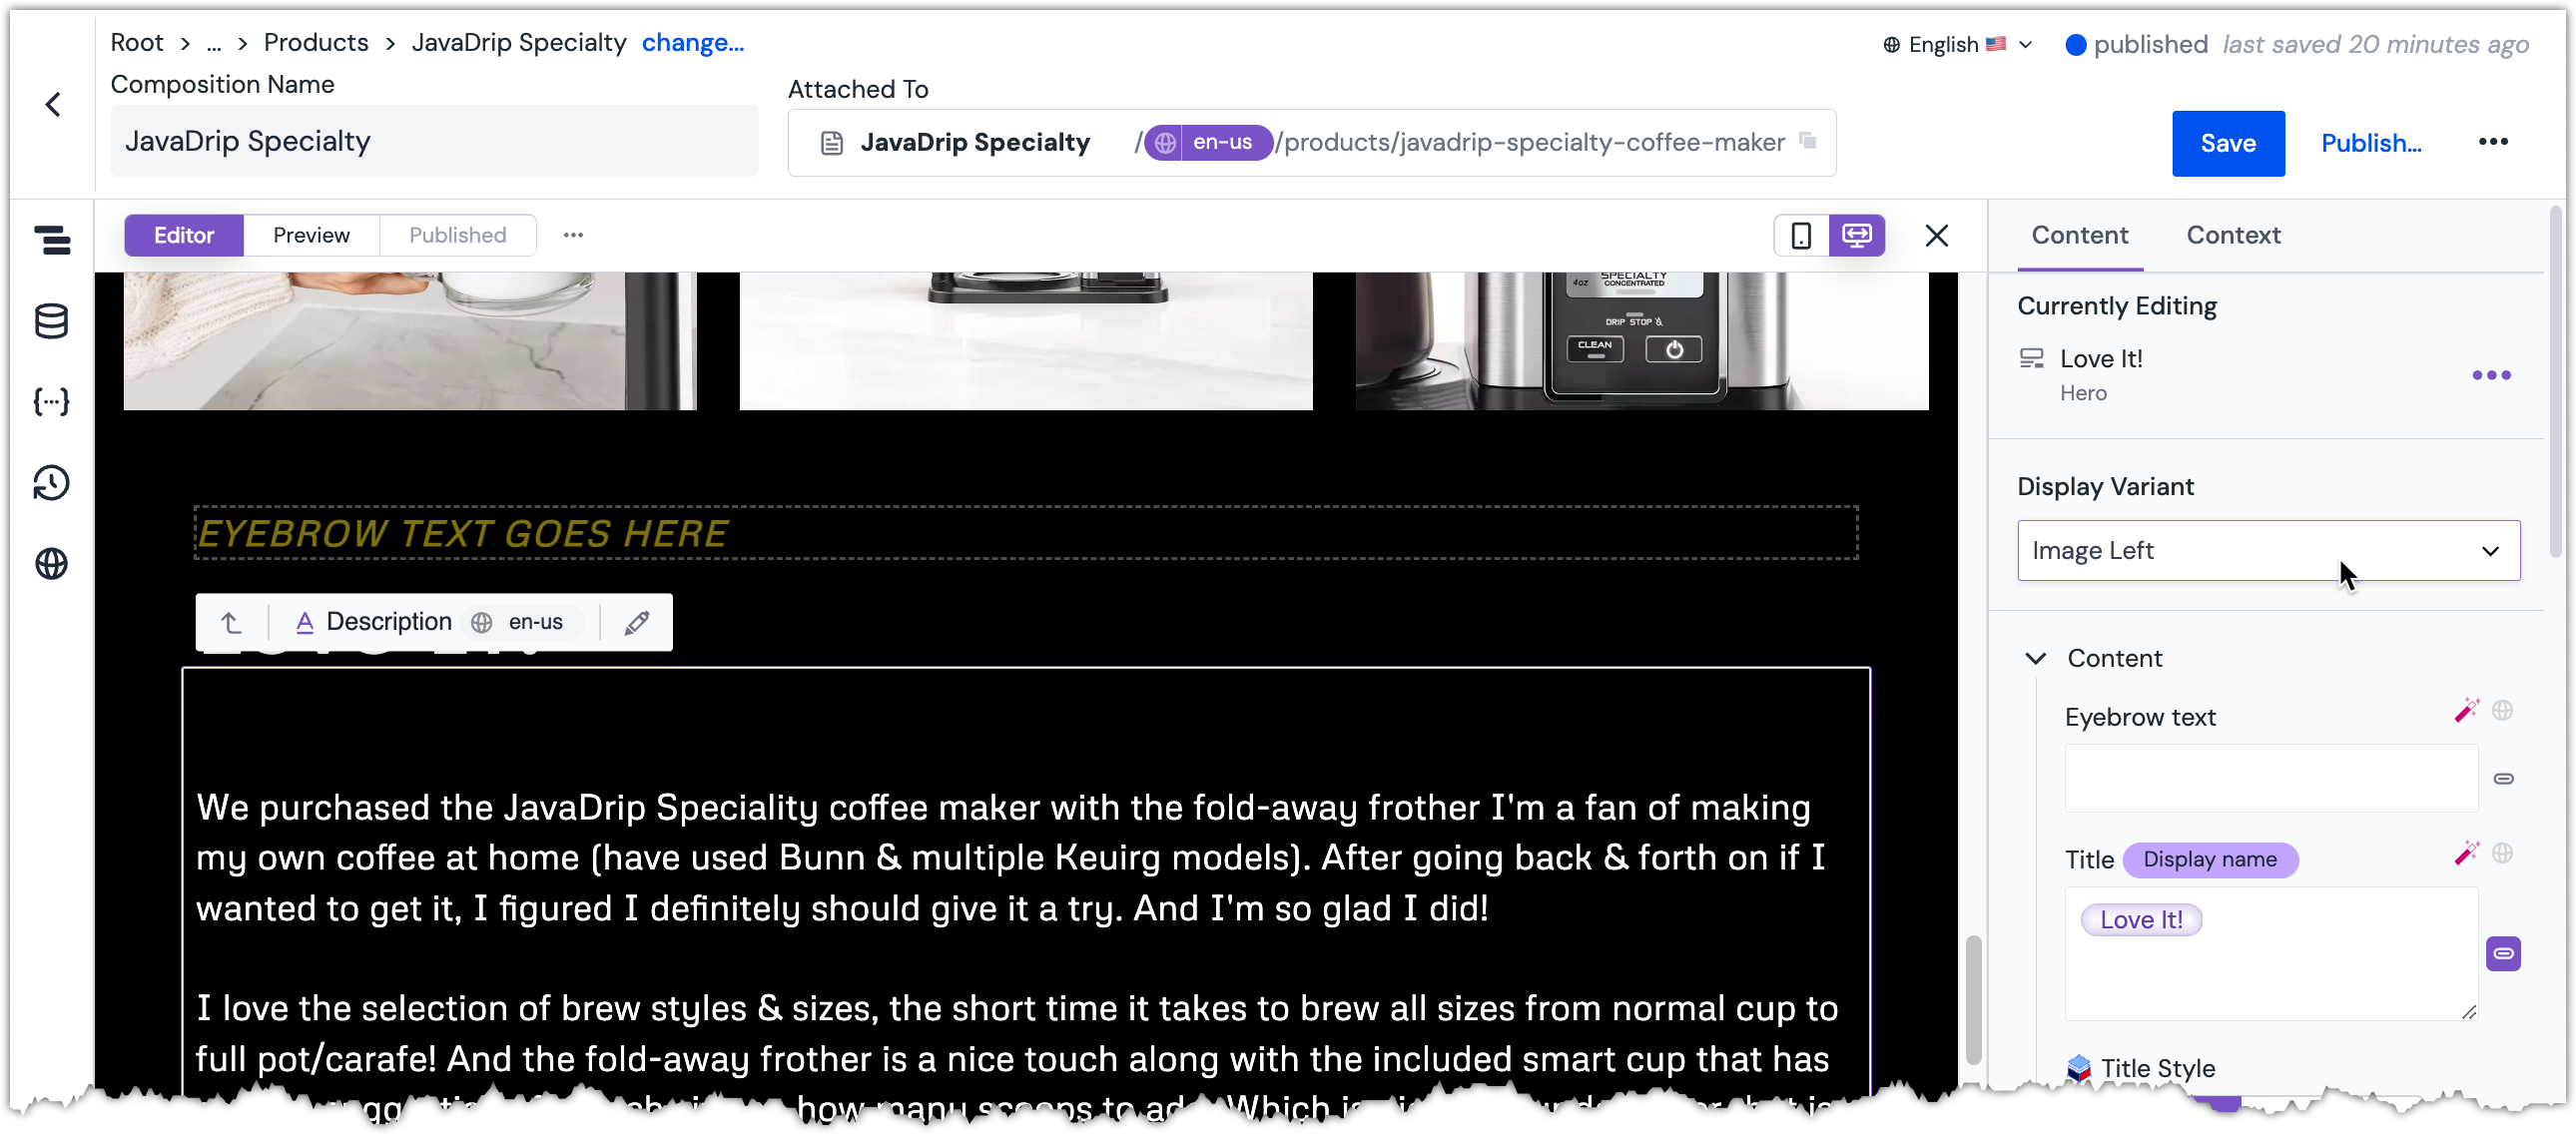 Description text is no longer centered.
Map image field#
Find the parameter
Image.Click the chip icon .
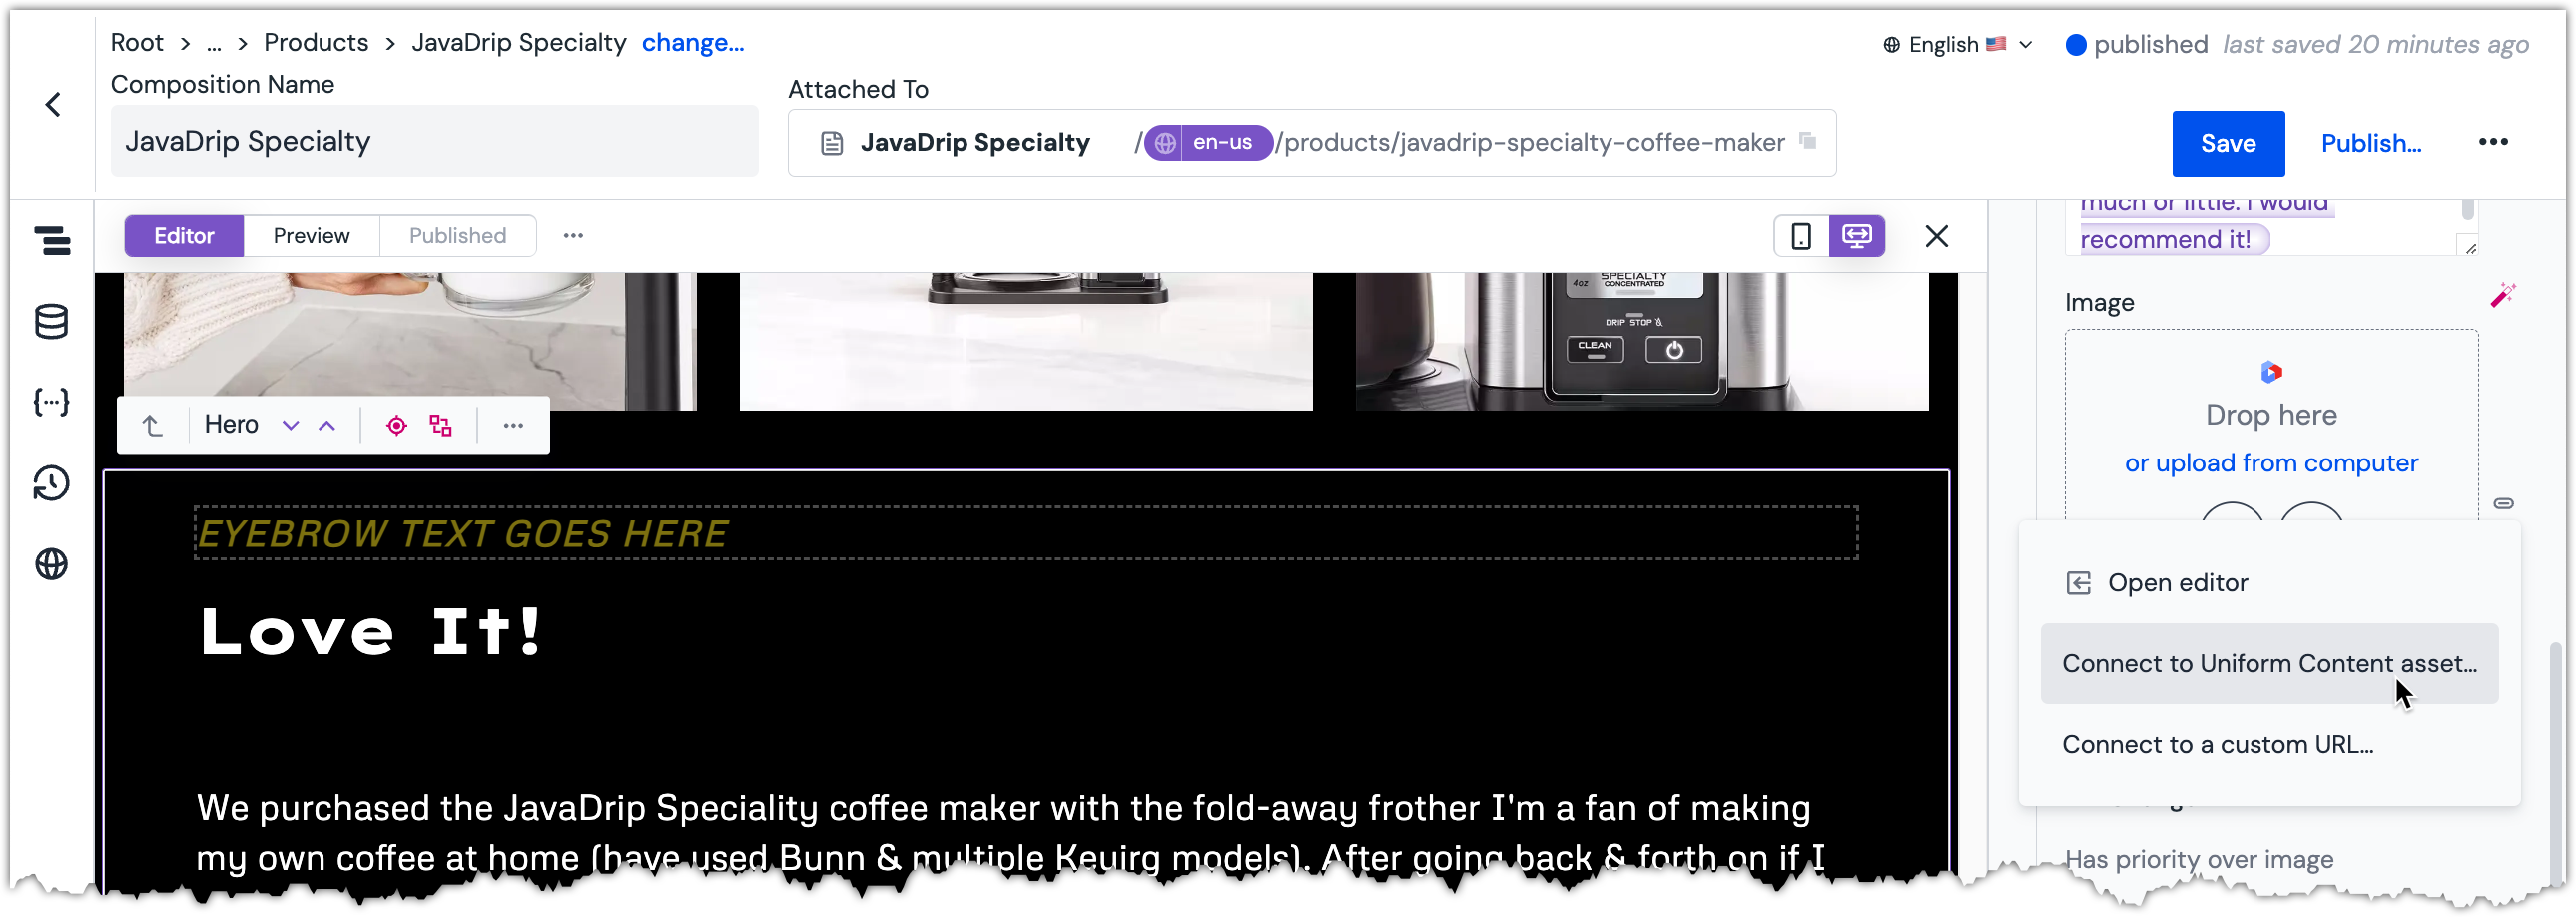 Menu displayed when chip icon is clicked.
Click Connect to Uniform Content asset....
Select the following Data Resource node:
Love It Testimonial Content > entries > 1 > entry > fields > picture > valueClick Connect.
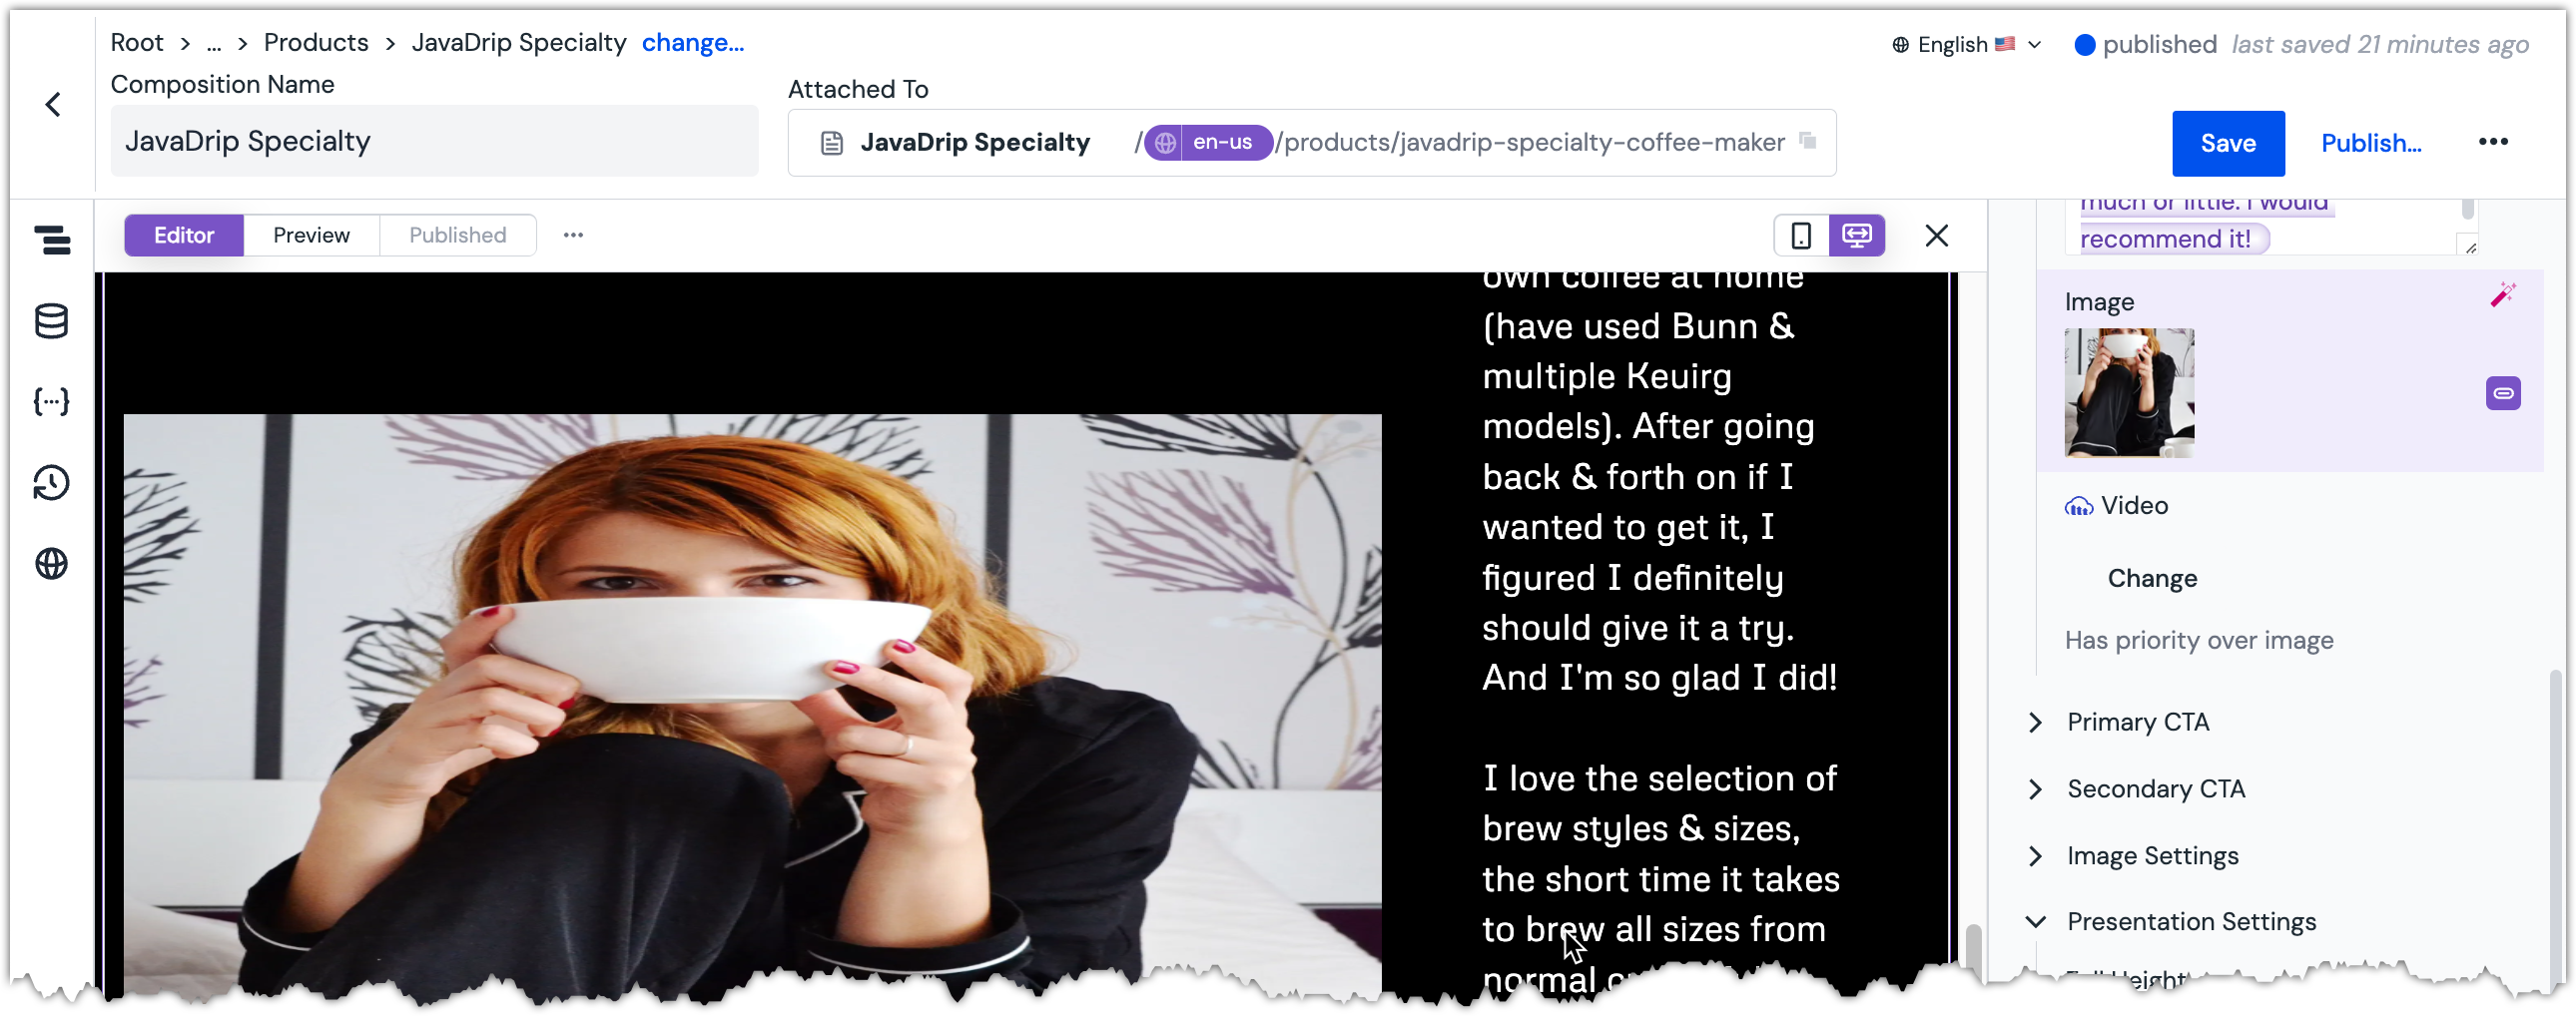 Image parameter is populated.
About this step
The image is displayed, but it is distorted. This can be fixed using another parameter that was created to make sure images can be displayed properly.
Set the parameter
Object FittoContain.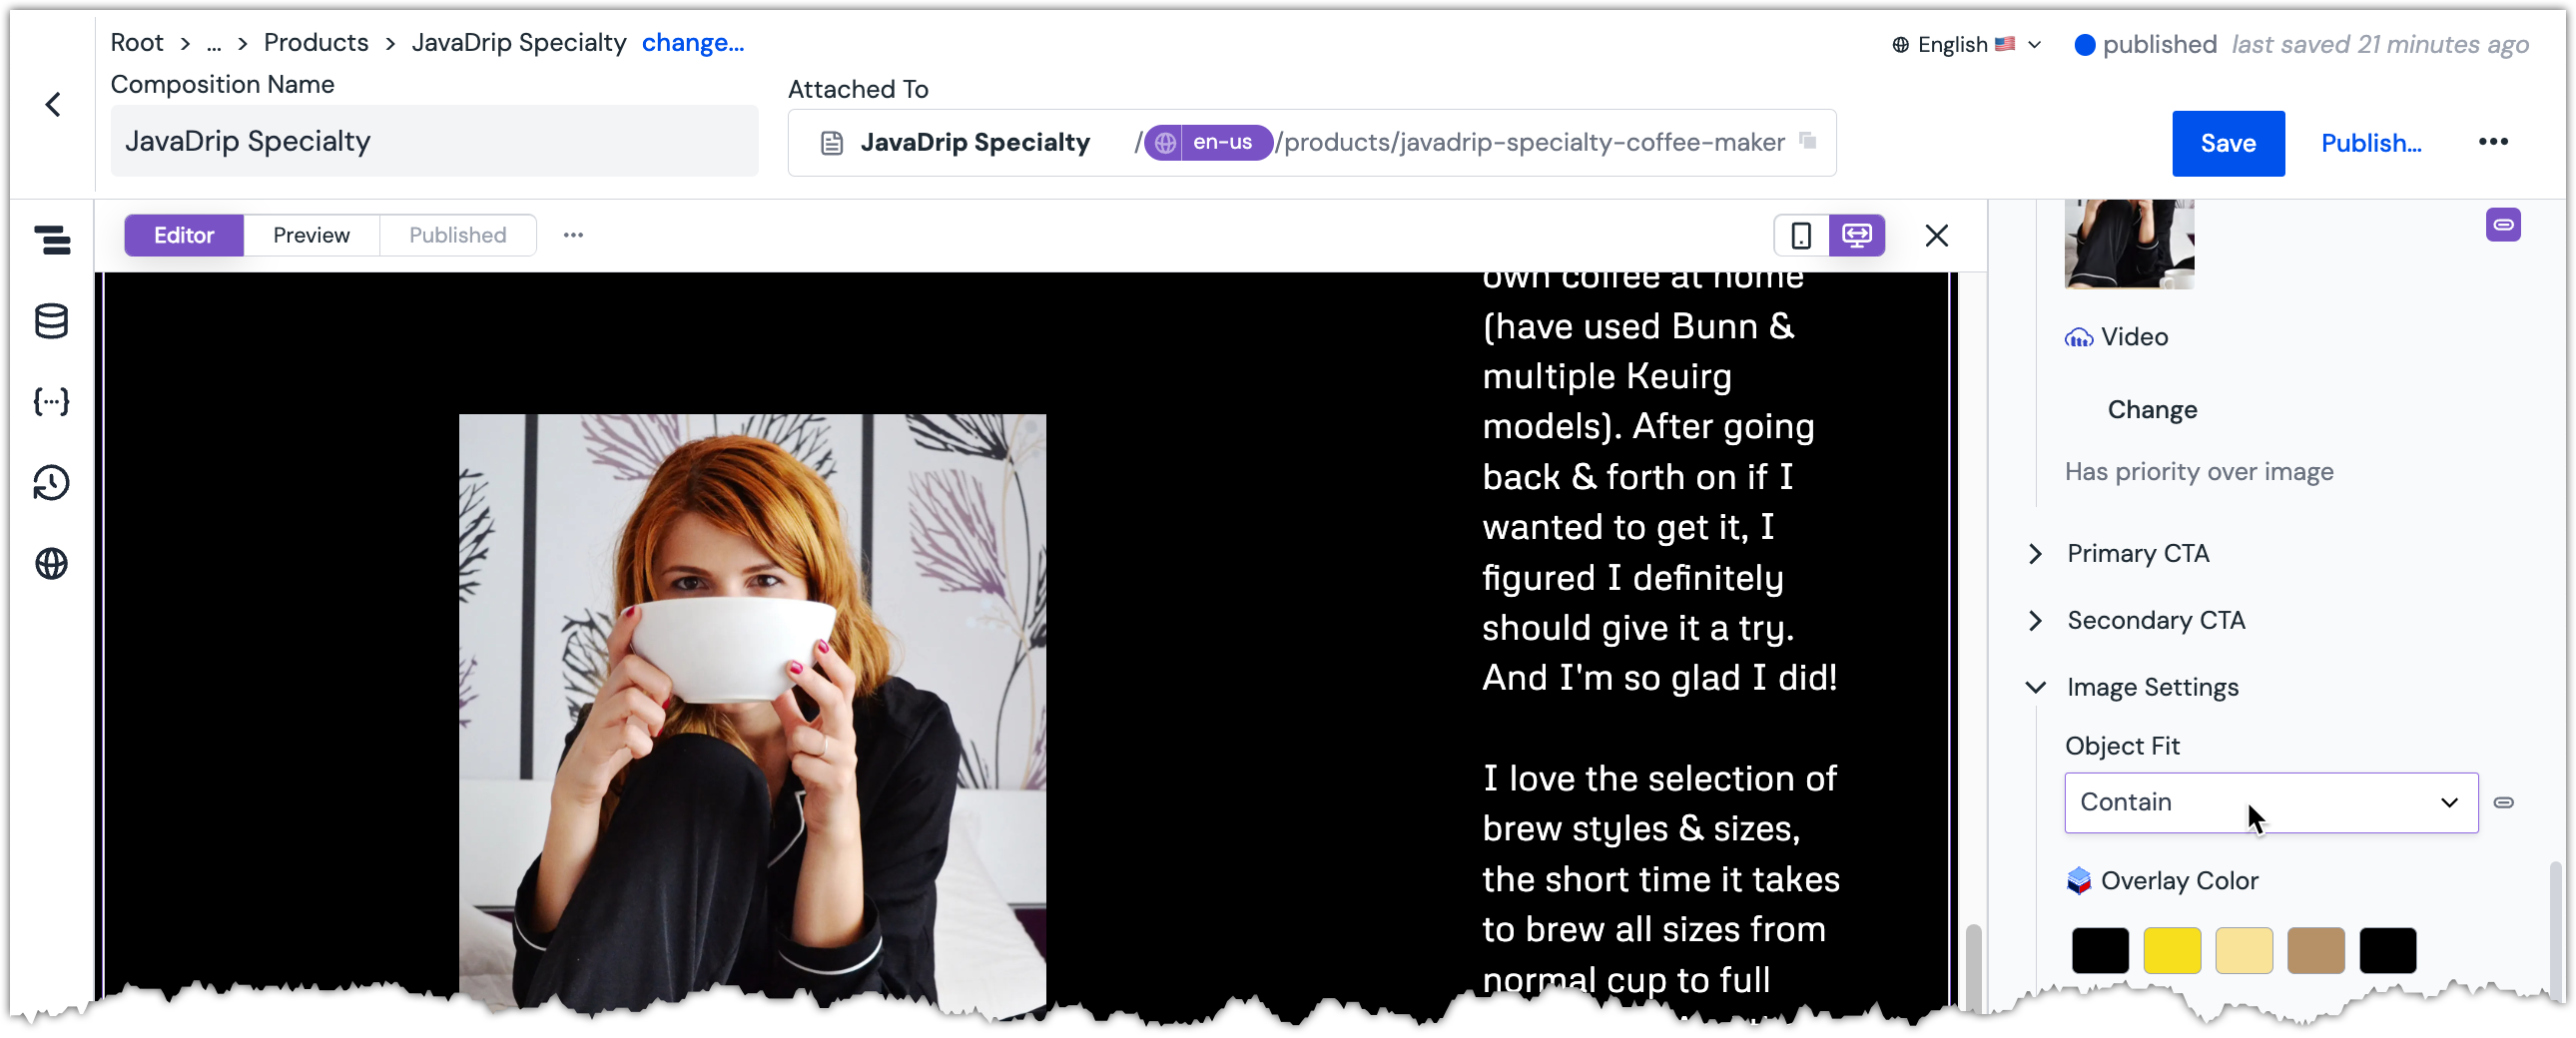 This parameter is located under the section "Image Settings" in the Content Panel.
About this step
The different options for this parameter give control over how the image is displayed. This makes it possible to support a variety of images.
Combine multiple values#
Map the parameter
Eyebrow textto the following Data Resource node:Love It Testimonial Content > entries > 1 > entry > fields > firstName > value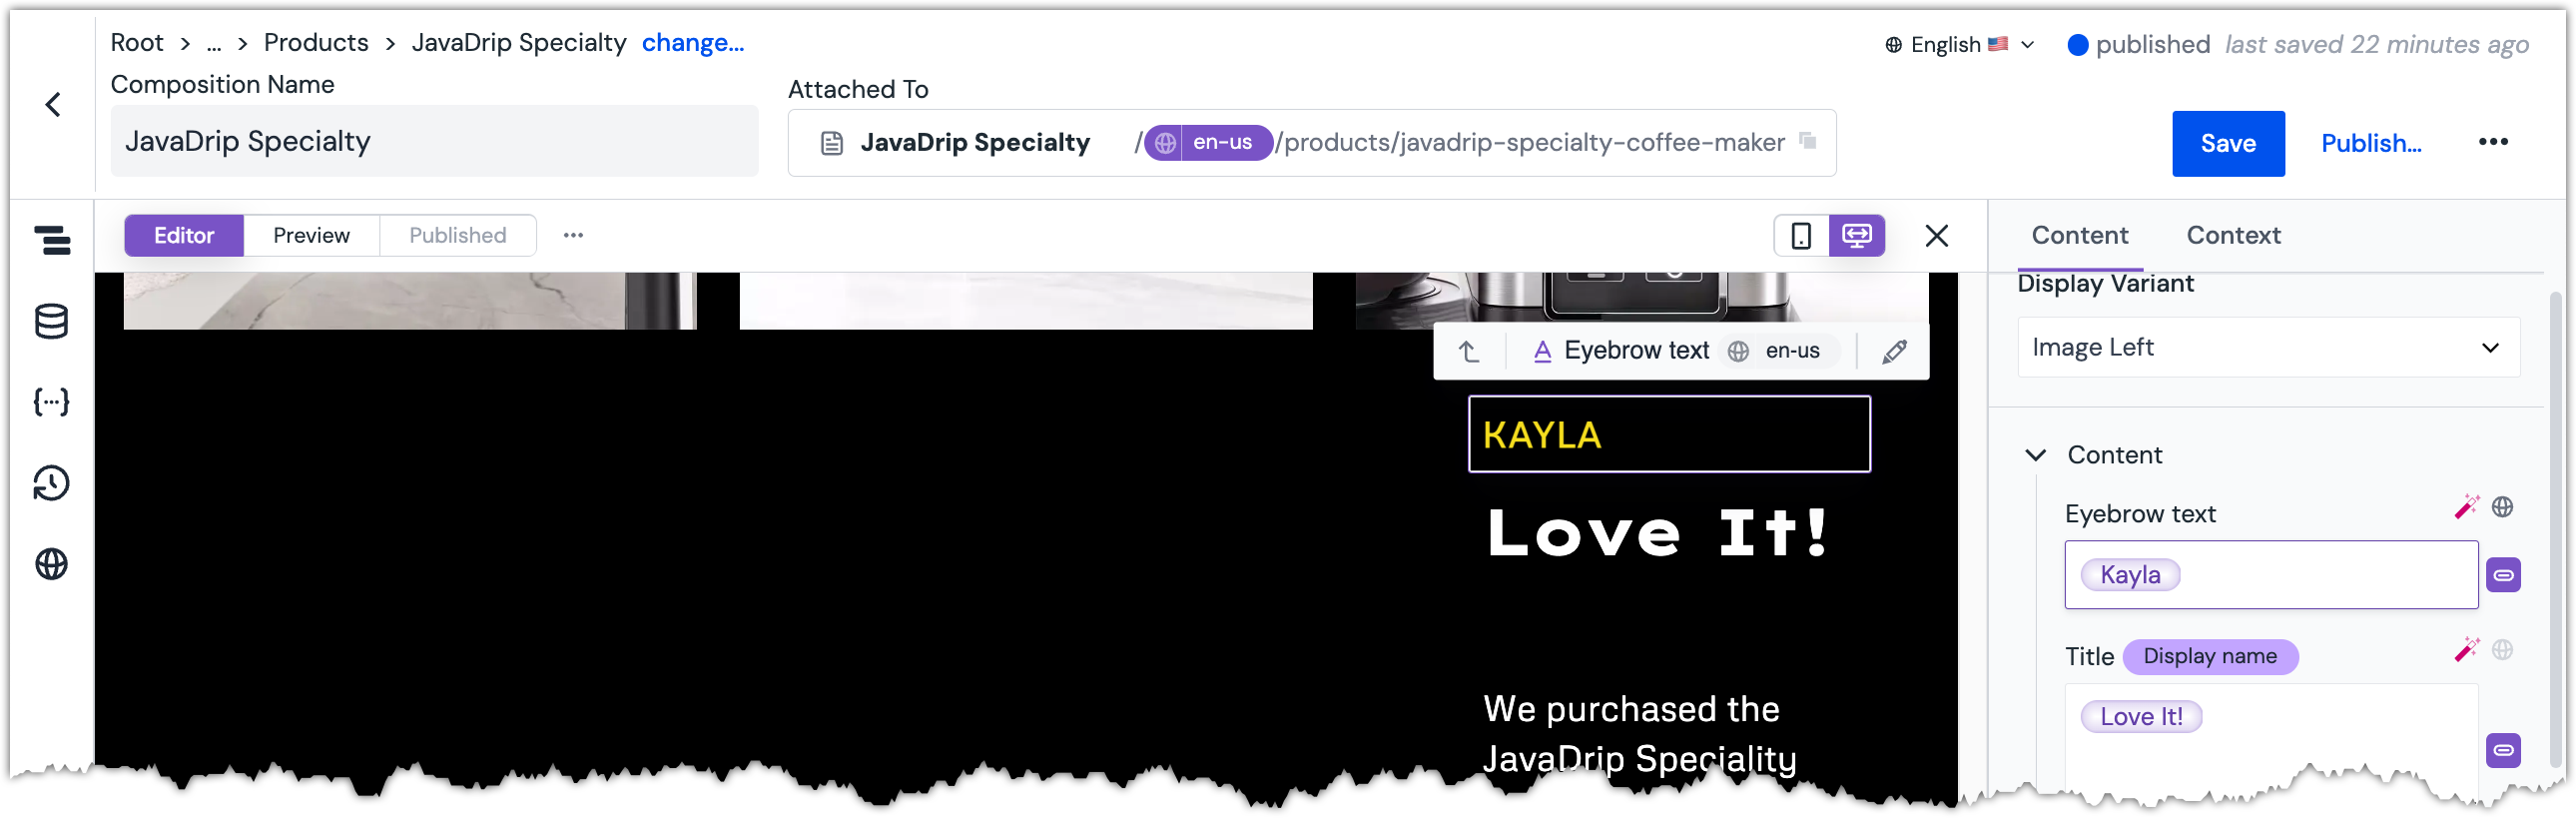 The first name from the testimonial is displayed.
In the Content Panel, click inside the input box for the parameter
Eyebrow text.Enter the following text:
-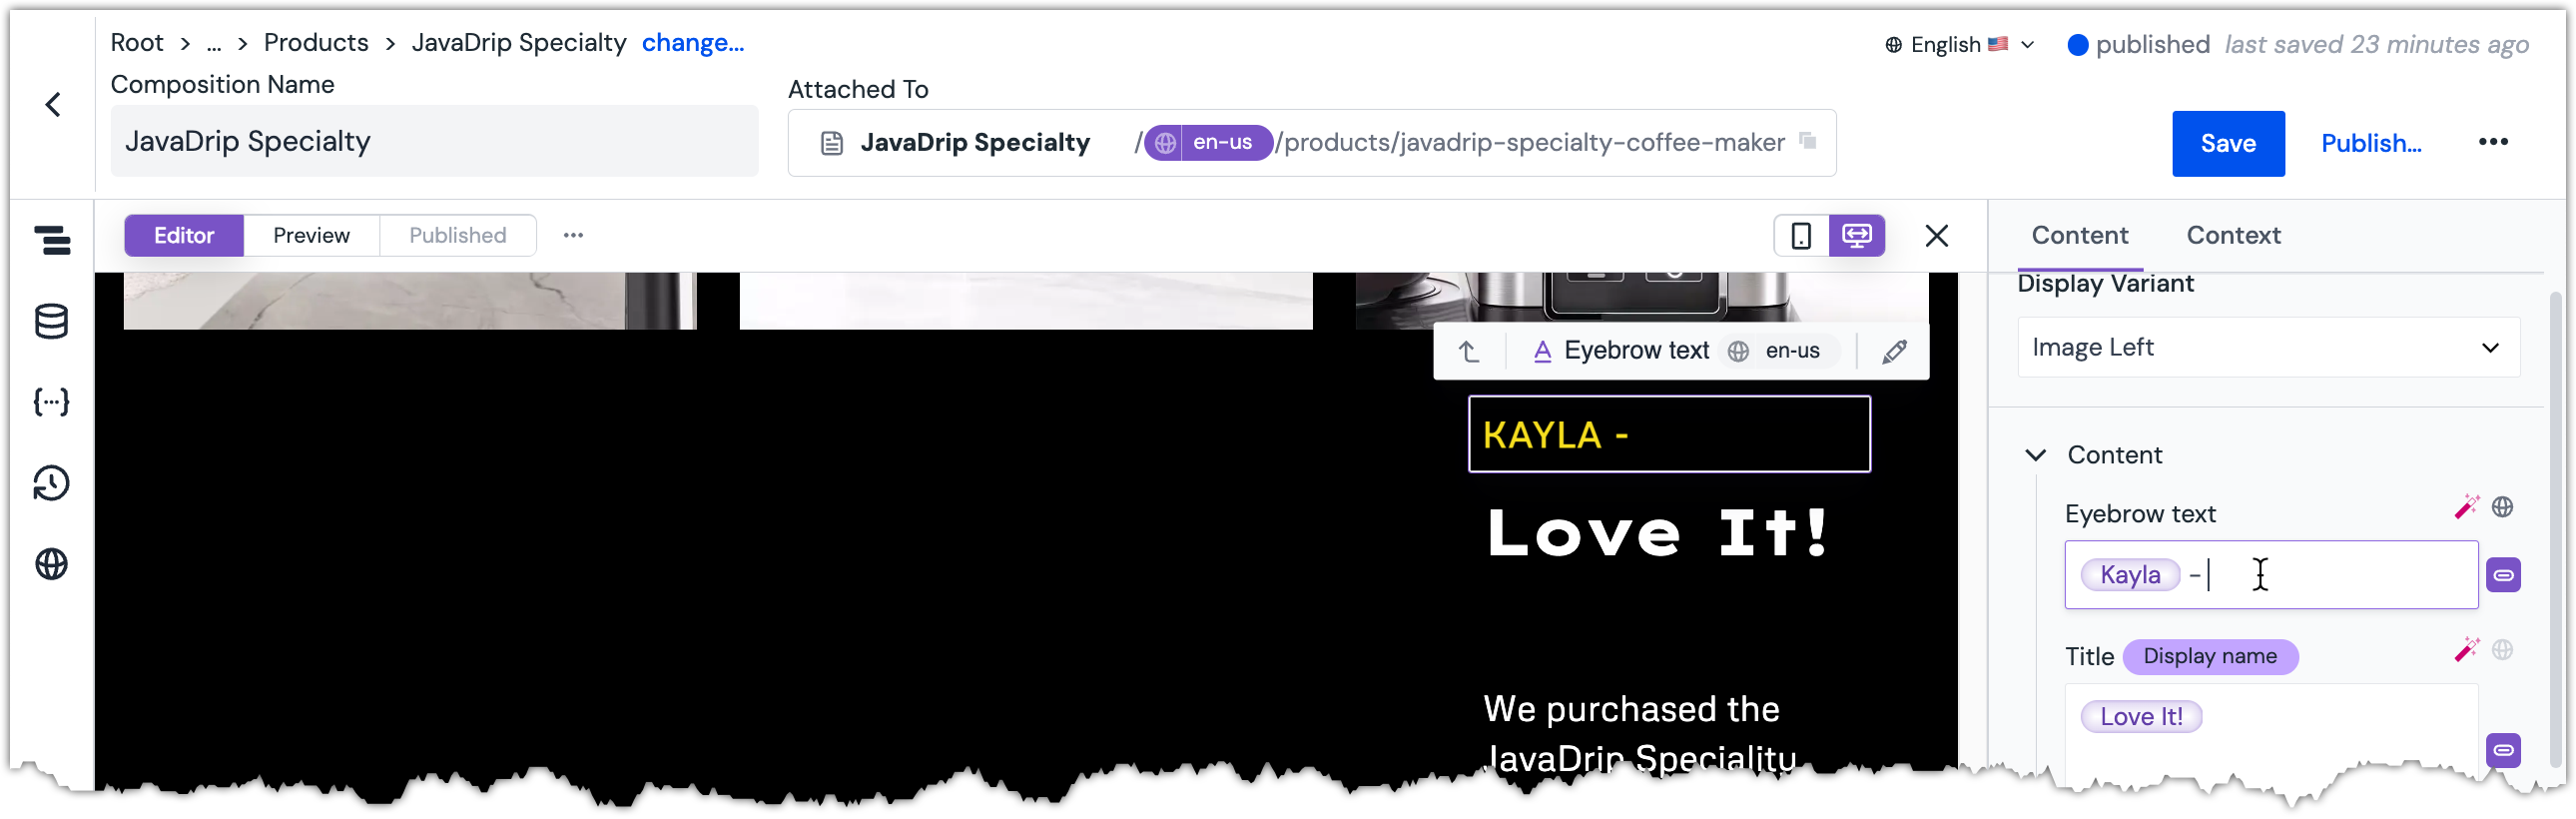 Dynamic tokens and text can be entered in the field.
About this step
Note that there is a space before and after the dash.
Map the parameter
Eyebrow textto the following Data Resource node:Love It Testimonial Content > entries > 1 > entry > fields > stars > value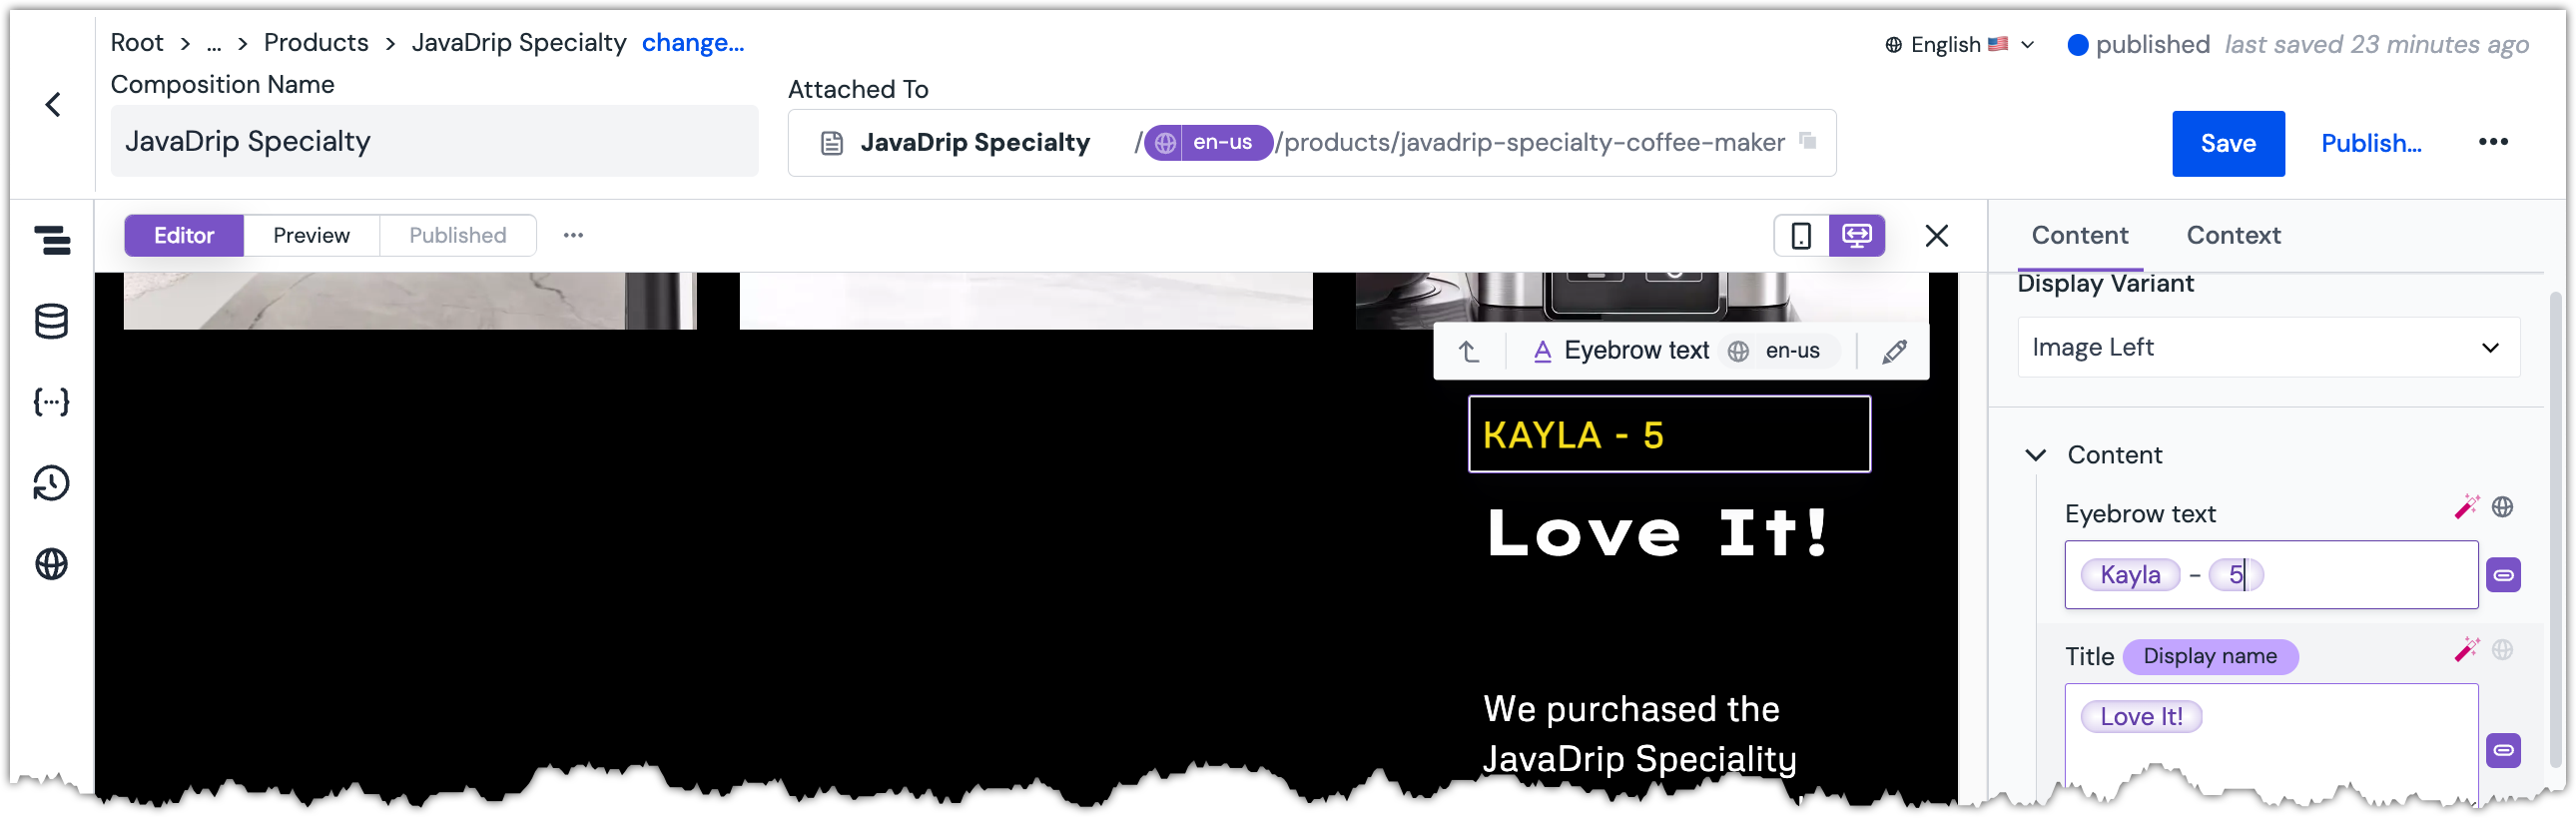 Multiple dynamic tokens can be entered in the field.
Enter the following text:
stars!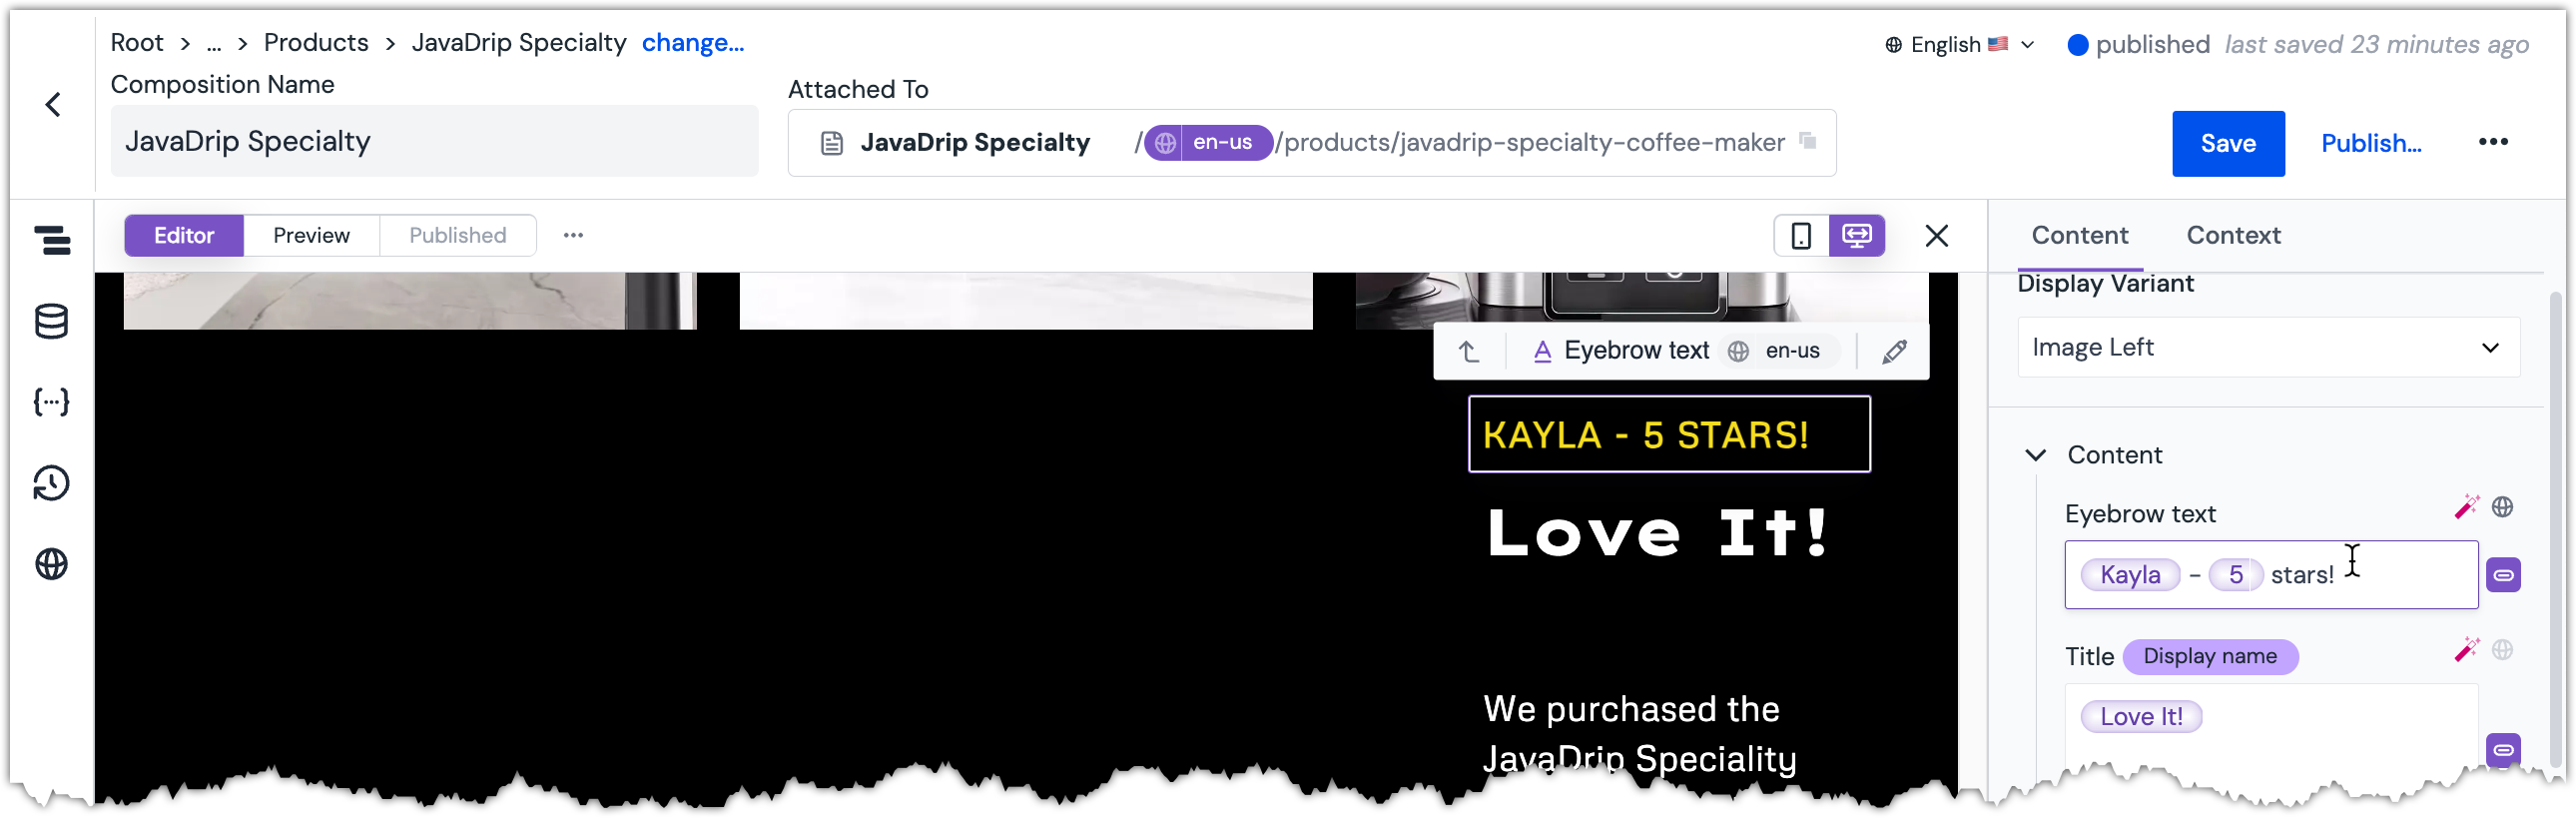 Complex, composite values can be entered in the field.
About this step
Note that there is a space at the start of the text.
Publish the composition.
Try it out#
- Visit your PDP page to see the selected testimonial.
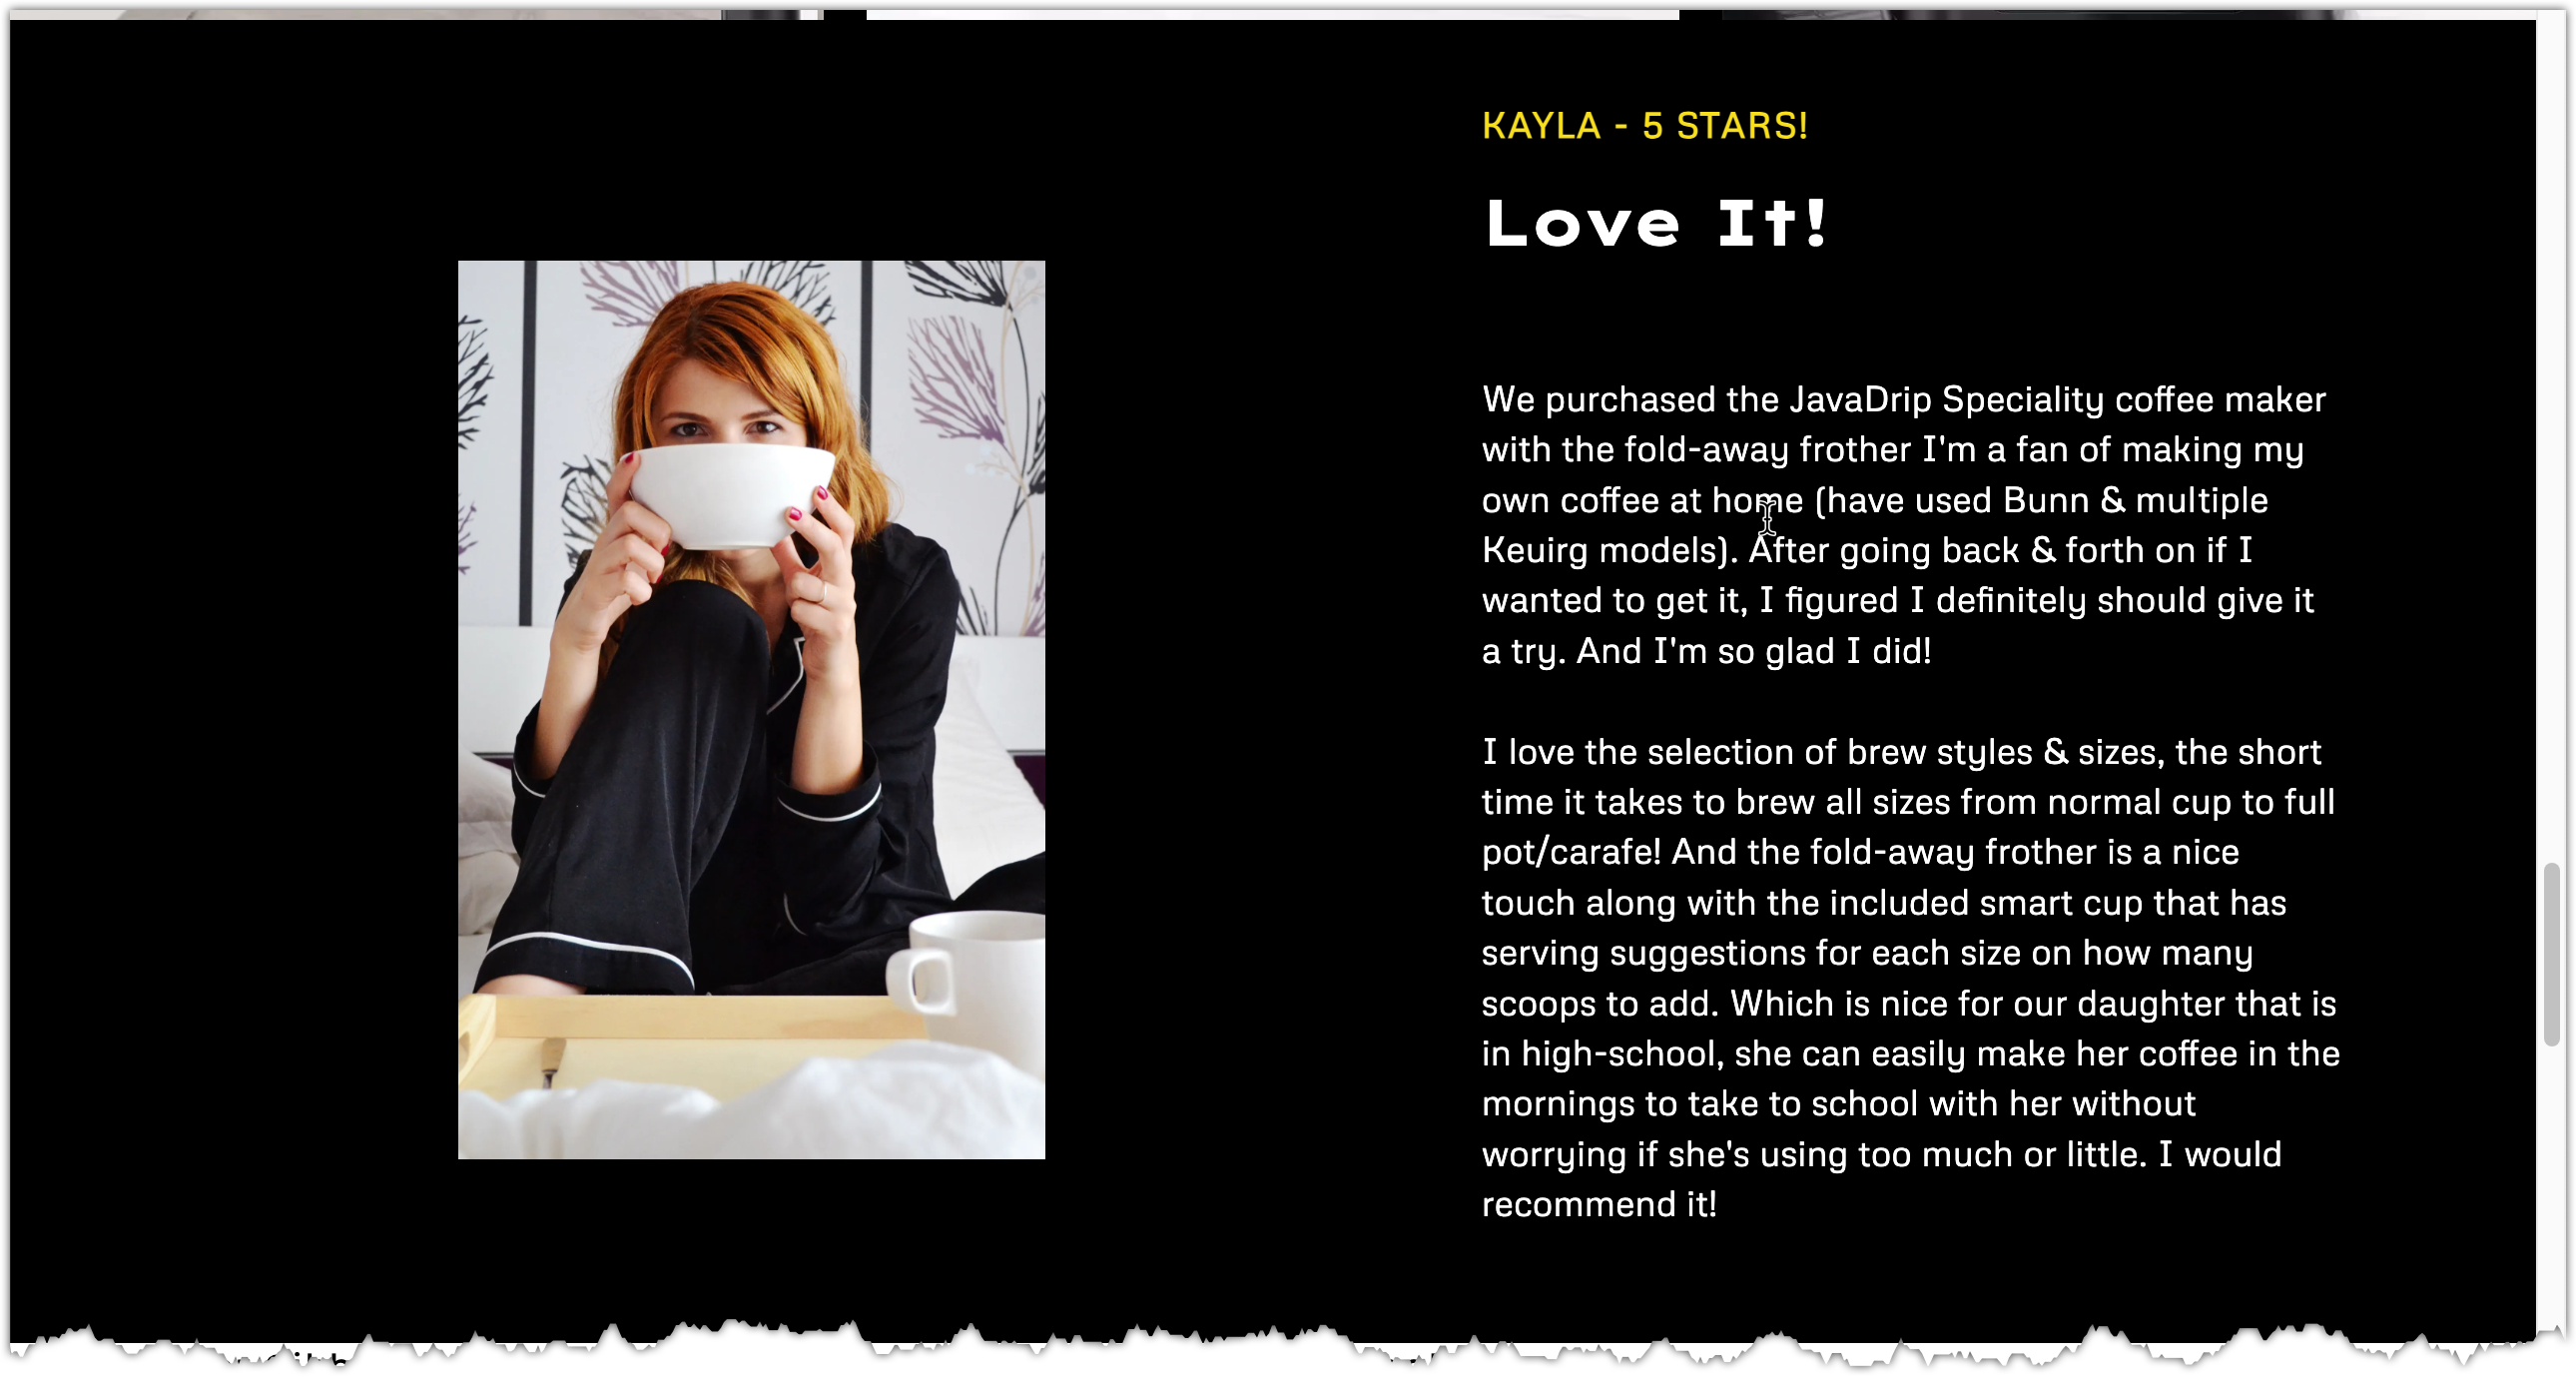 The published page shows the selected testimonial.
Next steps#
You have completed the marketer tutorials. Now you should have a basic understanding how pages can be build and managed using Uniform.