Configure external data
Uniform's Mesh framework lets you configure your project to access multiple external data sources through the Canvas UI. Mesh separates the integration from data source connection details, allowing your project to have multiple connections of the same type if necessary (such as Contentful Spaces). Mesh also allows for multiple data types for each data source (such as single entry, multiple entries, query).
For this exercise you will configure your project to access JavaDrip articles from a headless CMS. During the lesson you will:
Goals
- Configure a data source that represents a headless CMS.
- Configure a data type for the Article content type.
- Use the data type to display content from the headless CMS.
Configure data source#
- In Uniform, navigate to Settings > Integrations.
- Add the Contentful integration to the project.
- Navigate to Experience > Data Types.
- Click Add data type.
- In the dropdown, select Contentful > Create new.
- Enter the following values:
Field Value Space 4v9xo98brk8zContent Delivery API (CDA) Access Token wTxk_OEx3MheZ86BMefgbzo6NbnvDj1TqI9zrbbItqMEnvironment ID (Optional) masterName ContentfulPublic ID contentful - Click Save.
- Since this is a new data source, Uniform opens the Create data type dialog.
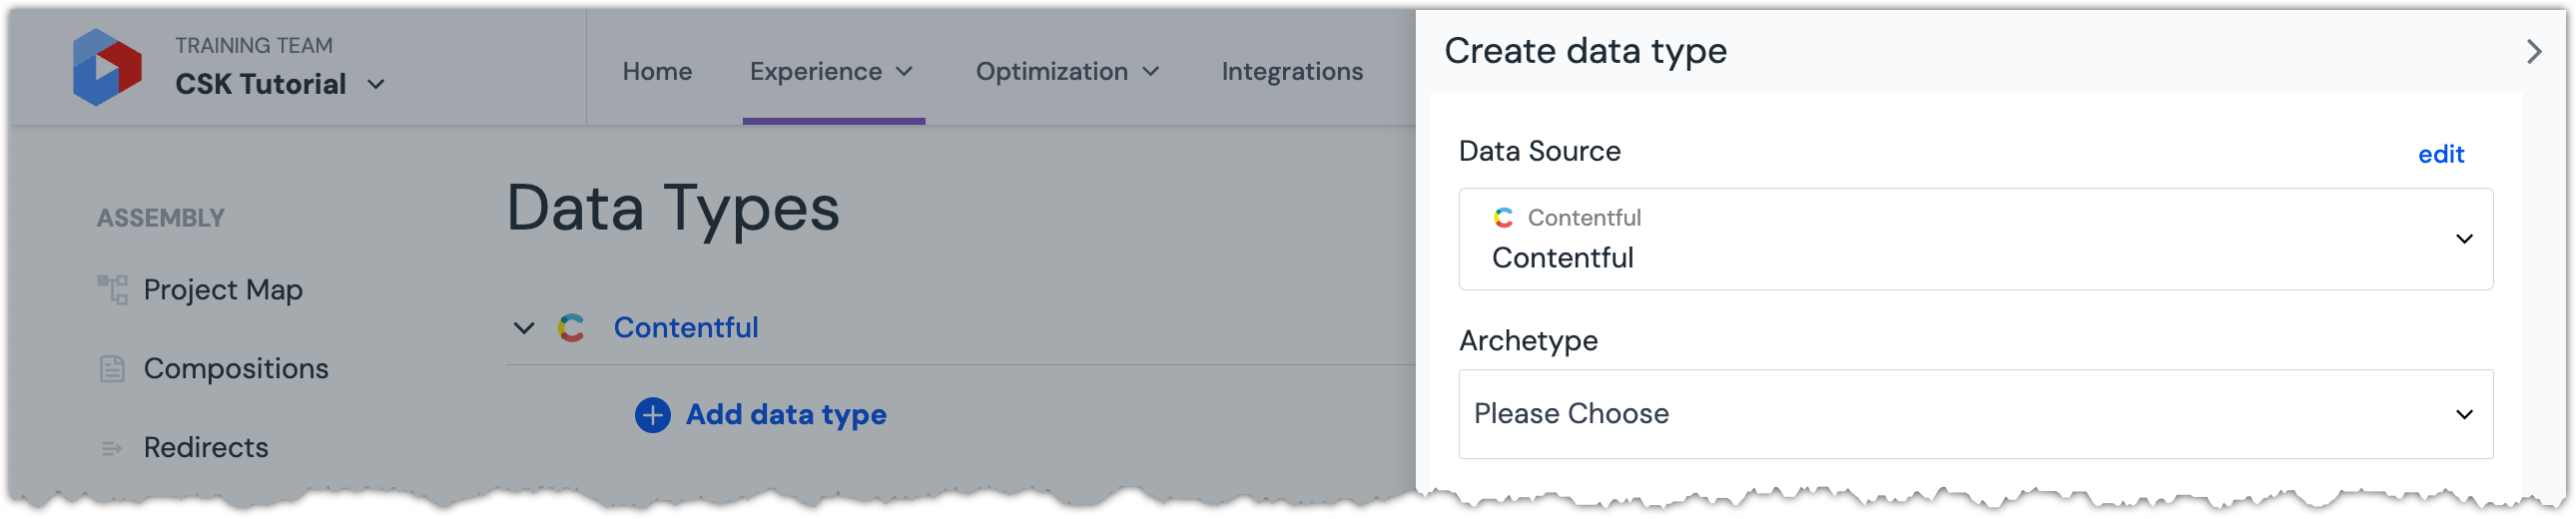 A dialog is opened that lets you configure the new data type.
- In Uniform, navigate to Settings > Integrations.
- Add the Contentstack integration to the project.
- Navigate to Experience > Data Types.
- Click Add data type.
- In the dropdown, select Contentstack > Create new.
- Enter the following values:
Field Value Region North America Stack API Key blt33b4a43079876016Delivery Token cs989bc1d9fe87fcc61cf0609eName ContentstackPublic ID contentstack - Since this is a new data source, Uniform opens the Create data type dialog.
 A dialog is opened that lets you configure the new data type.
Configure data type#
- From the dropdown Archetype, select Single Entry.
- Enter the following values:
Field Value Allowed Content Types Article Image thumbnail field name Thumbnail (Media) - Click more optional settings.
- Enter the following values:
Field Value Search by field Title - Enter the following values:
Field Value Name Single ArticlePublic ID singleArticle - Click Save and Test.
 An example of what the editor will see when using the data type is displayed.
 - Click one of the articles.
- Click Fetch Test Data.
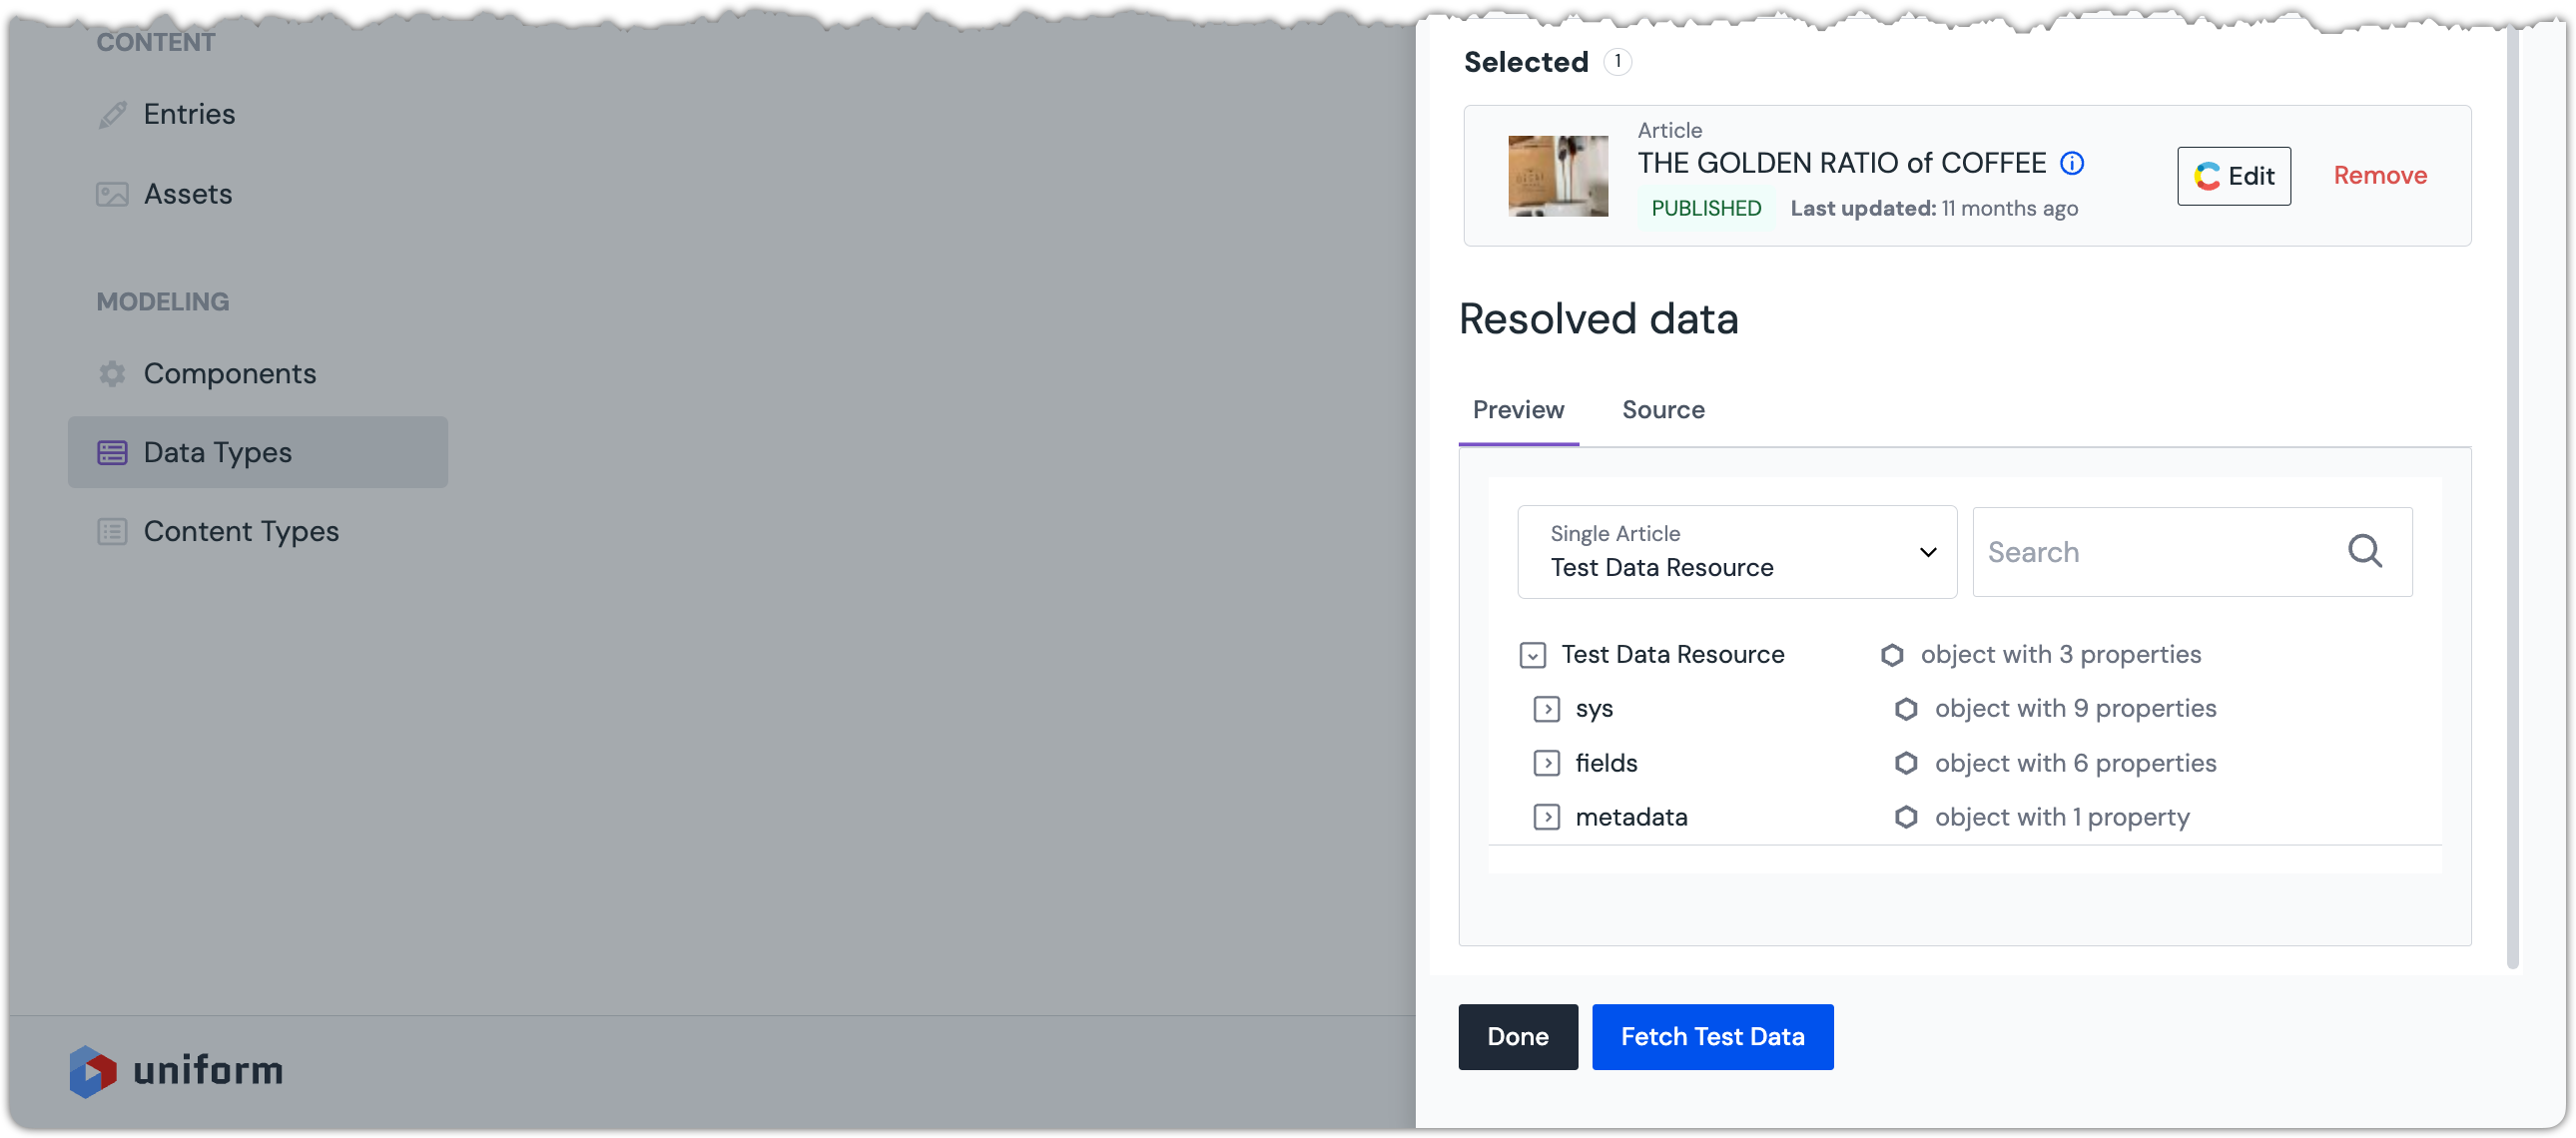 An example of the data that's available for the selected article is displayed.
 - Click Done to continue.
- From the dropdown Archetype, select Single Entry.
- Enter the following values:
Field Value Allowed Content Types Article Search fields Title Name Single ArticlePublic ID singleArticle - Click more optional settings.
- Enter the following values:
Field Value Image thumbnail (optional) Thumbnail (file) - Click Save and Test.
 An example of what the editor will see when using the data type is displayed.
 - Click one of the articles.
- Click Fetch Test Data.
 An example of the data that's available for the selected article is displayed.
 - Click Done to continue.