The commercetools integration
This integration allows bringing product content from your commercetool's product catalog straight into your front-end components without code and build and launch fast modern personalized experiences visually.
The integration comes with these archetypes to help connect commercetools items to Uniform elements:
Prerequisites
You must have access to a Uniform team with the ability to create new projects. If you are an active customer or a partner, please get in touch with your Uniform team administrator colleague and ask for an invite.
If you are not sure or your company does not have a Uniform team, you can request a sandbox here.
Before you start
You must have the following to complete this setup:
- commercetools account with administrator access.
Get connection settings#
To configure a connection to commercetools, you need to create an API client. This gives you the settings that will enable Uniform to use the commercetools API:
- Log into the commercetools Merchant Center.
- Navigate to Settings > Developer Settings.
- Click Create new API client.
- Provide a name.
- Under Scopes, make the following selections:
- Categories > View
- Products (all) > View
- Products (published) > View
- At the bottom of the screen, in the download your credentials section, switch to Environment Variables (.env).
- API credentials are displayed. Save these values because you will need them in the next section.
Add integration#
In Uniform, open your project.
Navigate to Settings > Integrations.
Scroll to the section Browse integrations.
Click commercetools.
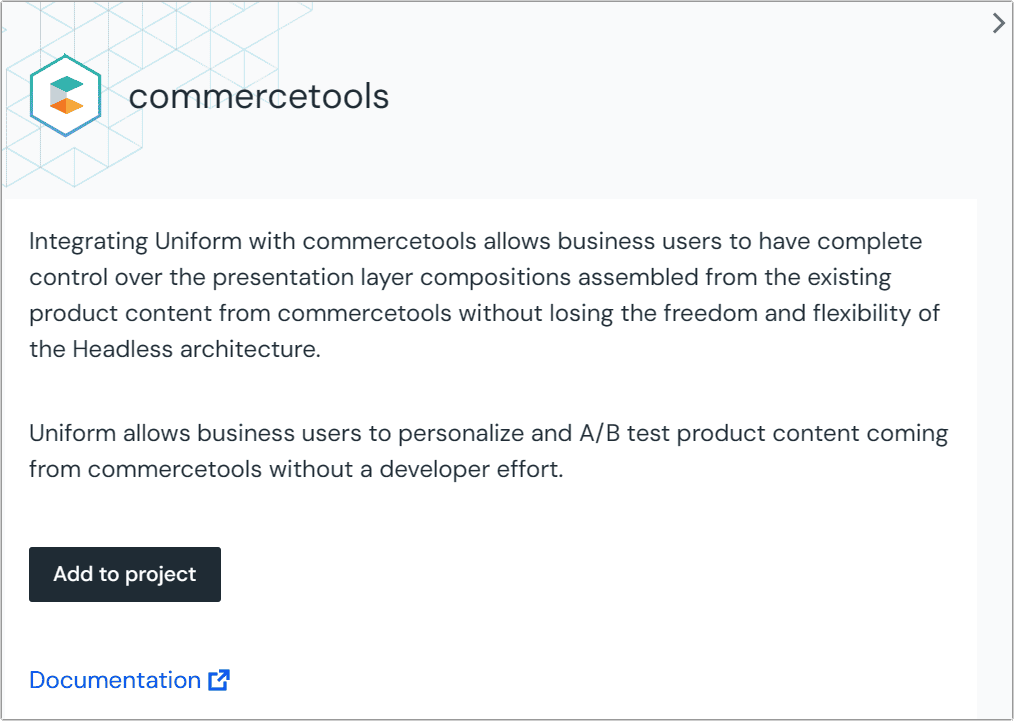 The screen to add the integration to your project.
Click Add to project.
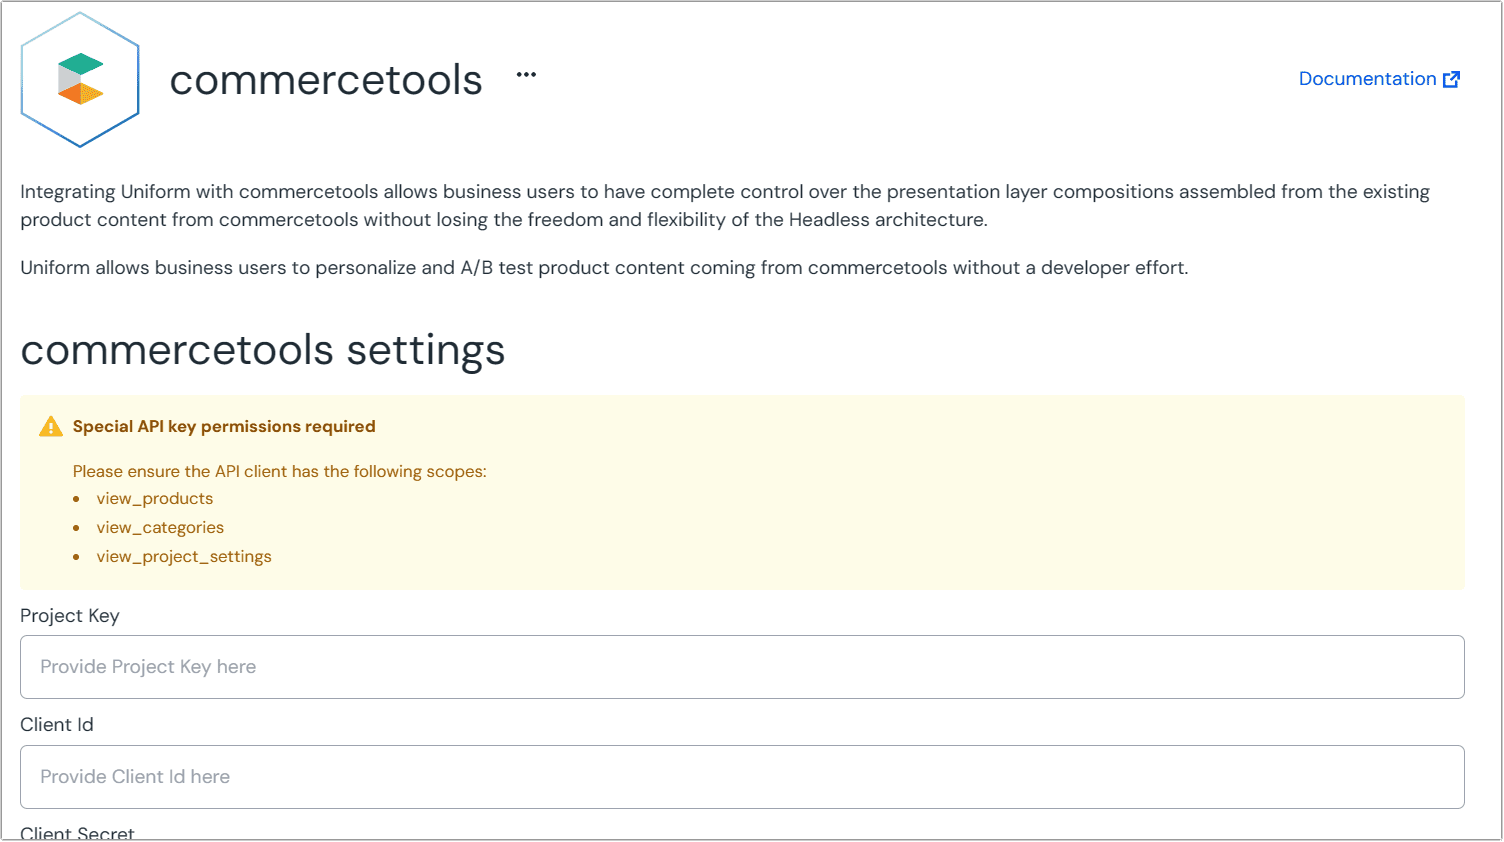 Once the integration is added you'll be prompted to enter some settings.
Enter the required fields:
Field commercetools environment variable Project Key PROJECT_KEYClient ID CLIENT_IDClient Secret CLIENT_SECRETAPI URL API_URLAuth URL AUTH_URLEnter the optional fields, if applicable:
Field Description Locale Sets the locale for product titles Canvas users see in product fields. Currency Code Sets the currency displayed to Canvas users on products. Click Save.
Configure the data source#
Once you've installed the integration, the next step is to connect your commercetools merchant account to your Uniform project by creating a new data source.
Navigate to Experience > Data Types. A data type is an element that can be retrieved from a data source, so the first step is to identify a data source.
Create a new data source by clicking the Add data type button and select the "Create new" option under the commercetools label.
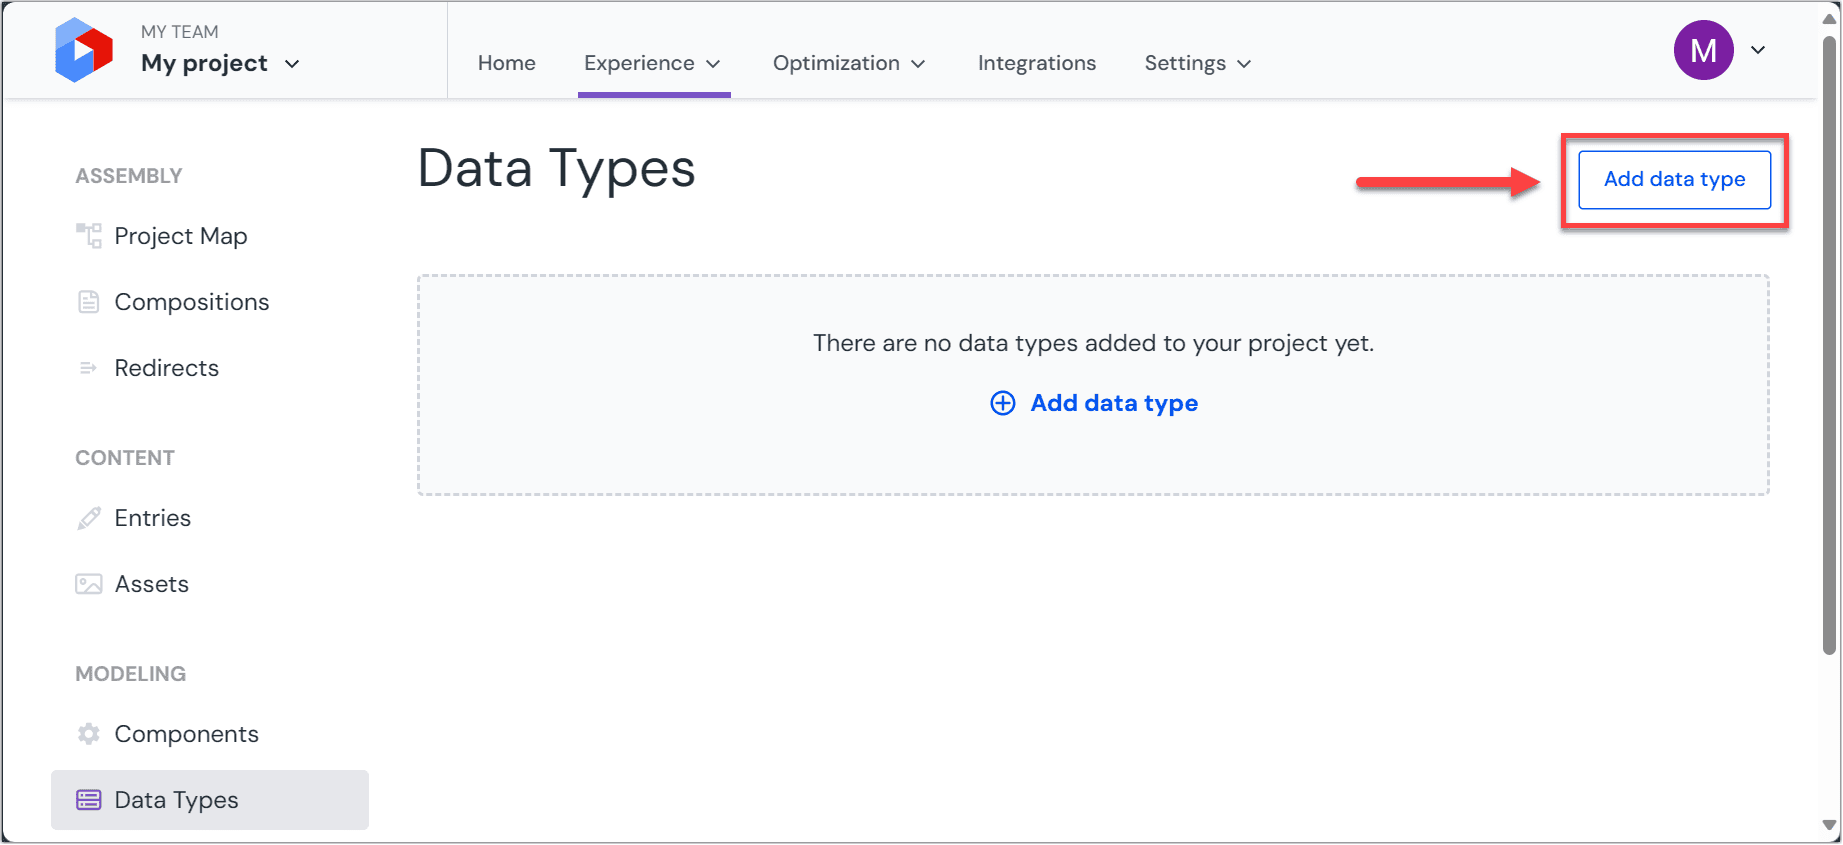 Add a data type.
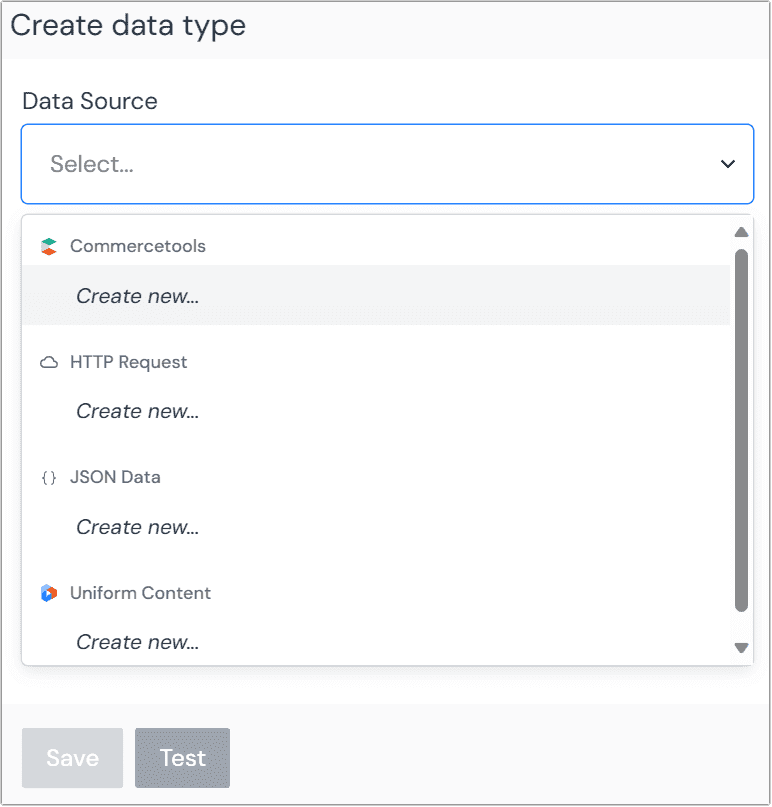
Provide details specific to the commercetools project you are connecting to:
Field Description Project key PROJECT_KEYAPI client ID CLIENT_IDSecret key CLIENT_SECRETAPI URL API_URLAuth API URL AUTH_API_URLName your data source. Choose a name that helps to inform your editorial users where the content is coming from.
commercetools data types#
Before you start connecting commercetools data to Uniform, it's important to first create some data types. Data types define which types of data editors can use. This could be simple, like allowing an editor to select a single "product name" entity, or more perhaps a more complex query such as "the five latest product article entries."
Go to Experience > Data Types and click the Add data type button from below the commercetools data source that you set-up earlier.

Next, you will want to select and configure an archetype from the options below.
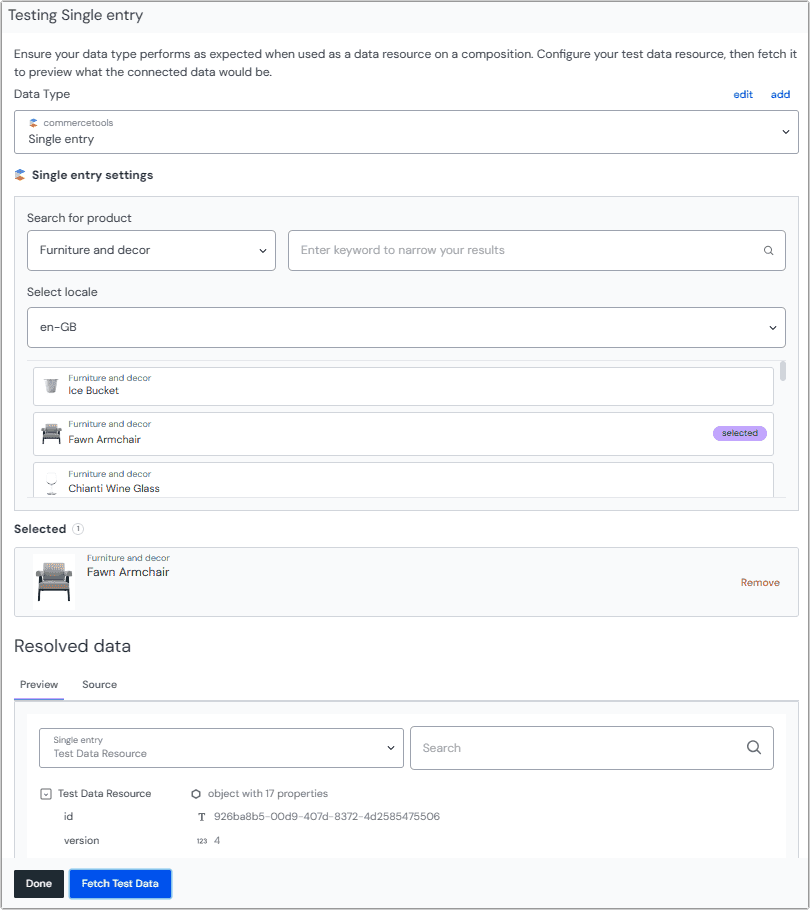
Archetype: Single entry#
The single entry archetype will always return a single entry from commercetools, based on a selection by the editor in Uniform. This is useful for non-list elements that render as an independent item, such as a single product entry. It can accept a variable from a dynamic token (such as a slug) and retrieve the corresponding entry.
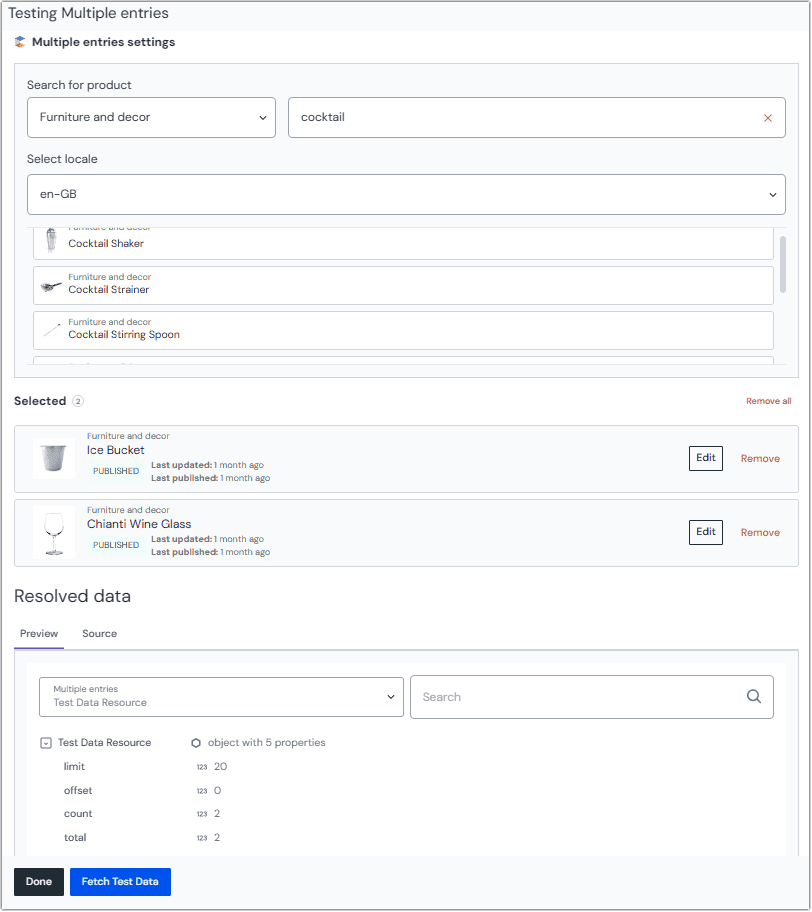
Archetype: Multiple entries#
The multiple entry archetype lets an editor hand pick multiple entries to render as a list. This is useful when a small selection of specific entries is required, such as in a "featured products" list.
Connect data to components and patterns#
Once you have configured your data types, you will be ready for the final step of connecting your commercetools data to your Uniform elements.
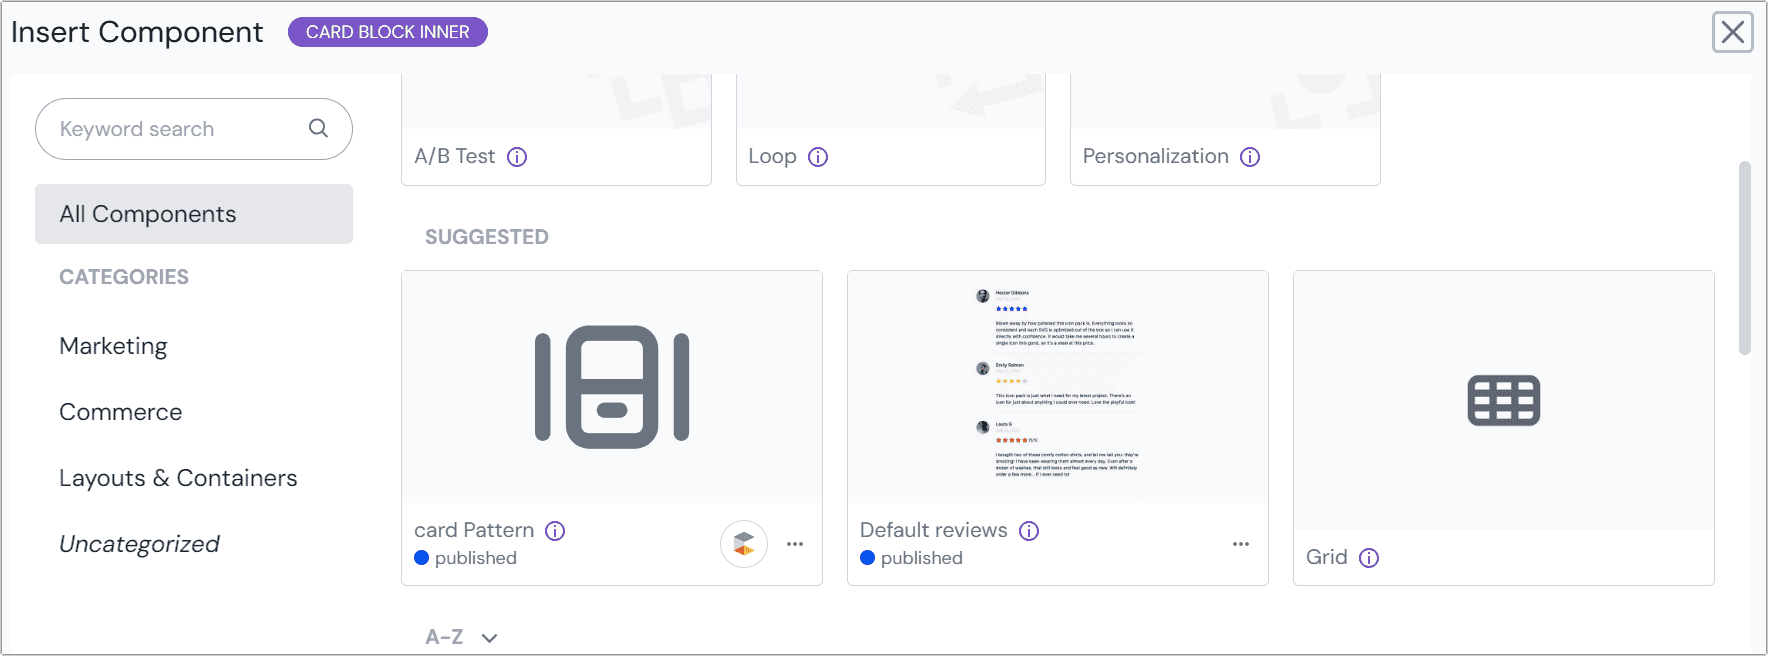
Patterns#
For commonly used components, Uniform recommends using patterns. This is the best approach when content architects want to create a reusable connection between a data type and a component, and avoids mapping data every time you use commercetools data.
With patterns, you define exactly how a component (or set of components) should be configured ahead of time, including the data bindings to external services. Once configured, composing with commercetools is as simple as selecting the pattern you need (such as a set of product information), just like you would select a standard component. The difference is that this time, you can also select the commercetools resource that should supply the data and Uniform will handle the rest.
To learn more about how to use patterns, check out the pattern guide.
Parameters#
The most granular approach for bringing your commercetools data into Uniform is to connect a resource to a component field directly. To do this, open the composition and component you want connect to commercetools data.
Select a field within the component that you wish to connect commercetools data to.
Click the on the top left of the field you can open up the data resource mapping dialog.
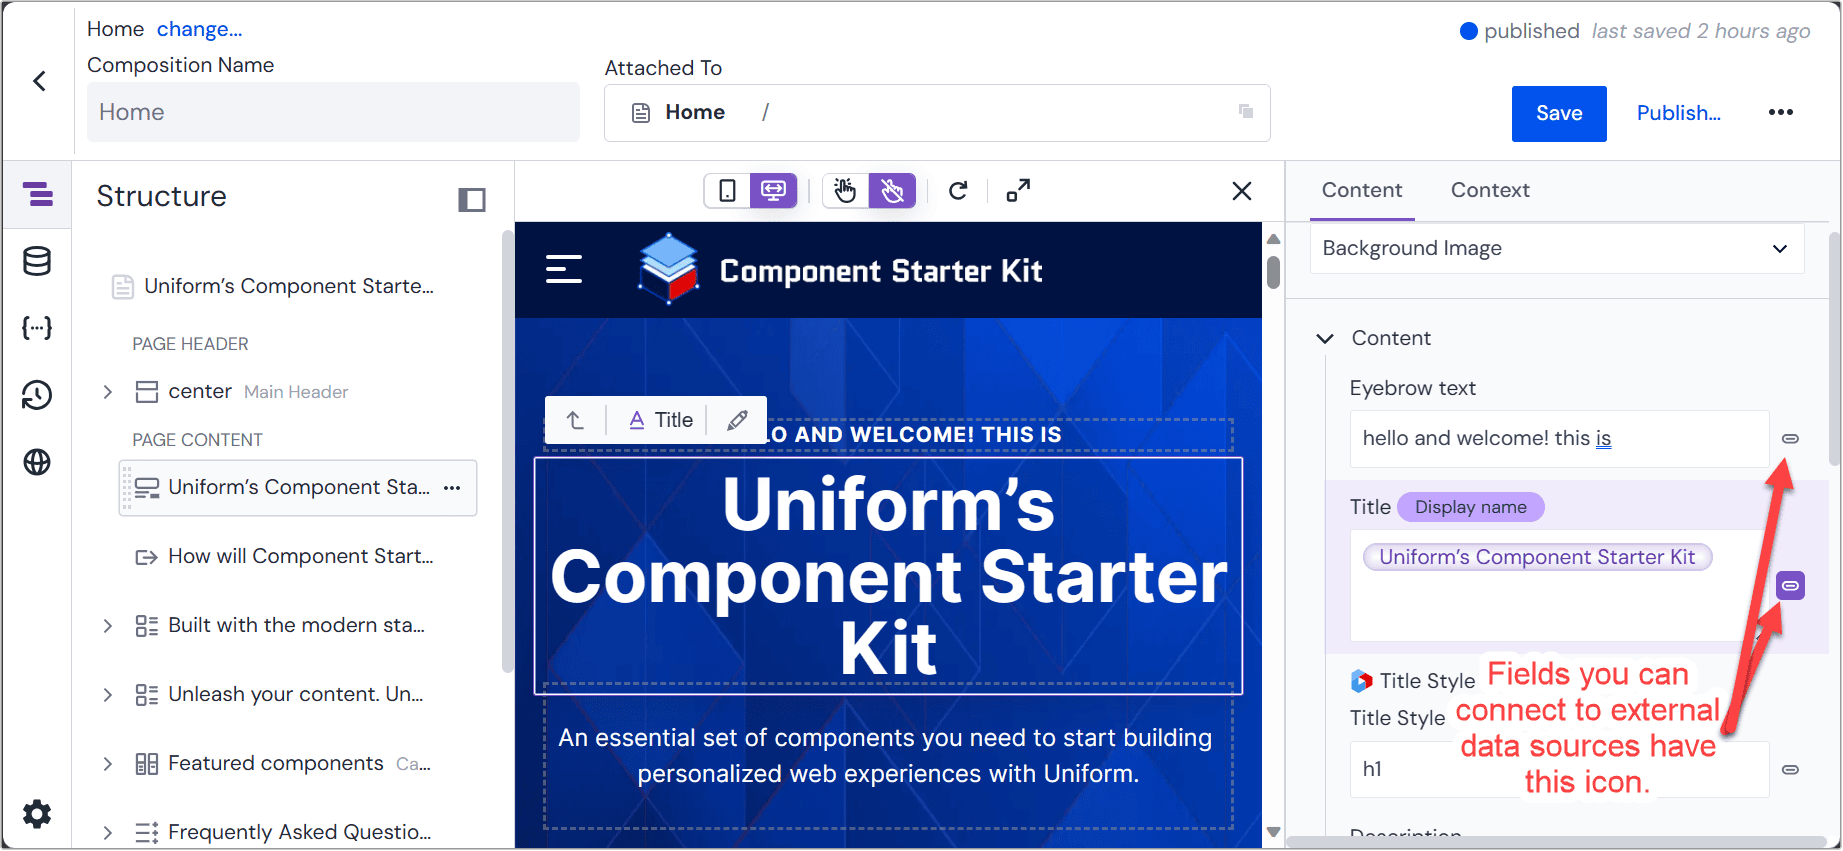 Fields and parameters that support data connections will have an icon by which you access data resources.
From here, you will be guided through the process of setting a data resource for the composition, if none are available already. To set up the data resource, provide a name. Choose something that connects it to the resource is used in the composition (such as "Featured product"), and select your data by using the data types you defined earlier.
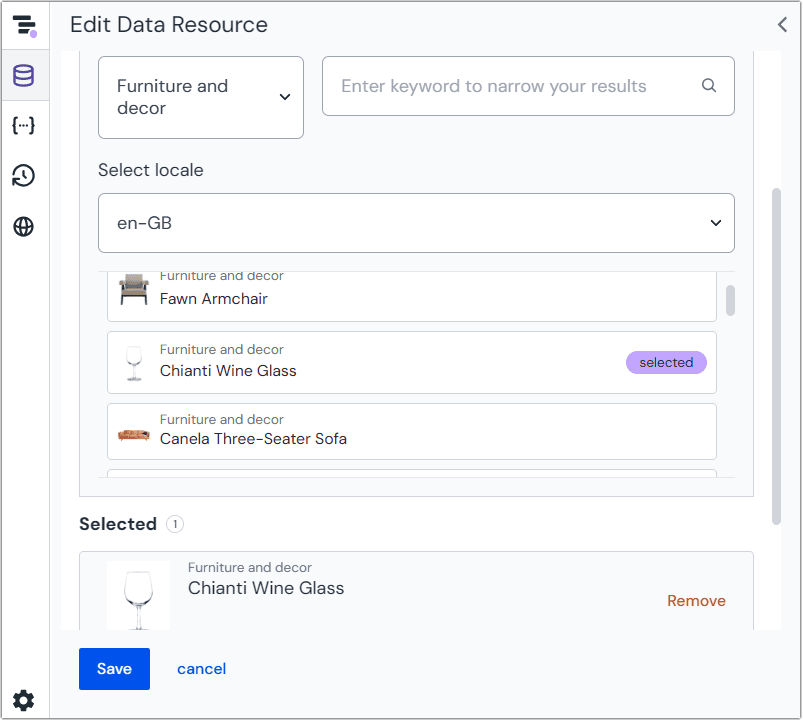 Selecting a data resource to connect to the composition.
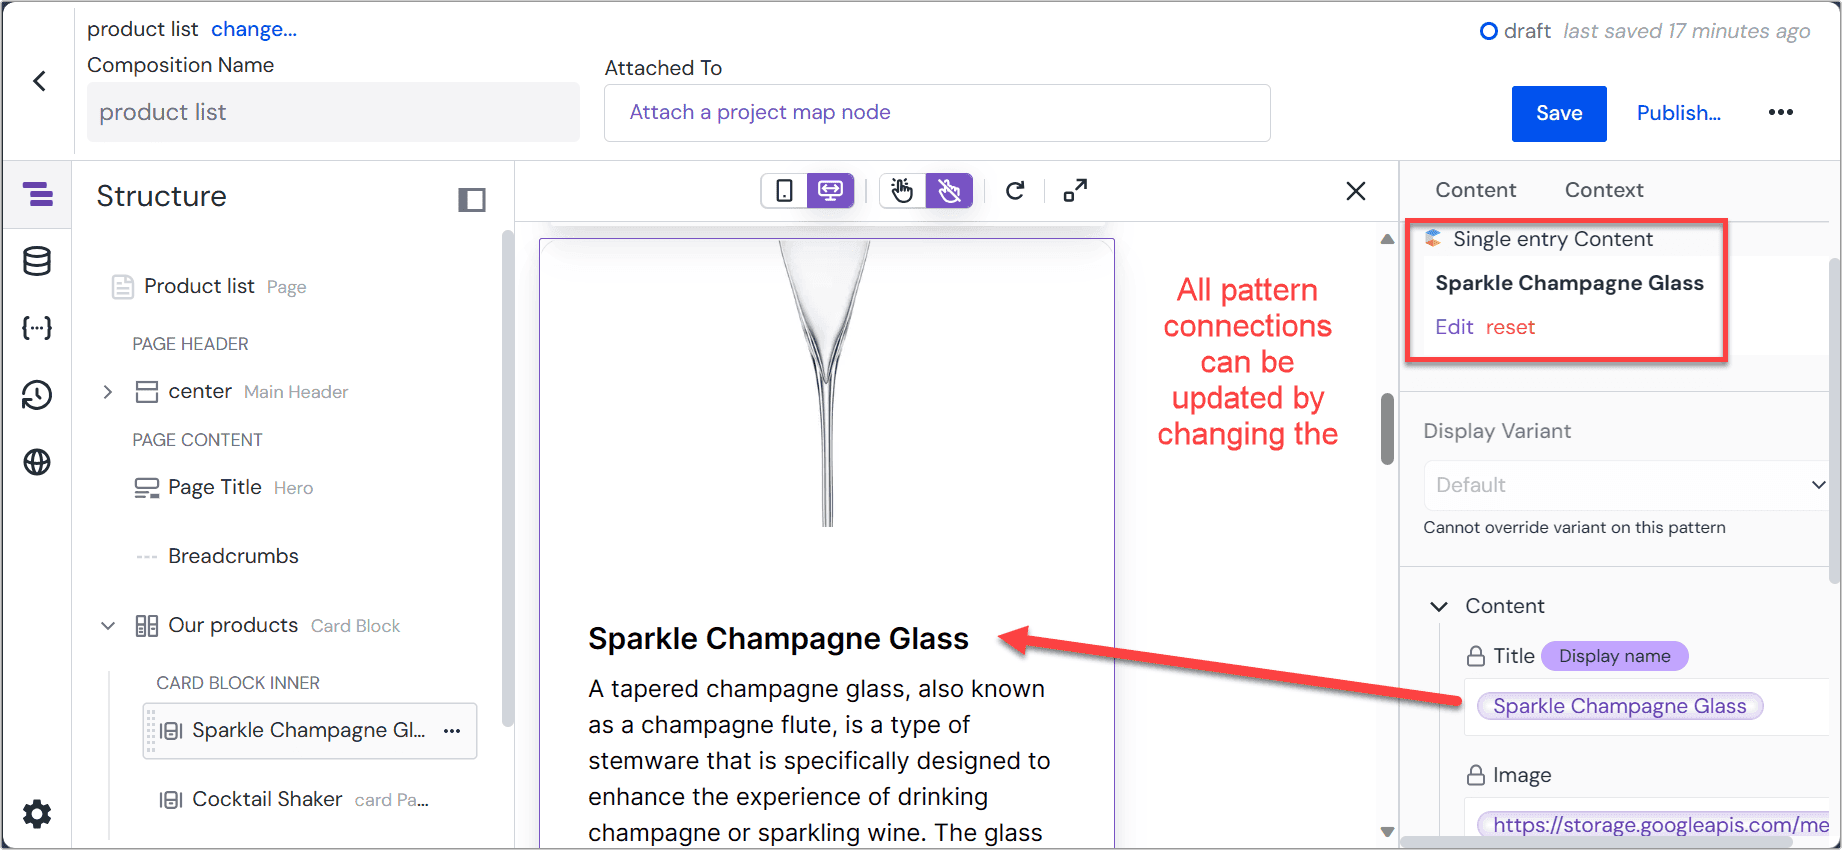
After you select your data resource, map the appropriate field from the data resource to the parameter on your component. For example, map the title field from your Contentful entry to the title field of your Uniform component.
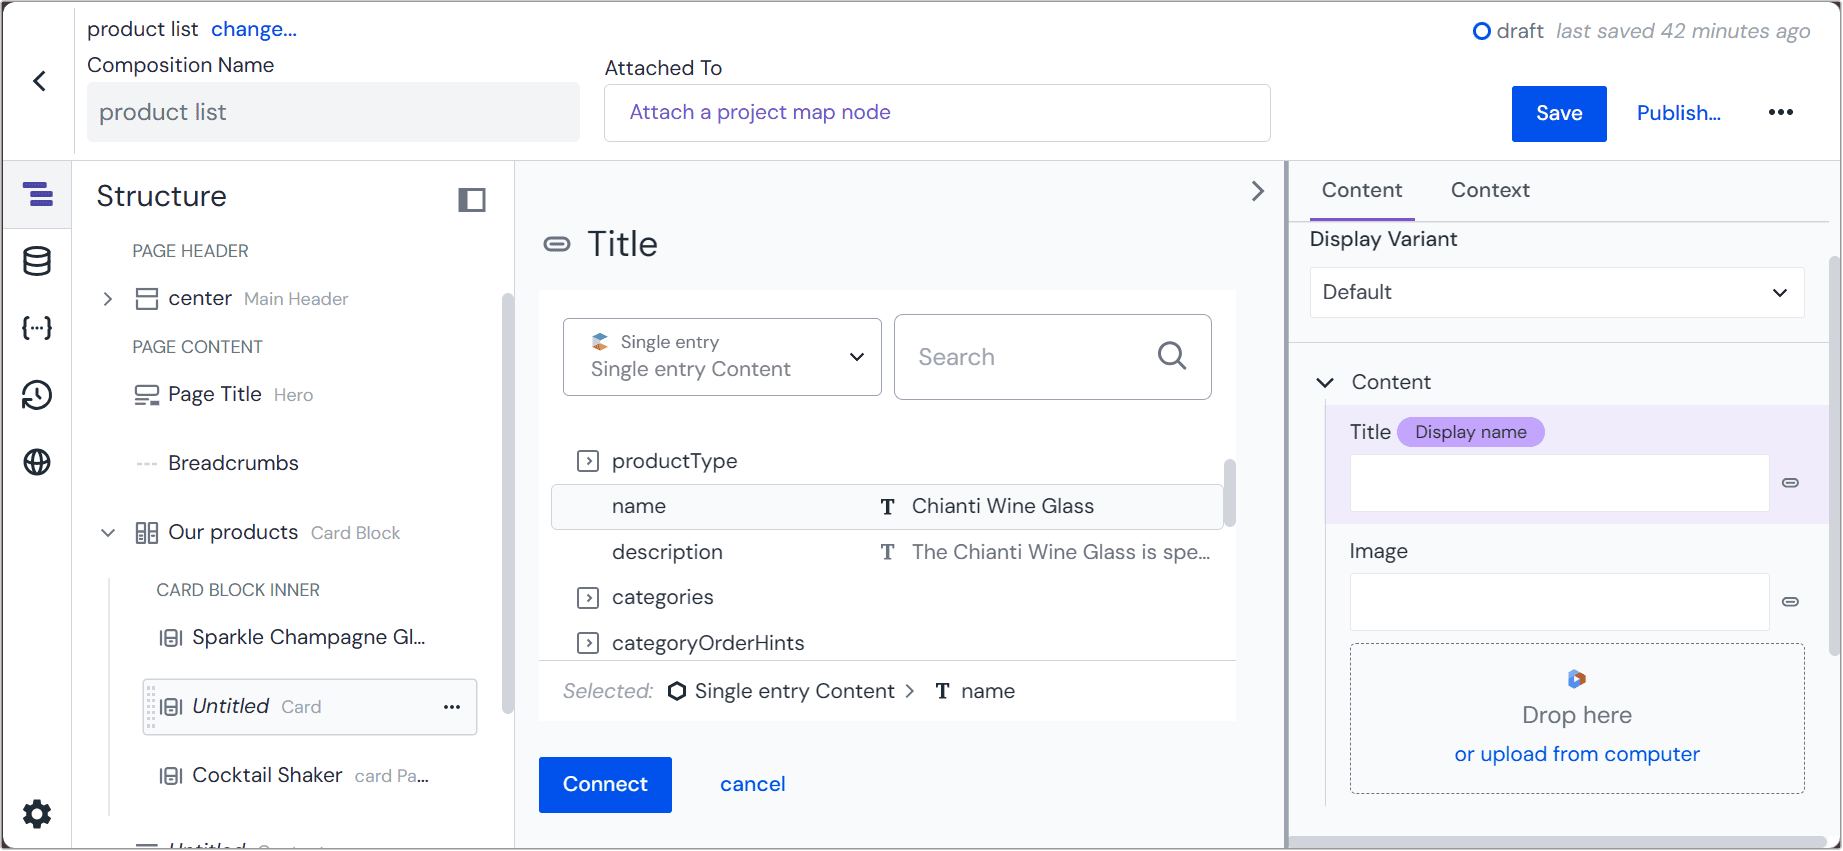 Map the field from commercetools to the parameter.
Now that you have a data resource configured, you can use this resource to connect fields across the entire composition without needing to recreate the resource. This also means that if you update the data resource to a different selection or query, then all the components that map to the original data resource will update automatically with no remapping.