Use external data
In this lesson, you’ll walk through using the headless data source with components on a page. For this exercise you'll swap out the static Uniform content on the Article Page for the actual entries in the CMS. During the lesson you will:
Goals
- Configure a Data Source for the Composition (page).
- Select an entry from the Single Source data type.
- Map fields from the entry to parameters of the component.
This section is important for learning purposes. It helps you to understand the basic building blocks for using external data. However, the steps in this section don't necessarily reflect how a real-world solution is implemented. That's covered in the following section on operationalizing external data.
Add data resource to composition#
Navigate to Experience > Project Map.
Navigate to Home > Articles > The Golden Ratio of Coffee.
In the side rail, click .
Click Add a data resource.
For the field Data Type, select Single Article.
From the list of articles, select the article THE GOLDEN RATIO of COFFEE.
For the field Name, enter the following value:
Golden Ratio articleClick Save.
 The screen after adding a data resource.
 The screen after adding a data resource.
In the upper right-hand corner of the data resources drawer, click to close the drawer.
Map component parameters#
Title#
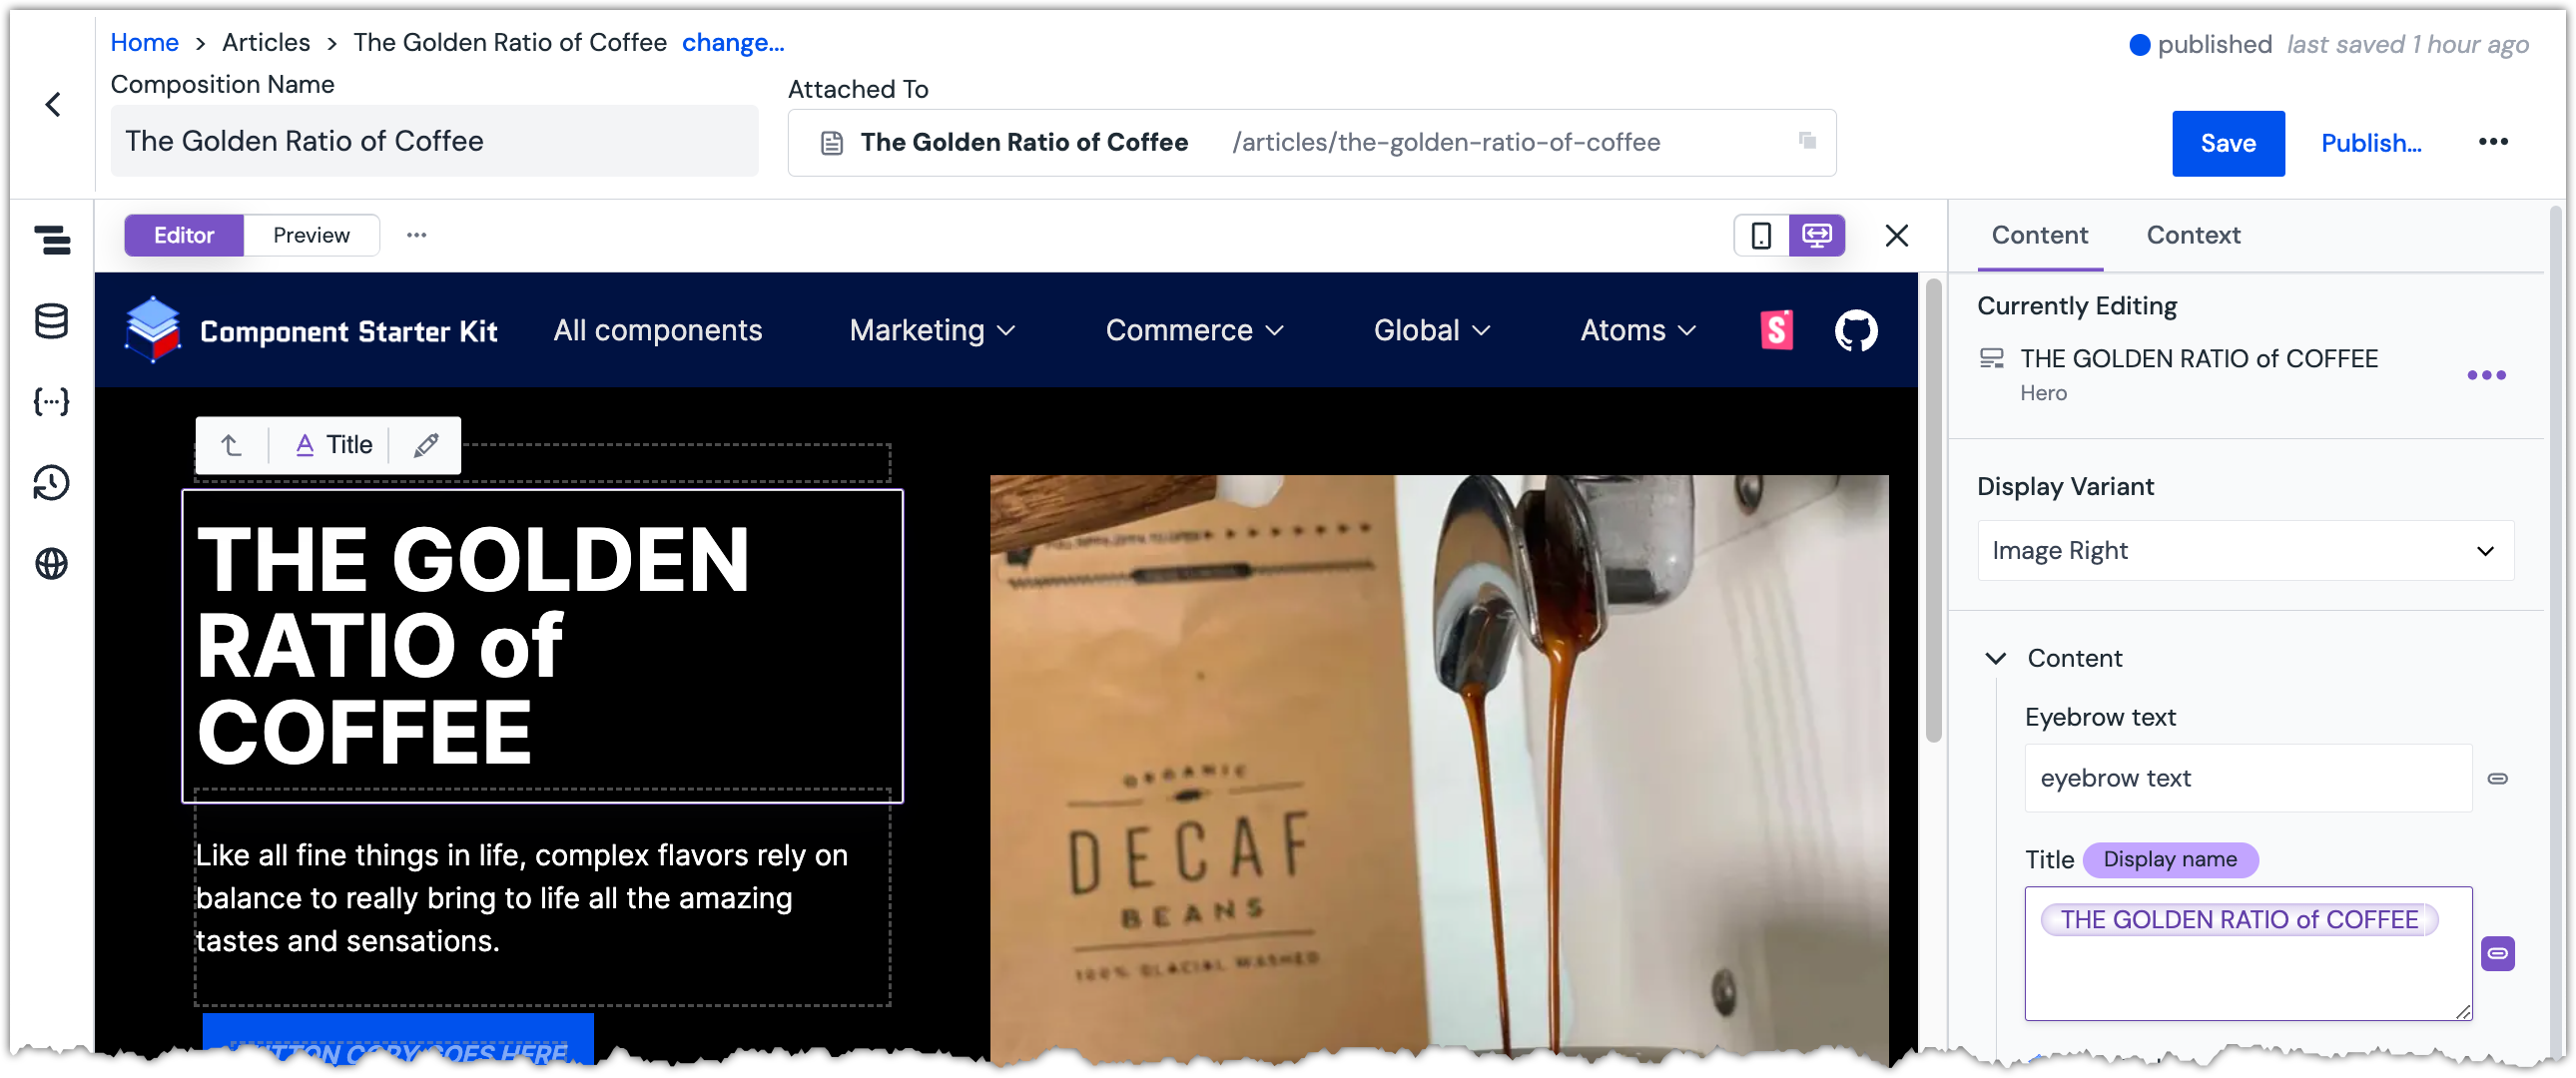
Click the Hero component.
For the parameter Title, clear the value.
Click next to the parameter.
 Clicking the button displays a popup menu.
Click Insert dynamic token.
Select the following field from your external system:
Golden Ratio article > fields > title
 The title field is selected.
Golden Ratio article > entry > title
 The title field is selected.
Click Connect.
 The article title from the external system is displayed in the Hero component.
Description#
- For the parameter Description, clear the value.
- Map the parameter to the following field from your external system:
Golden Ratio article > fields > description
Golden Ratio article > entry > description
Image#
- For the parameter Image, click Edit.
- Click .
- Click Done.
- Click > Connect to a custom URL...
- Click > Insert dynamic token.
- Select the following field from your external system:
Golden Ratio article > fields > thumbnail > fields > file > url
Golden Ratio article > entry > thumbnail > url
- Click Connect.
 The image assigned to the Contentful article is displayed.
If you get an error message about the value not being a valid image URL, click in the URL field before the purple text and enter
https:. After you do this, the image should appear properly. The image assigned to the Contentstack article is displayed.
 - Click Done.
- Publish the composition.