Add Uniform elements to Kontent.ai
Custom elements enable content managers to use Uniform capabilities within the Kontent.ai user interface.
- Classification - Assign enrichment tags to Kontent.ai items. These tags describe data you want to track on the visitor who views the item. For example, you might want to track that a visitor is interested in making a purchase when the visitor views a specific item.
- Personalization - Associate personalization conditions with Kontent.ai items. For example, you might have a hero item that should only be shown to visitors coming from a specific geographic region.
Before you start
A Uniform API key is needed in order for the custom elements to read various settings involved with configuring personalization. You need an API key with the following permissions:
For details on how to create an API key, see the instructions on how to create a Uniform API key.
Enrichment tagging#
Enrichment tags can be assigned to Kontent.ai items. When your front-end application has classification activated, Uniform uses these tags to classify the visitor when the item is viewed.
Before you start
You should have at least one enrichment defined in your Uniform project. You can enable enrichment tagging without having any enrichments defined, but you won't be able to complete all the steps in this section without them.
Enable enrichment tagging#
Enrichment tagging is enabled by adding a custom element to the content types you want to enable content authors to assign enrichment tags to.
In Kontent.ai, open the content type you want to enable enrichment tagging on.
Add a new element using the type Custom element.
For the element name, enter the following value:
Enrichment TagsFor the field Hosted code URL (HTTP), enter the following value:
https://uniform-context-kontent.netlify.app/enrichment-tagFor the field Parameters {JSON}, enter the following value:
{ "apiKey": "<YOUR UNIFORM API KEY>", "projectId": "<YOUR UNIFORM PROJECT ID>", "apiHost": "https://uniform.app" }Click SAVE CHANGES.
Assign enrichment tags#
A content author must assign enrichment tags to content items.
In Kontent.ai, open your project.
Navigate to an item based on one of the content types you enabled enrichment tagging on.
Scroll down to the field Enrichment Tags.
Click here.
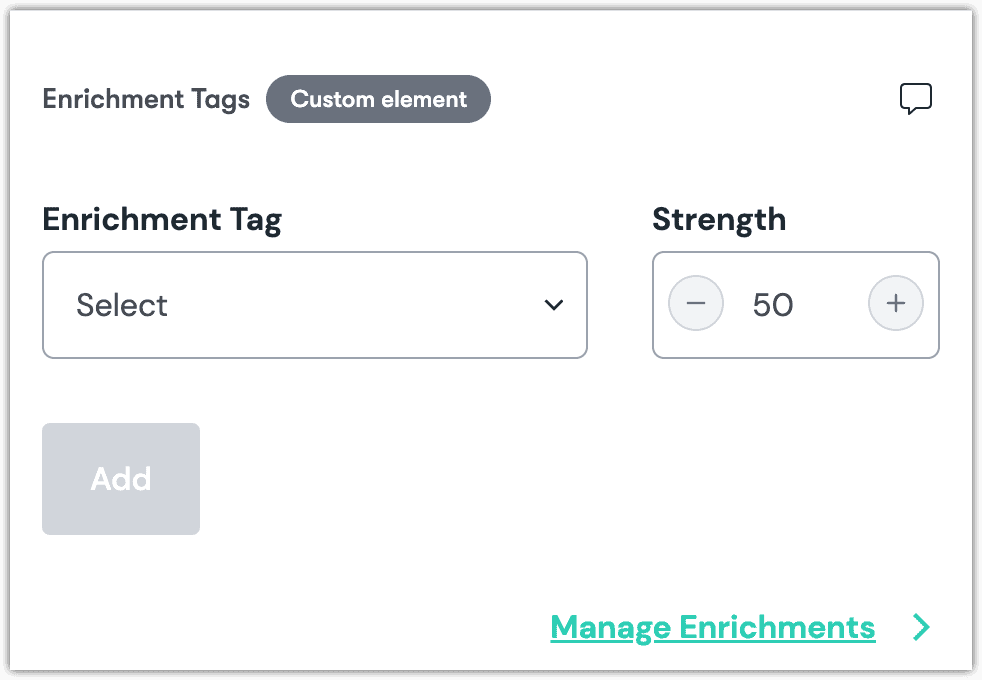
Select the tag you want to assign.
About this step
The value for Strength indicates how much the visitor score increases when the content entry is viewed. The visitor score can act as the basis for personalization criteria.
Click Add.
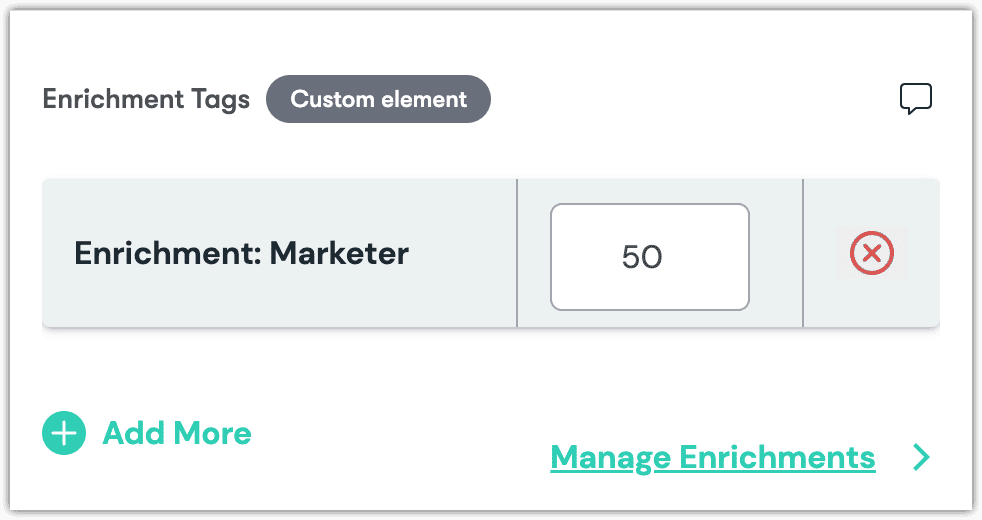
At this point there are several things you can do:
- Change the strength value using the input field.
- Add more enrichment tags by clicking Add More.
- Publish your changes in Kontent.ai.
- Manage enrichments in Uniform by clicking Manage Enrichments.
Activate front-end#
When Uniform tracking is activated in your front-end application, enrichment tags are used to classify visitors. Provided you have tracking activated, you just need to point the tracker to the enrichments you have assigned to the content the visitor is viewing.
The enrichments are exposed in the output from the Kontent.ai Delivery API. For example, in the example above, the following element is available:
Personalization criteria#
Personalization criteria can be assigned to Kontent.ai items. This criteria describes the conditions when the Kontent.ai item is appropriate to use. When your front-end application has classification and personalization activated, Uniform can show and hide content based on the criteria you configure.
Enable personalization criteria#
You must specify which content types you want content authors to be able to assign personalization criteria to.
In Kontent.ai, open the content type you want to be able to assign personalization criteria to.
Add a new element using the type Custom element.
For the element name, enter the following value:
Personalization CriteriaFor the field Hosted code URL (HTTP), enter the following value:
https://uniform-context-kontent.netlify.app/personalization-criteriaFor the field Parameters {JSON}, enter the following value:
{ "apiKey": "<YOUR UNIFORM API KEY>", "projectId": "<YOUR UNIFORM PROJECT ID>", "apiHost": "https://uniform.app" }Click SAVE CHANGES.
Assign personalization criteria#
A content author must assign personalization criteria to content items.
In Kontent.ai, open your project.
Navigate to an item based on one of the content types you enabled enrichment tagging on.
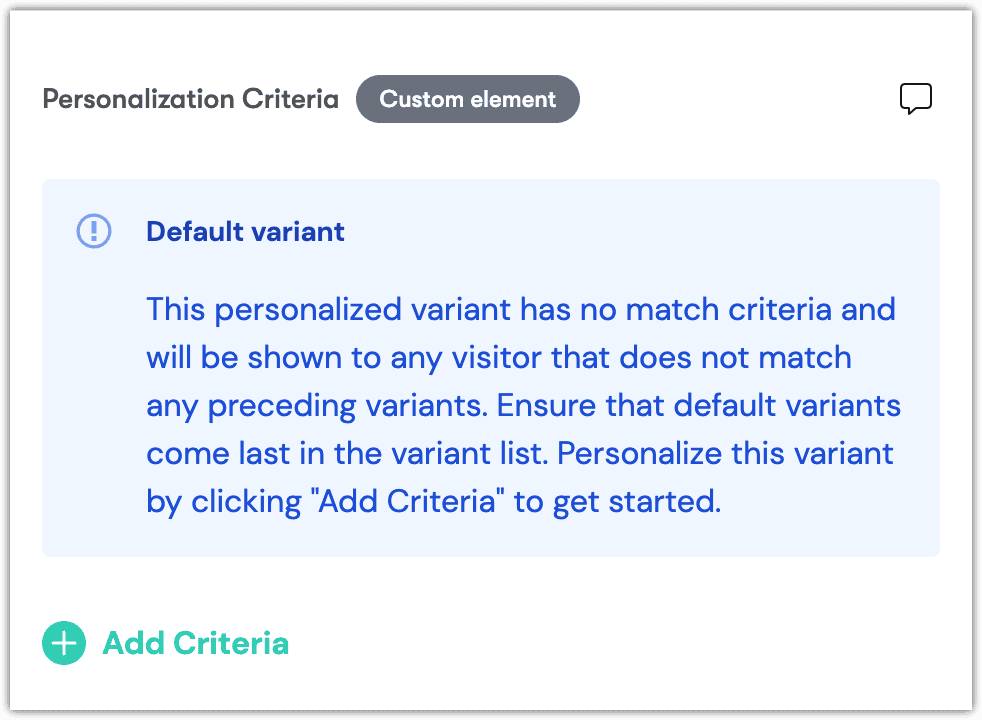
Scroll down to the field Personalization Criteria.
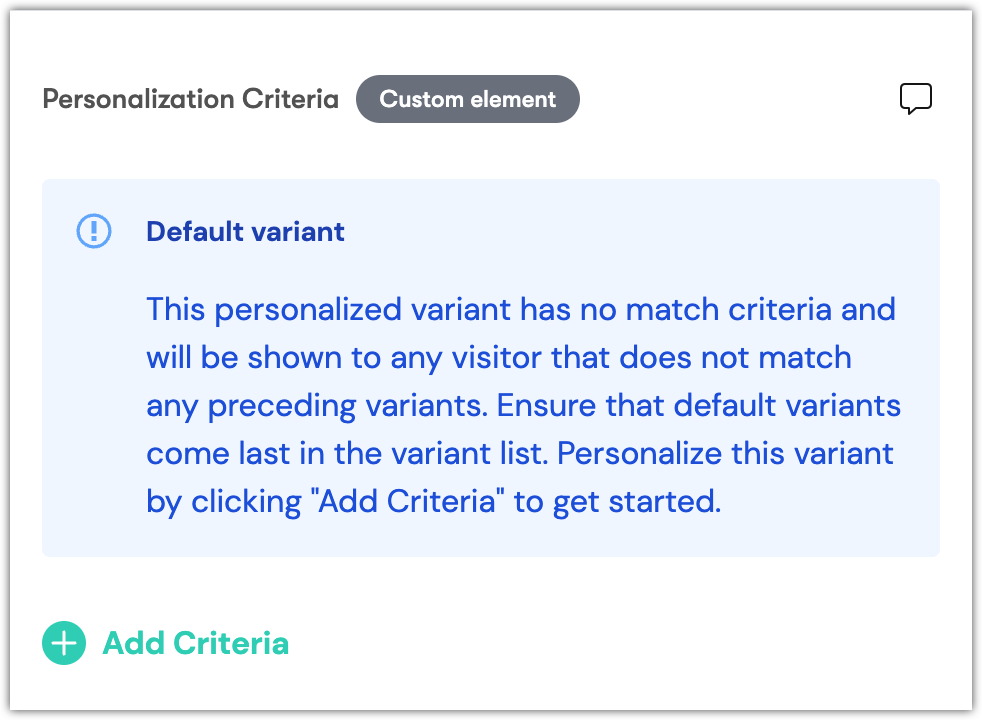
Click Add Criteria.
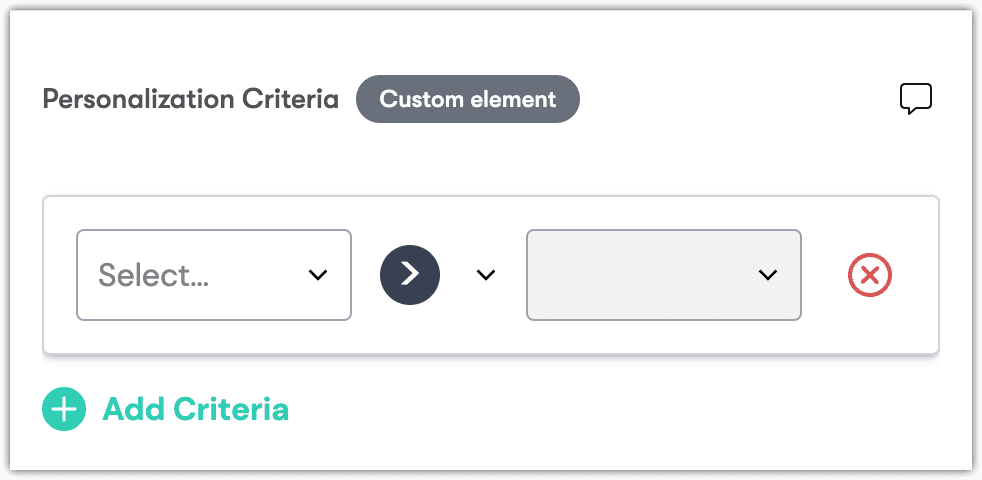
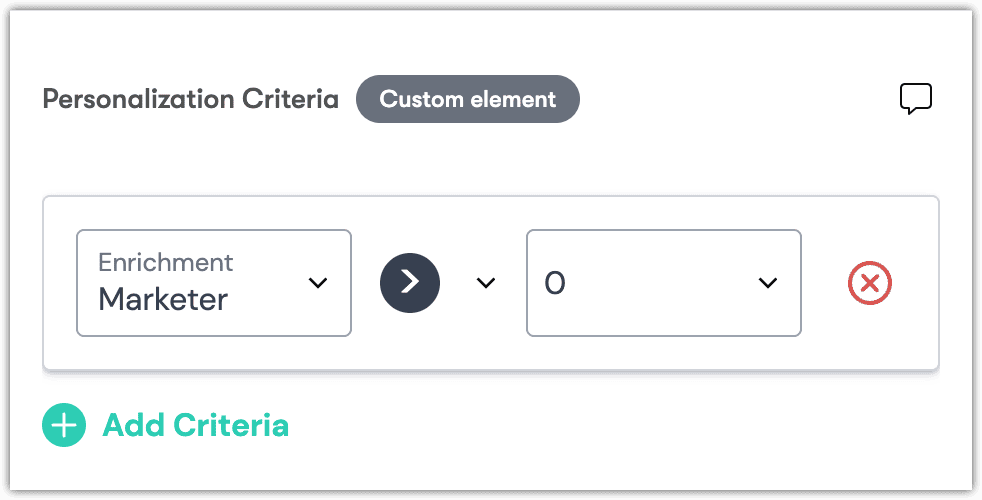
Configure the criteria you want to assign.
About this step
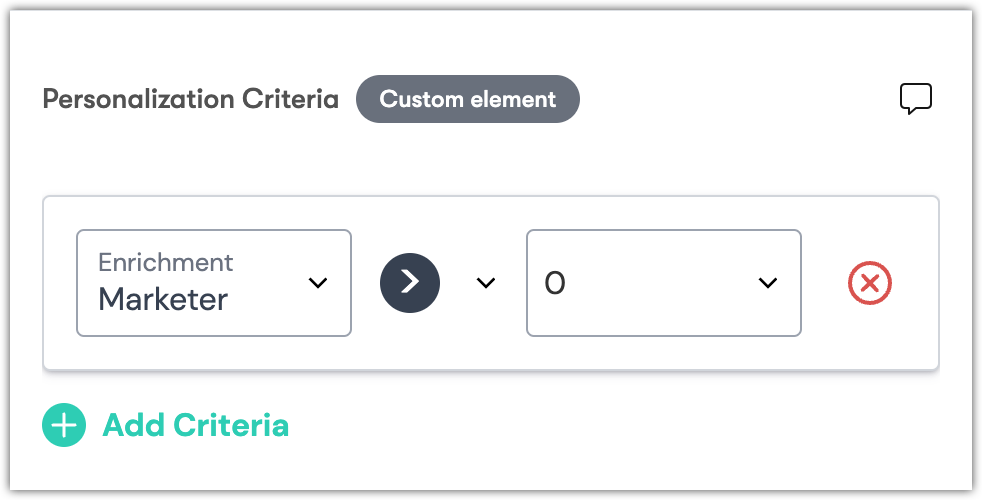
Each criteria consists of three parts:\
- The dimension identifies a property of the visitor.
- The operator specifies how you want to compare the value from the visitor to the value in the criteria.
- The value that the value from the visitor is compared to.
Click Add.
At this point there are several things you can do:
- Add more personalization criteria by clicking Add Criteria.
- Publish your changes in Contentful.
Next steps#
The configuration described above only describes things that should happen when specific content is viewed. It doesn't actually cause anything to happen. You need to activate classification and personalization in your front-end application. For example, when a visitor views a specific type of content, you might want to classify the visitor in a specific way.