Localization
Enterprise organizations operating in multiple regions or countries often must adapt to local cultures and preferences, while also maintaining a unified brand and user experience.
Internationalization and localization are critical for enterprises to reach a global audience, letting them to adjust their digital offering to meet local preferences and cultural norms. However, this process can be complex and time-consuming, requiring significant effort and resources to implement effectively. Systems must:
- Handle content for multiple languages and cultures
- Adjust content to regional market needs
- Translate content from one language to another.
The approach to content governance and operations can also affect how this content must be managed. Centralized teams may need to manage content across multiple regions to ensure consistency in branding and messaging. Distributed teams may need to manage content within a specific region, tailoring it to the local market. The operational model may also differ with how much autonomy a team has to create and maintain their own content and technology.
Uniform enables building internationalized projects, supporting both localization (serving different content to a locale, such as a regional promotion) and translation (serving the same content but in a different language). This is great for:
- Regional teams who have autonomy to create experiences but want to gain efficiency through a shared design system and shared content.
- A single, multi-lingual team working on the same experience but for different markets, or who needs to translate content into multiple languages.
- Any team looking to customize content or structures to account for regional differences.
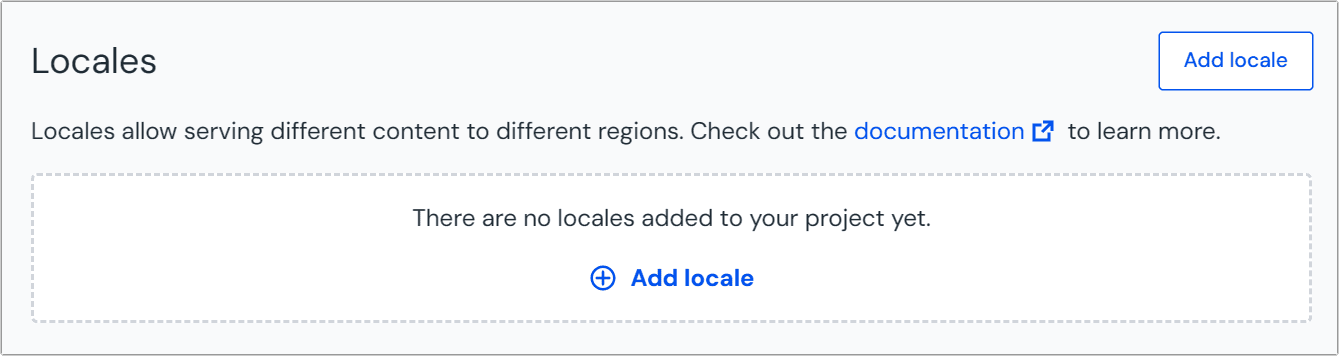
Locales#
Locales, as defined by system architects, are at the center of Uniform internationalization. A locale is an object containing a display name (like "English US"), a locale code (such as en-us), and a Boolean for if it's the default project locale. It can be any string value up to 32 characters. Uniform recommends using standard ISO language and region codes, such as en-GB, de-AT, or es-ES, because this enables easy interoperability with other systems and browser locale preferences.
Parameters and fields can be configured so the value can be translated to different languages as configured by locales. A check box can be added to indicate the parameter or field is "Localizable."
System architects can control which objects can be localized as they're defined in Mesh integrations. They can set localization to be:
- On by default
- Off by default
- Forced on
- Forced off
See example code for how to configure localization for projects.
Create a locale#
To create a locale in Uniform:
Open your project.
Navigate to the Settings > Canvas Settings.
Click New Locale.
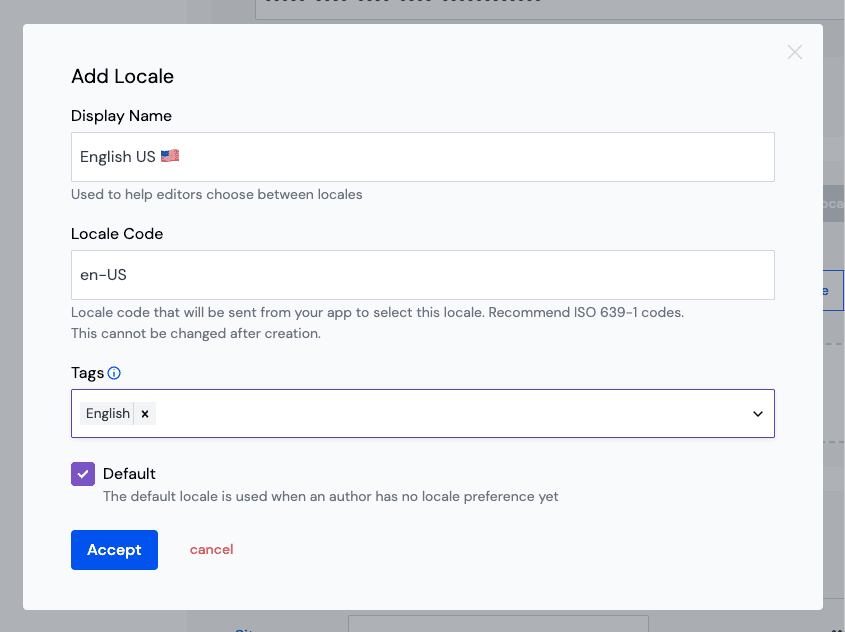
 Add a new local from the Uniform Canvas Settings page.
Enter the following data:
Field Description Is required? Display Name This is used to help editors choose between locales. Required Locale Code This is the code that will be stored with content and used for API requests. Uniform recommends ISO 638-1codes. This can't be changed after creation.Required Tags Select existing tags or create new tags to help organize locales for bulk operations. Tags can be used to add secondary grouping of locales by region, language, internal ownership or other criteria. Default Choose if the locale is default. The default locale is automatically enabled for compositions once a locale is defined and is the default loaded when editing. API calls don't default to use this locale, they default to fetching all locales.
Grouping locales#
Often a specific market or region has multiple locales that belong together. For example, Canada has en-CA and fr-CA. You can create locale groups to bundle multiple locales to represent a market, country, region or even internal team structures that are responsible for a set of locales. This is useful for:
- Better overview of locales as groups make it easier to scan and find market specific locales or search for them
- Support for bulk operations based on locale groups
To group locales:
- In the Canvas Settings under Locales, click Add locale group from the contextual menu on the Add locale button.
 Add a new locale group from the Uniform Canvas Settings page.
 - Give the group a name in the Add Group dialog.
- A new group is added to the list of locales. Use the menu or drag and drop to move the new locale group to the desired position in the list.
- You can now drag and drop locales or use the menu to move locales into the group and set their order.
- Click Save locales to save the changes.
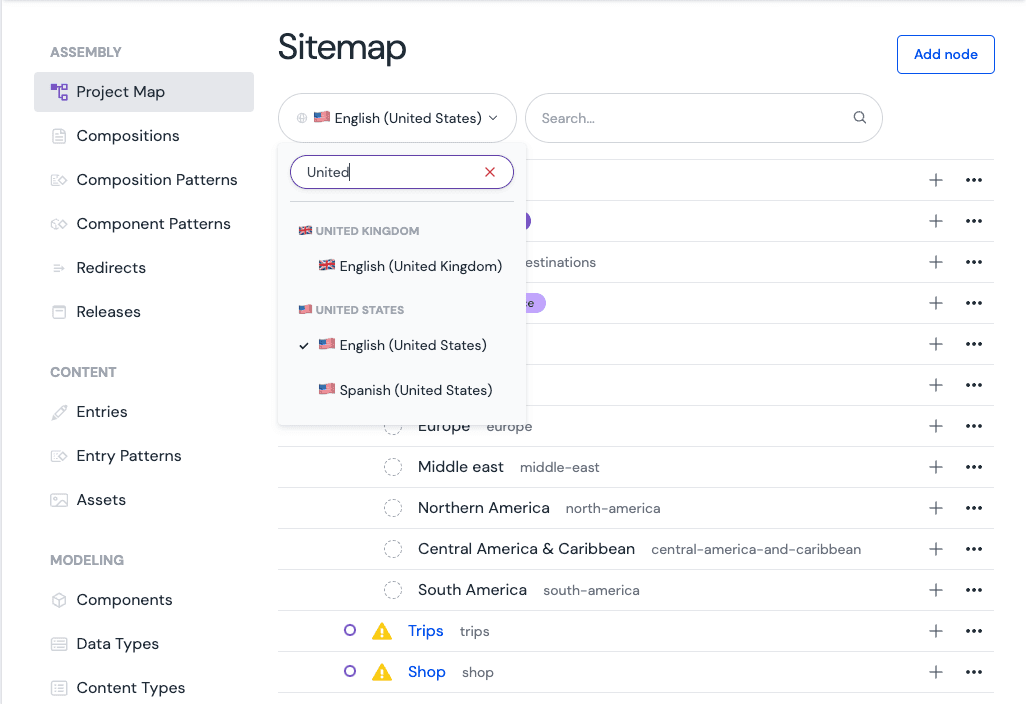
Locale groups will be displayed in all locale selectors in the Uniform UI, making it easier to find and select the right locale. If you have more than 5 locales then you can also search for locales by typing in the search box of the locale selector.
Translate content#
One common internationalization use case is to translate content data (parameters or fields) into different locales. Once you have defined locales in Uniform, you can configure components or content types to contain translated content.
Make a property localizable#
To configure a property for localization:
- Edit a component in the Component library.
- Add or edit a parameter on the component.
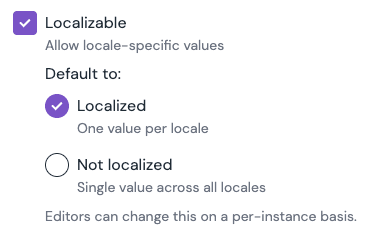
- Check off the "Localizable" option.
- Select the default localization behavior:
- Localized: One value can be set per locale
- Not localized: Singe value is used across all locales
- Save the component definition.
- The parameter can now have a locale-specific value.
info
Certain parameter types, such a blocks, may not support localized values, in which case the localizable checkbox won't appear.
info
It's possible to change a parameter from localizable to not-localizable and back after there are instances of the parameter with content in them.
When changing to localizable, all locales will receive any previous parameter value.
When changing from localizable, the existing locale-specific behavior will continue to occur until one edits the composition containing the parameter value. The editor will then convert the localized value into a non-localized value automatically.
Object format of localizable parameter values#
When accessing localized parameters and all locales' data are present, this is how it's stored. This has a TypeScript type (import type { ComponentParameter } from '@uniformdev/canvas').
If the above example was run through a localize routine to en-US (either by passing locale=en-US to the composition API, or using the localize() function - see the guide), it would end up like so:
Manage locales for a composition or entry#
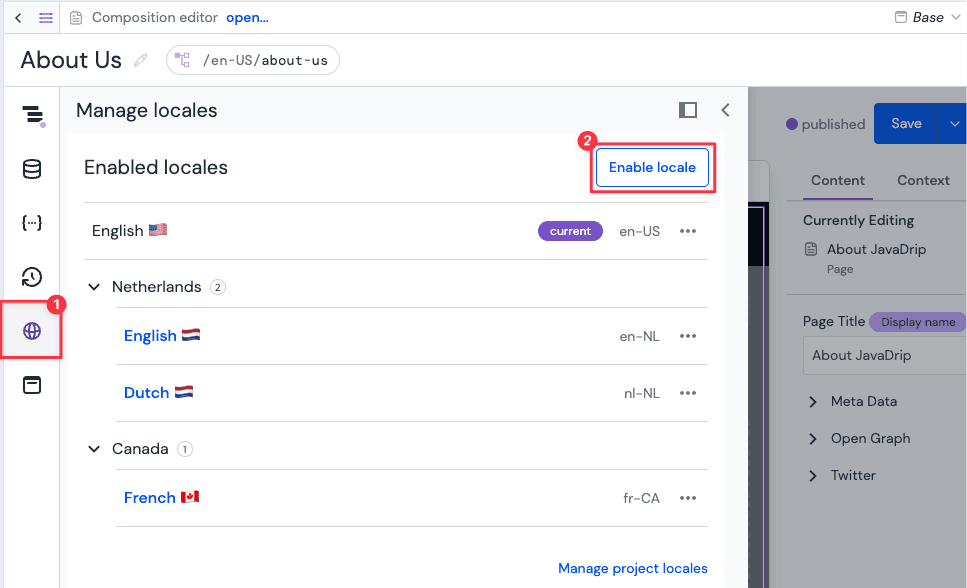
For each composition or entry you can decide if it should be available in a specific locale by enabling it. This is done in the composition or entry editor via the Manage locales side rail panel.
All localizable parameters of a composition and its child components or all fields of an entry will have a locale-specific value for each enabled locale. The structure of a composition, meaning the components that are placed in slots, is shared across all enabled locales. If you want to have different structures for different locales, you can use Component visibility controls to manage which components are visible for each locale.
info
Blocks can't be localized. Fields within a block can be localized.
Enable locales for a composition or entry#
When you create a new composition or entry from a pattern (composition pattern or entry pattern), any locales that are enabled on the pattern are automatically enabled on the new instance. This saves time when patterns are designed for specific markets or languages.
Does not apply when creating editions from patterns
Above described behavior does not apply when creating editions from patterns, where only the specific locales are enabled on the new edition.
To manually enable locales for a composition or entry:
- Open a composition or entry in the Canvas editor.
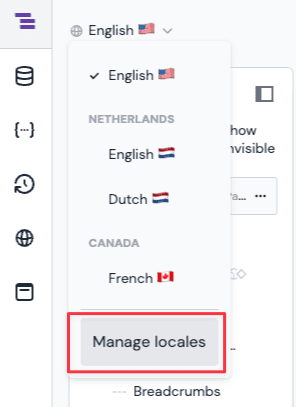
- Click Manage locales in the left side rail of the editor or via the same menu option the locale selector.
- Click the Enable locales button to open the "Enable locales" dialog.
- In the dropdown select one or more locales you want to enable for the composition or entry. You can also search for locales by typing in the dropdown or click on locale groups or tags for bulk selection. Note that only locales are shown that are not already enabled.
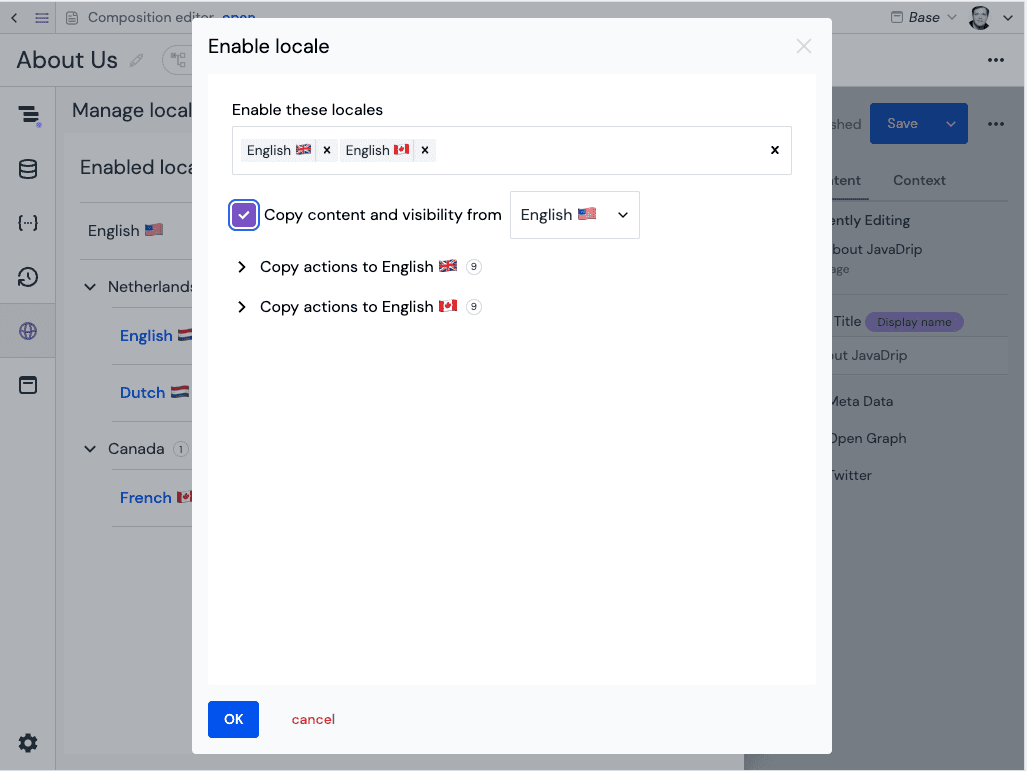
- Select the Copy content and visibility checkbox and select a source locale if you want to copy the content and visibility settings from another locale. This is useful when you want to start translating from another locale or don't want to start from scratch for each locale.
- Review the copy actions and click Ok to enable the locales.
- The newly enabled locales are now listed in the Manage locales panel and in the locales selector in the Canvas editor. By clicking on a locale you can activate it for editing.
Delete locales from a composition or entry#
You can delete locales from a composition or entry by clicking Delete option in the menu next to the local in the Manage locales panel of the Canvas editor.
note
Deleting a locale on a published composition or entry will only affect the draft version. To unpublish the locale you need to re-publish the composition or entry.
Edit a locale-specific property#
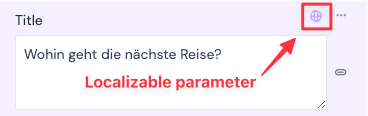
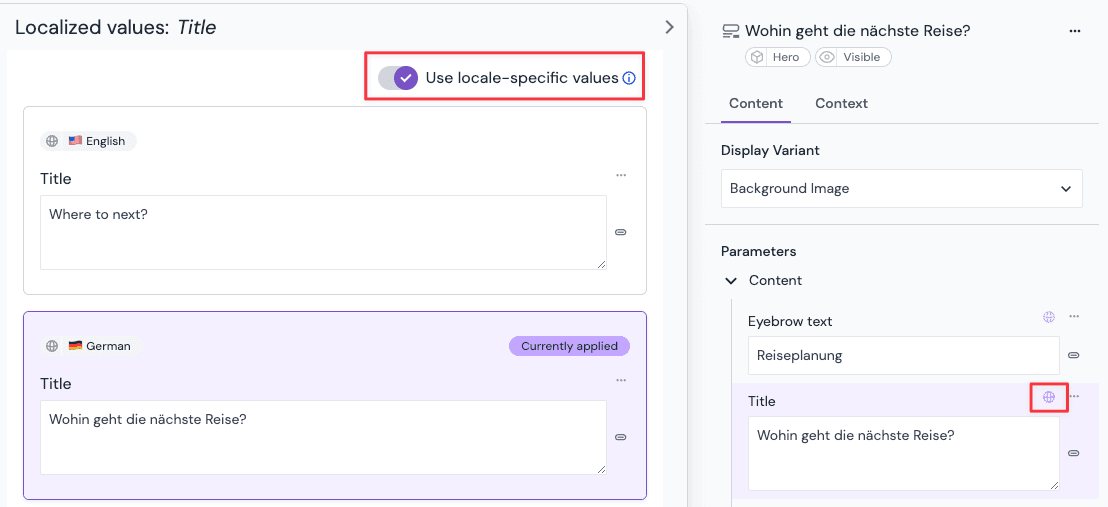
When editing a composition and locales are defined for your project, you will see a locale selector in the upper right corner. When you edit a localizable parameter, the value being edited is always the selected locale's value. Changing the current locale will change the preview and parameters panes to show that locale's values instead. You can tell if you are editing a localizable parameter because a localizable parameter has a globe icon on it which shows the current locale code when you hover your mouse over it.
Clicking on the globe icon will open the "Locale values" drawer where you see the all enabled locale-specific values for the property. You can also access the drawer by selecting the "Manage locale values..." option from the menu of the parameter or field in the property panel.
From the drawer you can:
- See and edit any enabled locale-specific value for the property
- Copy values between locales
- Enable or disable locale-specific values for the current parameter or field. This can be useful if you want to avoid managing multiple values across locales such as when you use a dynamic token or have no localization or translation needs for that property. In reverse, you can opt in to having locale-specific values for a property that has locale-specific values disabled by default.
- Access the conditional values settings for a specific locale
Non-localizable parameters can always be edited no matter what locale is selected, and they don't display the globe icon.
Copy content between locales#
Often it is useful to copy content between locales to save time or to reuse translations (for example you could have multiple locales that are the same language but different regions).
Copying content between locales can be done in different levels of granularity:
- whole composition or entry
- single component of composition
- single parameter or field
Copy values between locales of a composition or entry#
- Open a composition or entry in the Canvas editor.
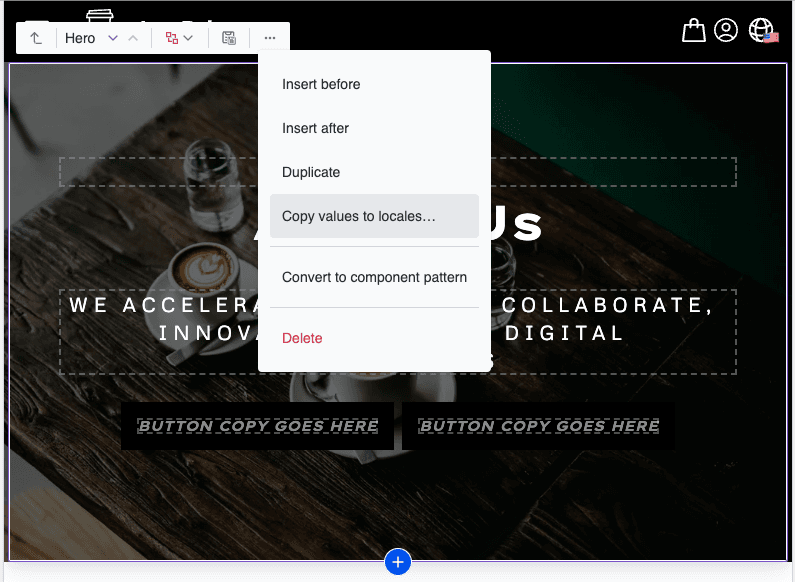
- Click Manage locales in the left side rail of the editor or click the menu of the composition in the structure or property panel.
- Select the Copy values to locales option.
- In the dialog select the "Target locales" you want to copy the content to. You can also search for locales by typing in the dropdown or click on locale groups or tags for bulk selection. Only enabled locales are shown as possible targets.
- Check the Include all descendant components checkbox if you want to copy the localized parameters of all child components.
- Review the copy actions and click Ok to copy the content to the selected locales.
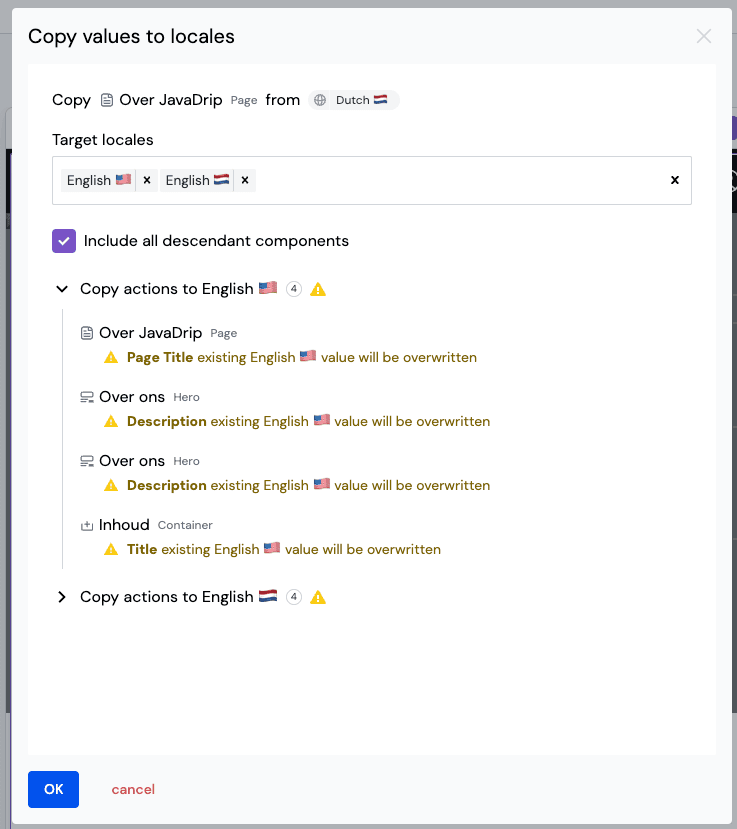
note
This action will override all localized values in the target locales with the values of the source locale. If you only want to copy a single component or parameter or field, should use the appropriate copy action on that level.
Copy values between locales for a component#
Follow the same steps as for copying from a composition or entry, but initiate the copy action from the component using the menu of the component in the structure or property panel or in the component highlighter.
Copy values between locales for a parameter or field#
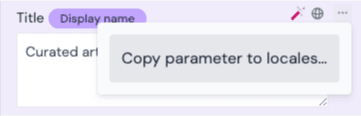
Follow the same steps as for copying from a composition or entry, but initiate the copy action from the localized parameter or field using the menu in the property panel or in the component highlighter.
Structural localization#
In Uniform all composition structure data is shared across every locale by default. This makes maintaining consistency of appearance easy, but sometimes it's necessary to alter the structure of the content for each locale in addition to translating values. For example a promotion might only be active in Romania, so we don't want to show it to German visitors.
Structural localization can be achieved through various methods, depending on the extent of structural differences required and the level of independence desired for each locale:
Component visibility control
Target one or more locales to show or hide components.
Editions
For fully independent content structures and content workflows for a set of locales.
Localization component - Legacy feature
For simple structural changes targeting a single locale per component
Enable localization on your frontend application#
Uniform supports three different strategies for resolving locale values, in increasing order by complexity and capability:
- Use a path segment from the project map as a locale value.
- Pass a locale to the Uniform API.
- Fetch all locales from the Uniform API and apply the localization yourself in your frontend application.
Regardless of the approach selected, the end result is the same: A locale will resolve to show the content for the current active locale and remove other locale data. This allows the frontend to act as if no localization took place and enables direct access to the localized values. If Uniform can't resolve the requested locale then it will return "not found".
Often, a front-end application will want to use an internationalization library such as next-intl for Next.js to manage the user's selected locale, or negotiate the initial locale with a browser's Accept-Language headers, among other tasks. Uniform's SDK is designed to complement any of these existing localization and static-translation management strategies. Uniform doesn't provide any frontend-side state management for localization of its own.
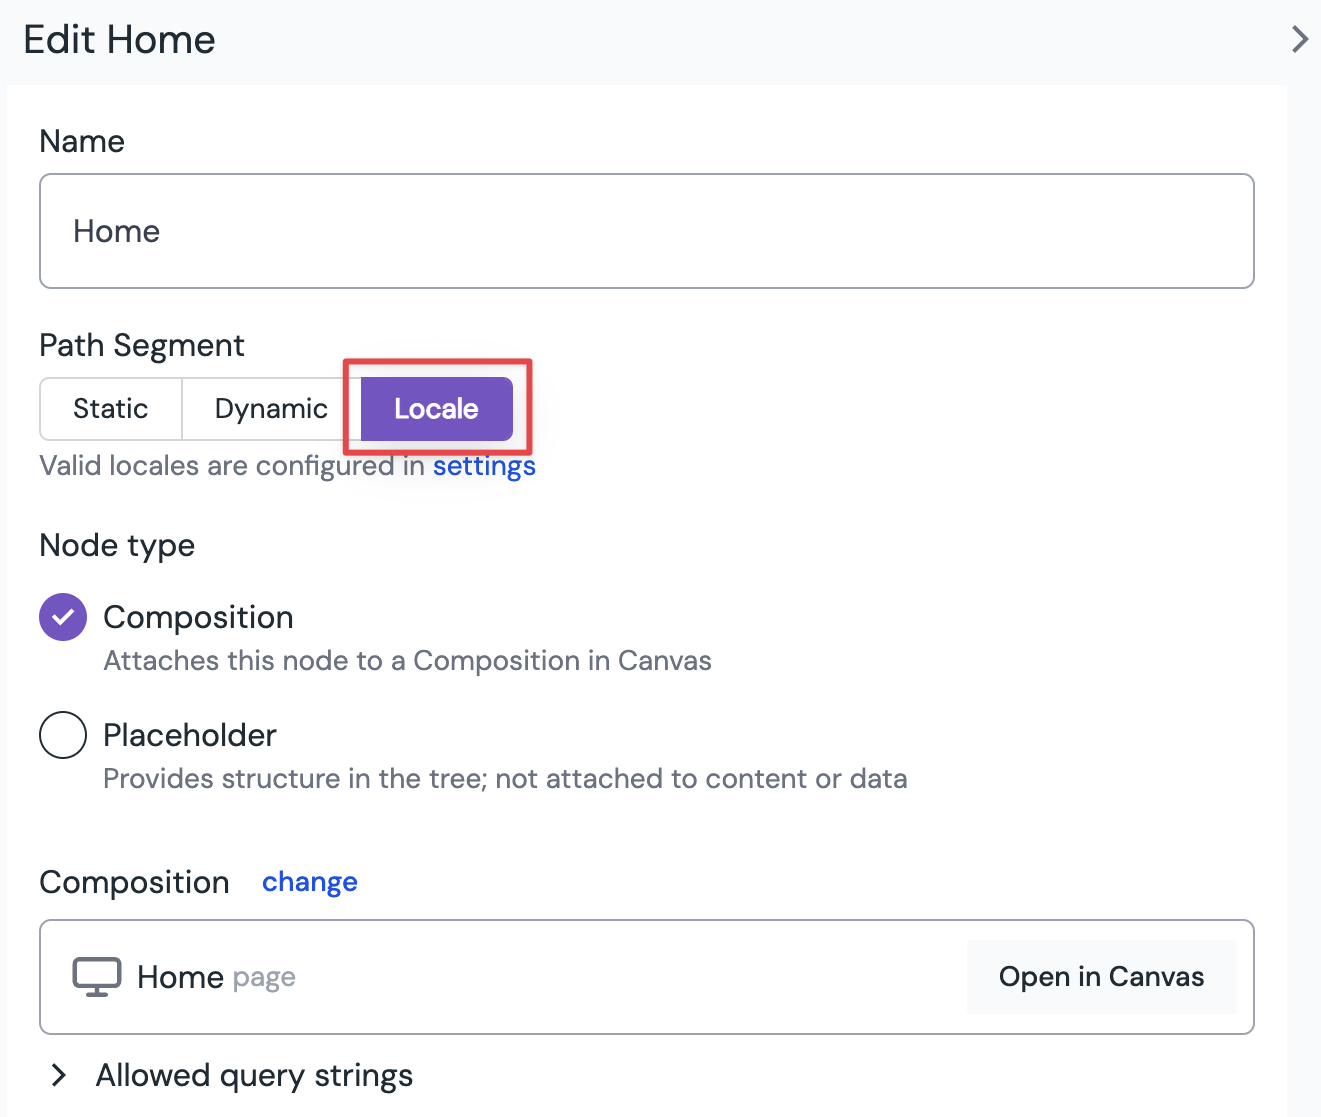
Use a project map node as the locale resolver (recommended)#
In this model a special node is added to the project map that dynamically represents the locale. This is appropriate when your project is using URLs and the locale code should be part of the URL such as /en-GB/about-us. This has some significant advantages, as the source of the locale will be plain for authors and the frontend application will work automatically. When using the project map as a locale source, link parameters will be able to pass the current locale as a dynamic input, allowing simple maintenance of links without needing to define the target in every locale.
The locale node is added directly under the home node of the project map so that its route path becomes /<locale>. However this isn't required and you may define locale nodes at any level in the project map. To add a locale node, add a project map node and choose "Locale" as the node type.
If you have existing project map nodes, you may need to move them under your locale node after doing this, noting that it could change your URL structure, and might require some redirects.

Pass a locale to Uniform APIs#
You can pass a locale parameter to all Uniform APIs that return routes, compositions, or entries. This parameter is also reflected in Uniform-provided API client classes and framework specific SDKs (if the option is missing, you may need to upgrade your SDK packages).
The locale parameter is allowed to be one of:
- A single locale code, such as
en - A comma-separated list of locale codes, such as
en, en-US, de-DEto enable language fallback - A list of locale codes in the format of the HTTP
Accept-Languageheader, such asen;q=0.8,en-US;q=0.9
When the locale parameter is passed:
List responses will include only compositions which have either:
- Enabled one or more of the locale(s) provided by the locale parameter
- Not enabled any locales (this is to make it easier to migrate to locales).
Note that once a default locale has been added to a project, any composition that's edited will be set to enabled for the default locale and no longer match this criteria.
All responses will "localize" the composition data, to:
- Determine the target locale: This is the first locale in the locale parameter which has been enabled for the composition. For example, if the locale parameter is
en,deand the composition has enabled['zh', 'de'], thendewill be selected. - All locale data which isn't for the target locale is removed from the composition: This includes both localization components (replaced by their selected locale component, if any) and locale-specific parameter data (the target locale value is copied into the
valueproperty as if it weren't localized).
- Determine the target locale: This is the first locale in the locale parameter which has been enabled for the composition. For example, if the locale parameter is
tip
You can still pass an explicit locale if you are using a project-map based locale resolution. The explicit locale will override the value resolved from the project map. This can be useful to configure locale fallback chains, because you can explicitly pass more than one locale.
Fetch all locales and applying it in your application#
If the locale parameter isn't passed when fetching composition data, Uniform returns all the locales' data at the same time. This is a good option when you need to perform advanced, locale-selection logic of your own, or if you intend to cache composition data and don't want to vary the cache by locale.
When all locales are in a composition, Uniform provides a function that can be used to apply the same localization logic that the APIs use on demand:
About this step
Just like enhancers, localization changes the data available in the composition. It removes all the components that don't match the locale specified in the localize() function call.
Localized routing in Next.js#
About this step
This section describes how to build a localized Next.js application using the Pages Router.
Localized routing using the App Router is specific to the implementation and will require some custom development.
To enable localized routing in Next.js we recommend to follow the sub-path routing strategy:
Step 1: Configure locales in next.config.js to activate localization mode in Next.js. These should match the locales codes that are defined in your Uniform project.
next.config.js
Step 2: Update the dynamic route file (e.g. /pages/[[...slug]].tsx) to pass the active locale to Uniform's Route API.
If you use the project map to resolve locales and your routes start with the locale identifier (e.g. /en-US/) then you can pass the prependLocale helper function from the @uniformdev/canvas-next NPM package to the modifyPath function.
/pages/[[...slug]].tsx
tip
Source code for a simple localization example using Next.js is available. We offer versions for page router and app router.