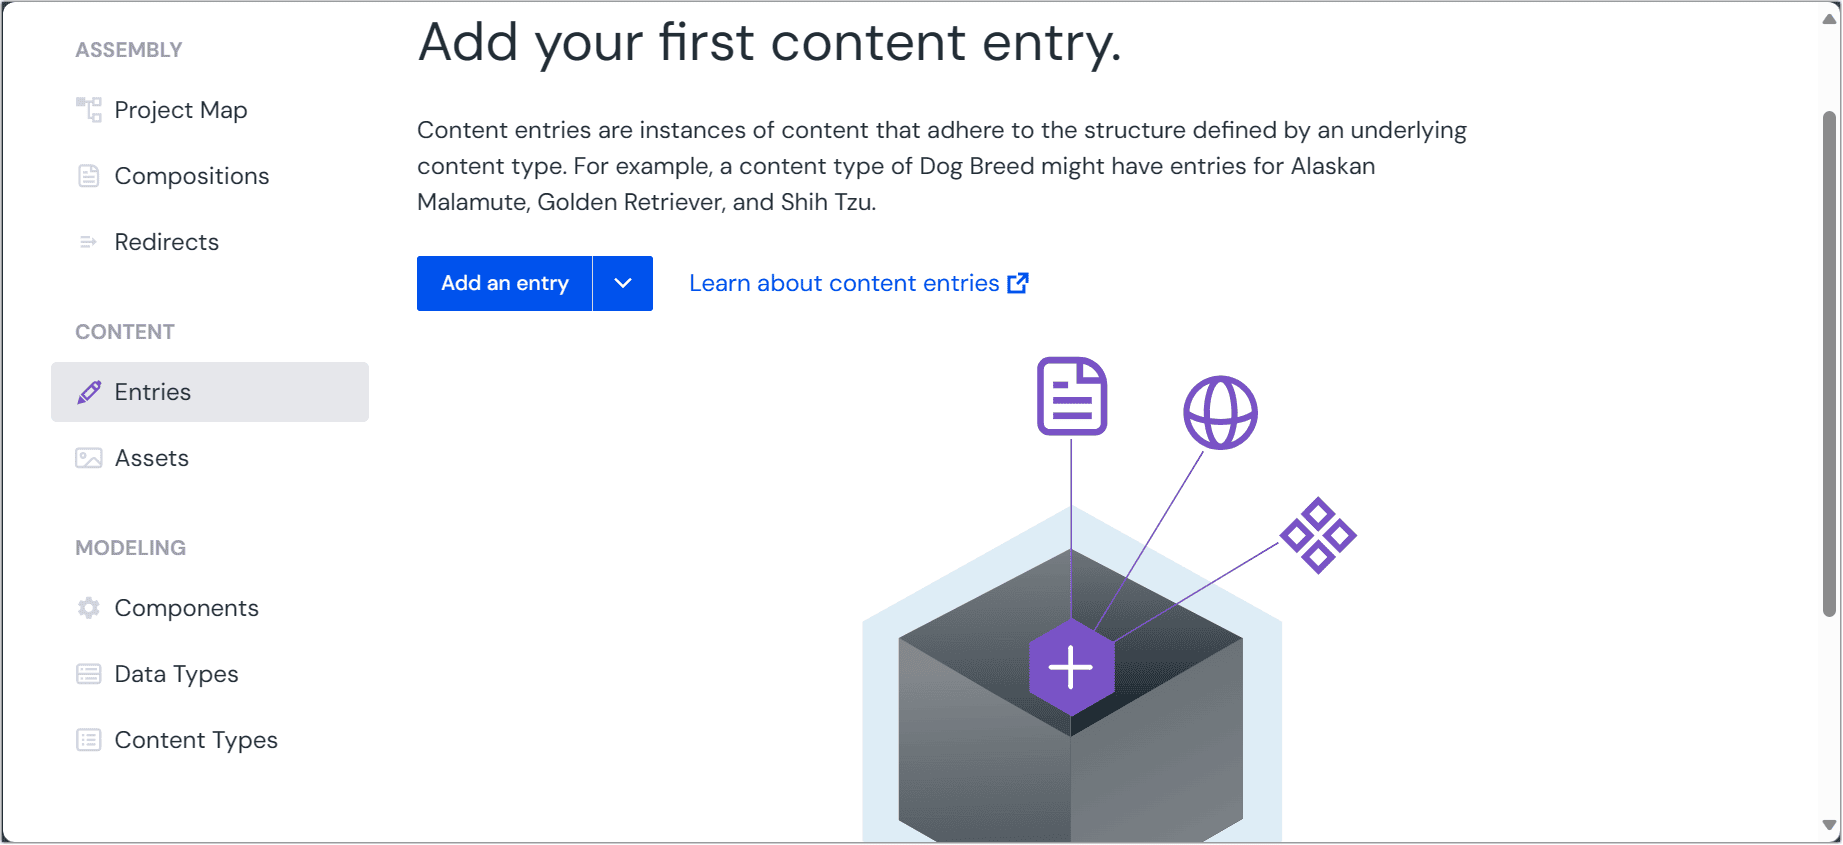
Authoring entries
Content entries are created from content types that serve as templates. This guide walks you through the process of authoring entries.
Create a new entry#
To create a new entry, you choose what to base it on in the Add entry modal.
Navigate to Experience > Entries in the application menu.
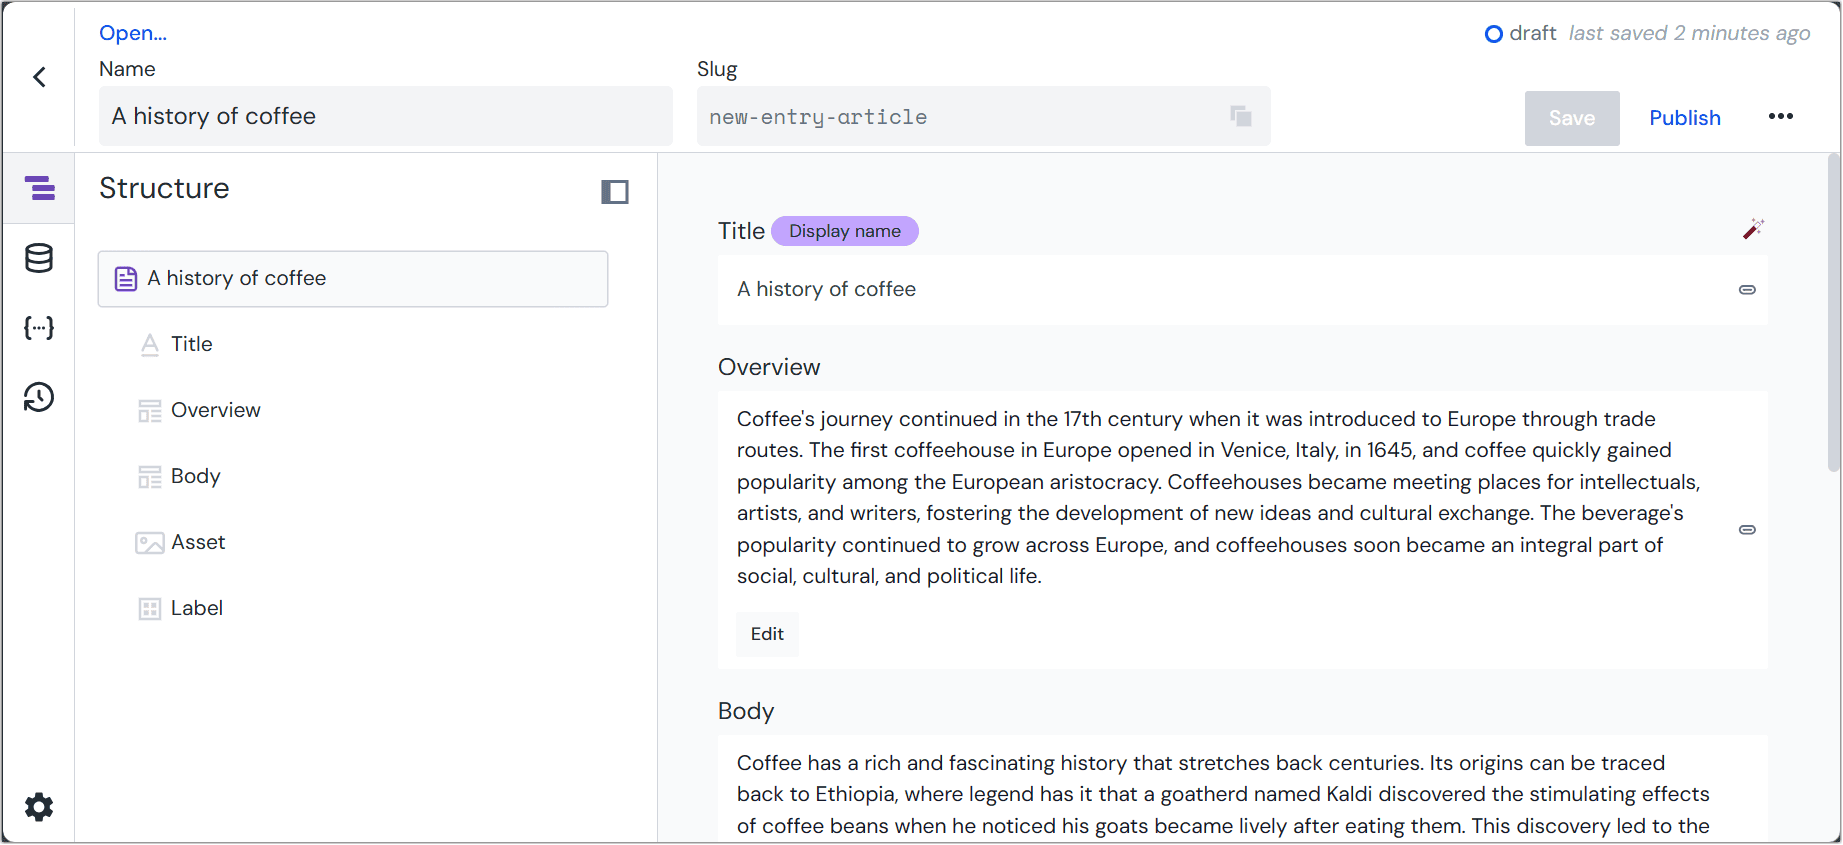
Click Add entry. This opens the Add entry: Choose type modal, which lists the content types and entry patterns you can create from as cards.
 Choosing a content type or entry pattern in the Add entry modal.
Choose what to base the entry on:
- Select a content type card to create a blank entry from that content type.
- Select an entry pattern card to create an entry pre-filled from a published entry pattern. Pattern cards show a pattern icon and their publish status.
Use the sidebar and toolbar to find the right type or pattern:
- Search by keyword across the name and public ID.
- Select All to show every content type and pattern you can create.
- Use Patterns By Type to filter the grid to a single content type and its patterns. The parent content type is also included.
- Sort the grid A-Z or by Recently updated.
- The Suggested (From Filters) section surfaces content types that match the filters currently applied to the entries list.
After you make a selection, the entry editor opens with all the fields defined in that content type ready for you to fill in. When you start from an entry pattern, those fields are pre-filled with the pattern's default values and data.
note
The content types and patterns you see in the modal depend on your permissions. A role might allow creating entries only from specific content types, only from entry patterns, or both. Draft entry patterns are never shown, because you can only create entries from a published entry pattern.
Edit an existing entry#
To edit an existing entry:
- Navigate to Experience > Entries
- Find the entry you want to edit in the entries list
- Click on the entry name to open it in the entry editor
Entry states and editing#
Entries can be in different states that affect how you edit them:
Draft entries: New entries start as drafts. They can be edited freely but aren't available for use until published.
Published entries: Published entries are live and available for use in compositions and APIs.
Changed entries: When you edit a published entry, it becomes "changed". The published version stays live while your changes remain in draft until republished.
Making changes#
Once in the entry editor, you can:
- Update field values using the same interface as when creating entries
- Add or remove locales or editions
- Add or remove the entry from a release to schedule when it becomes available
- Use the entry preview to see how your entry will look
Nested entry editing#
Nested entry editing lets you edit entries without switching between different screens or losing your current context. This seamless editing experience is available in two main scenarios:
From compositions and patterns#
When you have entries connected as data resources, you can edit them directly without navigating away from your current composition or pattern.
For any data resource that is configured to use entries, you can edit them directly from the data resource drawer. This applies to all types of patterns:
The editing experience varies depending on the archetype of your data resource configured for your data resource:
tip
For any data type for entries, you can also create new entries directly from the data resource drawer by clicking Add entry when configuring your data resource. Make sure to publish the entry after creating it or activate Unpublish content mode to preview the draft entry.
Single entry#
When configured to use a single entry, you can select and edit a specific entry directly. Click Edit from the dropdown menu to open the nested editor or click on the title of the selected entry when selecting a single entry in the data resource drawer.

Single entry by slug#
When using Single entry by slug data types, which select entries based on their slug value, you can edit the entry in two ways: either select Edit from the dropdown menu, or click the entry title in the preview section of the data resource drawer.

Multiple entries#
When using the Multiple entries data type, you can select and edit any of the chosen entries from the Selected entries list in the data resource drawer. Click on any entry title to open it in the nested editor.

Query#
For query-based data types, you can edit any entry returned by your query directly from the results preview list. Click on the entry title to open it in the nested editor.

note
When you create a new entry in the nested editor from a Query data type, the entry may not appear in the preview section after closing the editor if it doesn't match your query's filtering criteria. This is expected behavior since the query will only display entries that meet its specified conditions.
From reference fields#
When working with reference fields, you can easily edit linked entries directly from your current entry. Simply click either the entry title or select Edit from the dropdown menu to open the referenced entry in a nested editor.
This makes it easier to edit related content without losing your place, saving you time when working with connected entries.
Saving and publishing#
When working with entries, you have several options for saving your work:
Save as draft#
Click Save to save the entry without publishing it. Draft entries:
- Are stored but not publicly available
- Can be edited and refined before publishing
- Are useful for content that's still being developed or reviewed
Publish the entry#
Click Publish to save and immediately publish the entry. Published entries:
- Become available for use in compositions and via APIs
- Can be accessed by your applications and websites
- Can still be edited after publishing (changes require republishing)
Republish edited entries#
When editing a published entry:
- Your changes are saved as a draft version
- The original published version remains live
- Click Publish to make your changes live and replace the previous version
Working with localized entries#
If your content type has localizable fields configured, your entries can be created and edited for multiple locales.
Enable locales for an entry#
To enable locales for an entry:
- Open the entry in the entry editor
- Click Manage locales in the left side rail
- Click Enable locales and select the locales you want to enable
- Optionally copy content from an existing locale as a starting point
Edit locale-specific content#
When locales are enabled:
- Use the locale selector in the upper right to switch between locales
- Localizable fields show a globe icon indicating the current locale
- Each enabled locale can have different field values
- Non-localizable fields remain the same across all locales
For more details, see the localization guide.
Working with editions#
When editions are available in your project, you can create market-specific versions of entries. Each edition maintains its own independent content lifecycle, allowing you to:
- Create and manage different versions of the same entry for different markets or seasonal campaigns
- Have separate publishing schedules for each edition
For detailed information about creating and managing editions, see the editions guide.
Working with workflow-enabled entries#
When a content type has a workflow assigned, entries created from that content type will include workflow functionality.
Understanding workflow stages#
Entries with workflows progress through the defined stages of its workflow. For example, if a workflow has the following stages:
- Draft - Initial content creation
- Review - Entry is submitted for approval
- Approved - Entry is approved and ready for publishing
- Ready to use - Entry is published and ready to be used in compositions
The current workflow stage is shown in the top-right corner of the entry editor.
Moving through workflow stages#
To transition an entry to the next workflow stage:
- Complete the required content for the current stage
- Click the dropdown next to the Save button
- Select the transition you want to activate (e.g., "Submit for review")
- Confirm the transition in the modal dialog
Workflow permissions#
Different workflow stages may have different permissions:
- Some stages may restrict who can edit the entry
- Publishing permissions may be limited to certain stages
- Only users with appropriate roles can perform specific transitions
Working with releases#
Entries can be included in releases to manage content launches and campaigns. Releases allow you to prepare, review, and schedule entry changes ahead of time.
Adding entries to releases#
When a release is active in your project:
- Editing existing entries: When you edit an entry, you'll see an option to "save to release" which copies the entry with your changes into the release
- Creating new entries: New entries created while a release is active are automatically added to that release
- Publishing in releases: Use "publish to release" to ensure entries launch in a published state when the release goes live
Release states for entries#
Entries in releases work similarly to the base editing environment:
- Inheriting: The entry hasn't been copied to the release yet and shows the base version
- Copied: The entry has been modified and copied into the release with your changes
- New: The entry was created within the release and doesn't exist in base
For detailed information about creating releases, scheduling launches, and managing release content, see the releases guide.
Next steps#
Once you've authored your entry:
- Learn about the entry editor interface and its features
- Explore how to preview your entries
- Discover how to use entries in your compositions